Now that we’ve covered the preliminary steps and odd details, let’s get into the tricky part, where you actually put the film on. When you buy a roll of Top Flite Super Monokote it comes with instructions. They tell you to leave 2 inches on all sides so you can grip the film, heat it and pull. This allows you to stretch it around curves, etc. I don’t know about you, but I’m pretty cheap and Monokote isn’t. I add large margins only on the edges that need to be pulled. If I’m covering a wing I will leave a quarter to half inch at the leading edge because it’s a simple curve that can just be ironed down. At the tip I will leave an inch, or just enough to get a grip and heat the film without burning myself.
Another thing the instructions tell you is to iron the corners first. I don’t like this method. I do it my own way. You can listen to me, or listen to the fine folks at Top Flite. You’ll find your own best method one way or the other. But here’s how I do it.
First I measure everything and cut out the pieces. I find that I can conserve film and be more economical if I cut everything out at once. I also believe that I get the most out of my film when I cover wings first because they tend to be covered with large, long pieces. If you cut out a bunch of oddly shaped pieces for the fuselage first, you won’t have room left to cut out your wing film. So let’s do the wing first.
First I measure the wing.
This wing is going to be white from the spar to the trailing edge on top. It will be blue from the spar forward, and the entire bottom will be blue. So for each side I need a 3 x 20 piece of blue, an 8 x 20 piece of blue, and a 5.25 x 20 piece of white. I look at my roll of film and figure out where is the best place to get these pieces, and I mark them and cut them out. Don’t worry about cutting pieces out in the same direction. Film doesn’t have a grain, so it doesn’t matter what direction your pieces are oriented in relation to the roll.

The first part of the wing to be covered is the white section, so the blue can overlap it. If the white were to overlap the blue, you would be able to see a blue shadow through the white. That doesn’t look so good, so you put the white on first.
This is a Q-Tee. Look at the Q-Tee plan and you’ll notice that there is a cutout in the trailing edge of the wing. The film from the top and from the bottom will be unable to cover this inside corner completely, so we need to fill it first with a white scrap. I have a scrap box with a lot of old pieces. These come in really handy, so you should consider doing the same.
A little strip of white is selected and ironed into the inside corner.
The edges are trimmed and the remainder is ironed down.
Now I want to make a mark a quarter inch in front of the edge of the balsa at the spar, so I can place the edge of the white film here and overlap the blue a quarter inch over the white.
At the wing root, the film should overlap the center line about a quarter inch as well. Then a spot is ironed down to the wood. This spot is in the middle of one side, specifically the side at the wing root. I don’t iron the corner, and I don’t iron the entire side. I just do the spot in the middle of that side.
Then I stretch the film toward the tip of the wing with two fingers. This gives me a nice flat spot in the middle to iron a spot. Don’t stretch it to the absolute limit. The secret to getting a wrinkle free finish is to put the film on tight. But you don’t have to actually deform it by stretching it. Just stretch it flat.
When I have it tight in the middle, I take over the entire job with my left hand and iron a spot in the middle with my right hand.
Then I pull the wrinkle out toward the front and iron the spot in the middle of the front edge. This photo depicts the moment after I have let go with my left hand and ironed the spot down.
Then I pull the trailing edge flat and iron the spot in the middle of that side. After each of the four sides is tacked, it’s time to pull the corners out and tack them. In the next photo you can see what the piece looks like as I tack the first corner at the top left.
The next step is to pull and tack each corner. Here you can see a corner being done and the adjacent corner still slack.
After all four corners are tacked, the next step is to tack the entire perimeter. Because it’s kind of tricky to grip the film that lies against the leading edge sheeting, iron it first. Do whatever it takes to smooth it out with one hand while ironing it with the other.
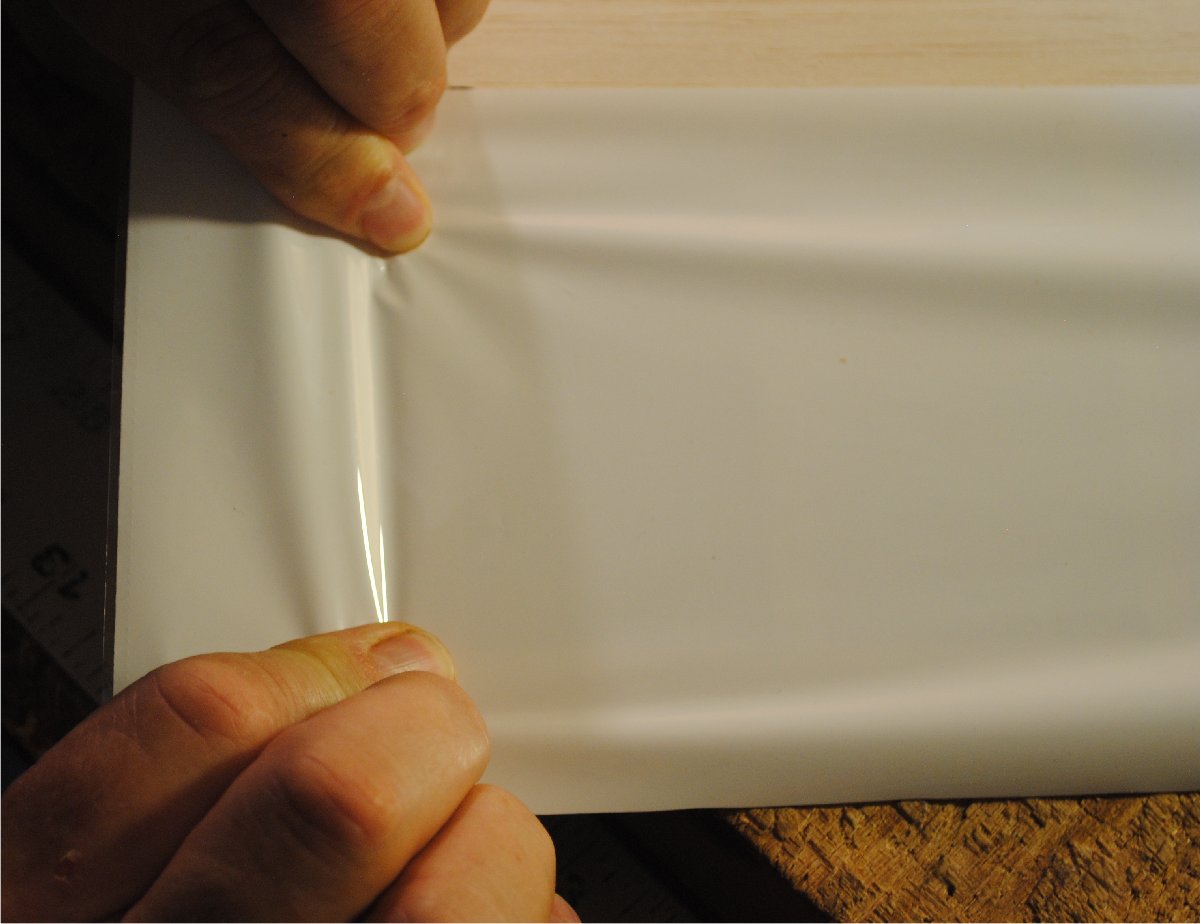
Then you move on to the root and tip, and the trailing edge. Here’s a little bit of imagery to show you an easy way to put a little bit of a tug on the trailing edge as you iron it down. Imagine a cliff with a pole sticking out horizontally, and a rope running from the end of the pole back to a tie-down cleat on top of the cliff. The weight of the pole will pull the rope tight. Your hand is the cliff and the wing is the pole. Grip the protruding film so the trailing edge of the wing rests against your finger, lift your hand a bit, and let the weight of the wing pull the film tight.
Here you can see me pulling and ironing toward the trailing edge. Notice how flat everything is. Your goal is to figure out how to hold the film tight with one hand so you can iron with the other.
A popular belief is that you can stretch out wrinkles, but that’s a backwards attitude. You need to apply the film flat without wrinkles in the first place. If you are covering a compound curve, don’t leave slack in the slack part and try to shrink it out later. Instead, you should heat and stretch over the tight part until the slack part is flat. This comes into play when we get to the aforementioned cutout in the trailing edge of the wing (which as you recall was covered first with a little scrap). Here you can see me pushing the film around the curve with the hot iron. I’m pulling with my left hand and using the curved iron foot to force the film to stick to the curve with no slack.
Now the film edge is trimmed to allow a 1/8 to 3/16 inch overlap, and it’s ironed firmly around this curve. Since it was stretched already, it should go down with no slack.
Here’s how the trailing edge cutout looks when it’s finished.
Now it’s time for an advanced technique. I’m going to pull the film over an edge and make it cover an irregular shape without wrinkling. Since this is a flat bottom wing, I could put a piece of film on the bottom of the wing and roll it over the tip and cover the tip without any slack or wrinkles. But since I’m covering the top of the wing, if I pull it over the tip it should be slack in the middle of the wing tip. So what I’m going to do is pull the film at the end of the wing while heating it with the iron and stretch it. This way it will go over the wing tip without any slack. The film is pulled straight out, and the iron is moved from side to side to allow the film to stretch where it needs to. Little by little the film is ironed down as the iron works its way over the curve. Also, the grip on the film should be moved as necessary to stretch any portion where it isn’t flat yet.
First the film is pulled firmly as it is ironed over the top curve toward the tip.
Then the film is pulled, heated, and stretched over the flat portion of the wing tip.
Finally, the excess is trimmed to create an even line, and the edge is ironed down.
Always trim your edges to a neat, tidy line close to a natural corner on the airplane because if you leave a big irregular hunk of film extending onto the adjacent surface, then cover it up with the next layer, you’ll see it through the top layer.
Here’s a shot of the finished tip.
The only thing left to do to this piece is to tidy up the edges. First let’s do the part where the film on the trailing edge goes around the curve at the wing tip. Here’s the spot I’m talking about.
Here’s how I finish this type of feature. I make little slits to create flaps, then iron them down one by one. I hope you can see this. Here I am cutting the slits.
Then I trim them short, as seen in the next two photos. You want the length of the flap to be approximately the thickness of the trailing edge, which as you can see in the photo is about 1/8″.
Unfortunately I don’t have a photo of myself ironing these flaps down, but do the outer one first, then the middle one, then the one next to the rest of the sheet of film. If you make sure to get every little corner, flap, or tag ironed down you will have less of a problem later with edges coming up or fuel seeping in.
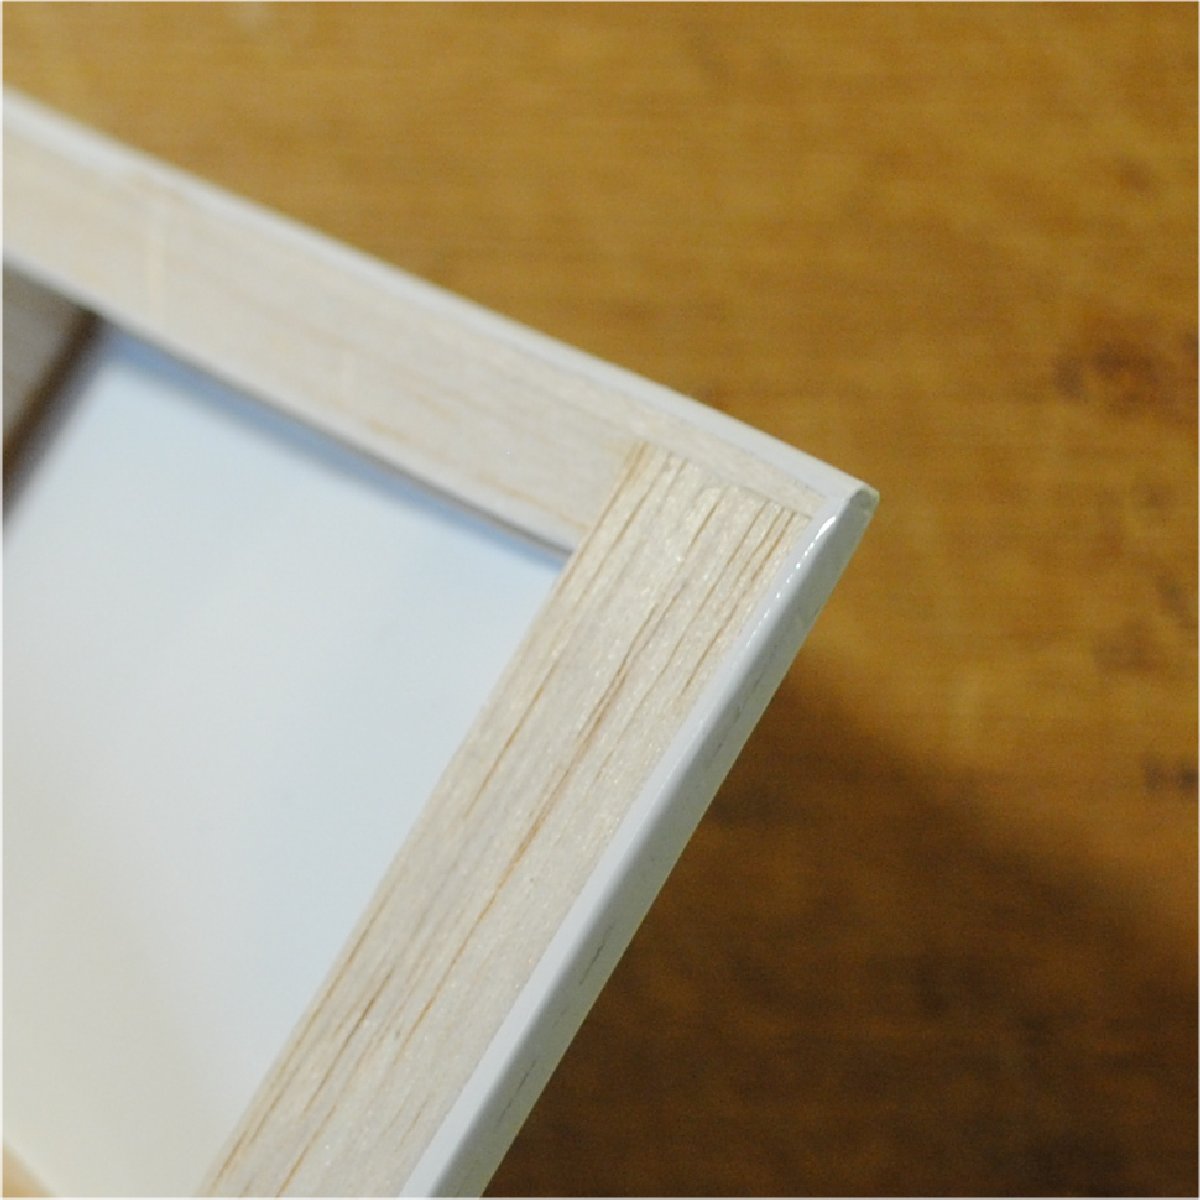
Here’s what the trailing edge tip looks like with all the tags ironed down.
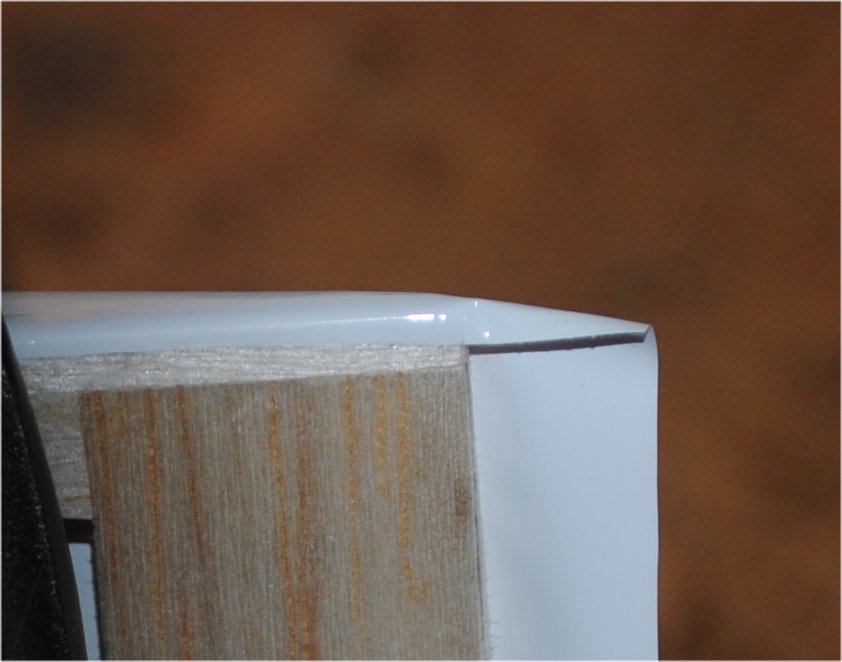
Now it’s time to iron the trailing edge down. There are a couple of solid rules to follow, to produce the best results. The first rule is that if you have little tags and big segments, iron the little tags down first, then iron the big segments over them. The second rule is that when ironing around a sharp corner you should iron only up to the first edge first, and iron the entire segment up to that edge. Only after that is done should you iron over the corner. Iron the entire length over the corner. Then iron the entire length onto the entire trailing edge. Then trim the film to make about 1/8 to 1/4 inch go around onto the bottom, and then iron the entire edge onto the bottom. Saying it another way, I don’t want you out at the tip ironing the film to the edge, then around the trailing edge, then onto the bottom, while the middle and the root are still not ironed all the way to the edge on top yet. Bring the whole thing to the edge and make a sharp edge. Then bring it all over the trailing edge all the way to the sharp bottom corner, and then bring the whole thing around to the bottom.
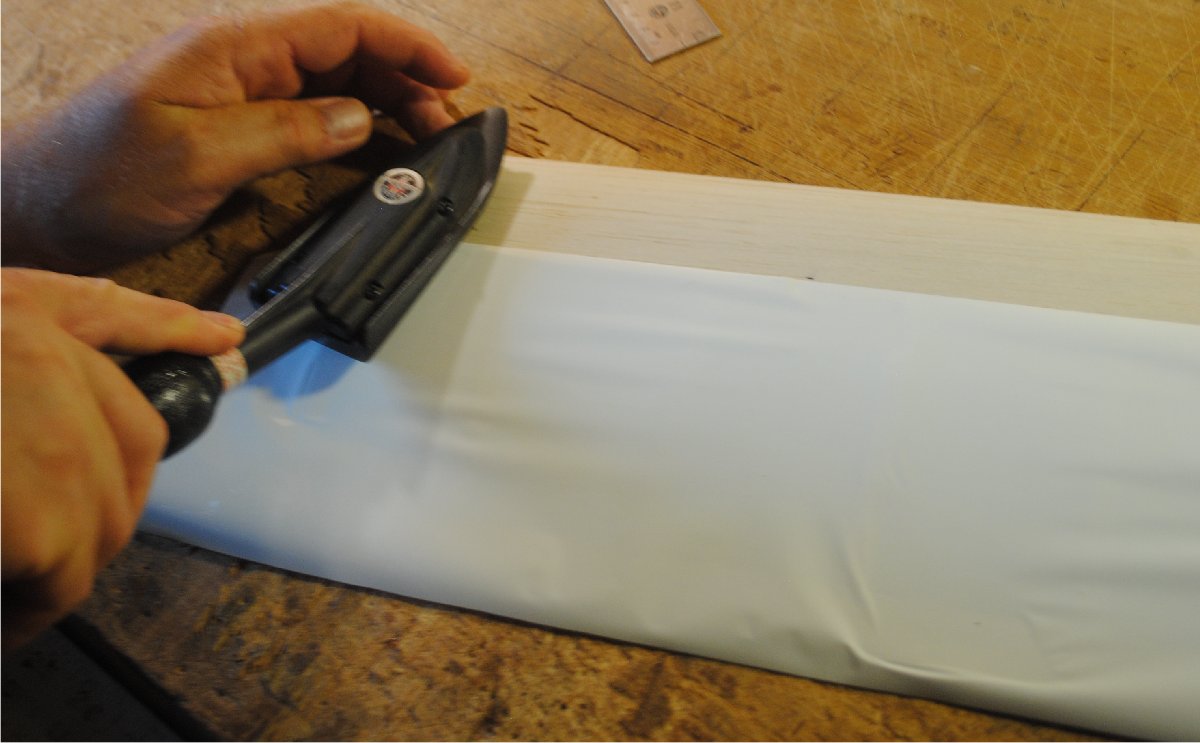
Now that you know the rules, here is the technique for ironing a long segment of film. There is a specific pattern that my iron follows for my best results. I’m sure other guys do other things, but this is the way I do it. Let’s say I’m ironing an edge that’s facing away from my body, and I’m starting at the left edge and working my way to the right. My first stroke is going to have the iron move away from my body and slightly to the left. I’ll hold it flat on the wing so the film is stuck all the way to the edge, and I should be able to see the sharp outline of the edge through the film. Then I move about 2 or 3 inches to the right and repeat the stroke away from myself and to the left. That’s right, I stroke the iron back towards the part I already sealed. As you can imagine, if I were moving the iron away from myself (toward the edge) and to the right, when I come back for the next stroke I will be on an unsealed portion with a sealed stripe outboard of it. So I always slant back toward the side I started on. I don’t do videos on this site, just photos, so go back and read slowly so you can get exactly what I’m talking about.
Check out this photo of me finishing the trailing edge on the Q-Tee wing. Imagine that I started at the left corner and moved my iron down and to the left. Then I move to the right and slide the iron down and to the left again, and so on until I reach the opposite end of the line.
In Part 2 I’ll show you how to do the subsequent pieces of film and get this wing finished.


