Part 1 was about putting the first white piece on top of the wing. It’s a good idea to do both white pieces before applying any dark pieces because it makes it easier to line the joints up in the middle, but we don’t need to go through Part 1 a second time. We’ll just pick up the story after all of the white pieces are already in place. The rule says bottom first, then top, so we’ll do the bottom, then the dark piece at the leading edge of the wing.
I’ve already cut all of my film for the top and bottom of the wing, so I’ll select a piece for the bottom and put it in place. This is the inexpensive but high quality film available from Hobby King and Value Hobby. It’s easy to use, durable, and good looking. But the backing plastic is really hard to get off. Try to get your nail under the edge.
Sometimes it’s really difficult and you end up trying a few times.
Sometimes you have to go at it with a hobby knife.
Once you get the corner loose you can get it off without any further trouble. Triumph at last!
Don’t forget to save the big pieces of backing plastic for protecting your plans while you build. This is the piece from the bottom of the wing, so it’s the largest piece I’ll get from this plane.
I did the bottom of the wing the same way I did the top. I won’t give you photos of the entire process. Just do it the same way, tacking a spot in the middle of the edge at the root, then the middle of the tip, then the middle of the leading edge, and finally at the middle of the trailing edge. Tack the corners, then all the edges. On this sort of wing I would prefer to finish the leading edge first. I use the same procedure outlined in the description of finishing the white trailing edge, except that since there is no sharp corner I simply choose how far to iron the film, and I continue ironing the film all along the leading edge to that same imaginary line. Then I start again at one end and iron it a little bit farther, and match it all along the line. When I get to the point where I would like to iron it about 1/4″ farther around the leading edge I cut it off in a straight line.
The edge is finished by ironing it all the way down. Remember the direction to move the iron. In the following photos I am progressing from the top of the photo toward the bottom, and the stroke of the iron takes it from here:
to here:
(I know the white film is supposed to be on the top of the wing already in these photos, but this is a tutorial so I got a few things out of order. Pretend the white is already there.)
The corner of the leading edge where it meets the tip can be heated and pulled to stretch it over the curved corner of the wing. This is where the advice from the folks at Top Flite comes in handy. Stretching around this corner would be a lot easier with 2 inches of extra film, but if you want to save some money you can cut it just long enough so you’re able to grab hold of it and pull, which is what I have done here.
As the leading edge is ironed down, with a bit of care this corner can be ironed as well, then trimmed and finished. The pre-stretching will help it settle down without wrinkling.
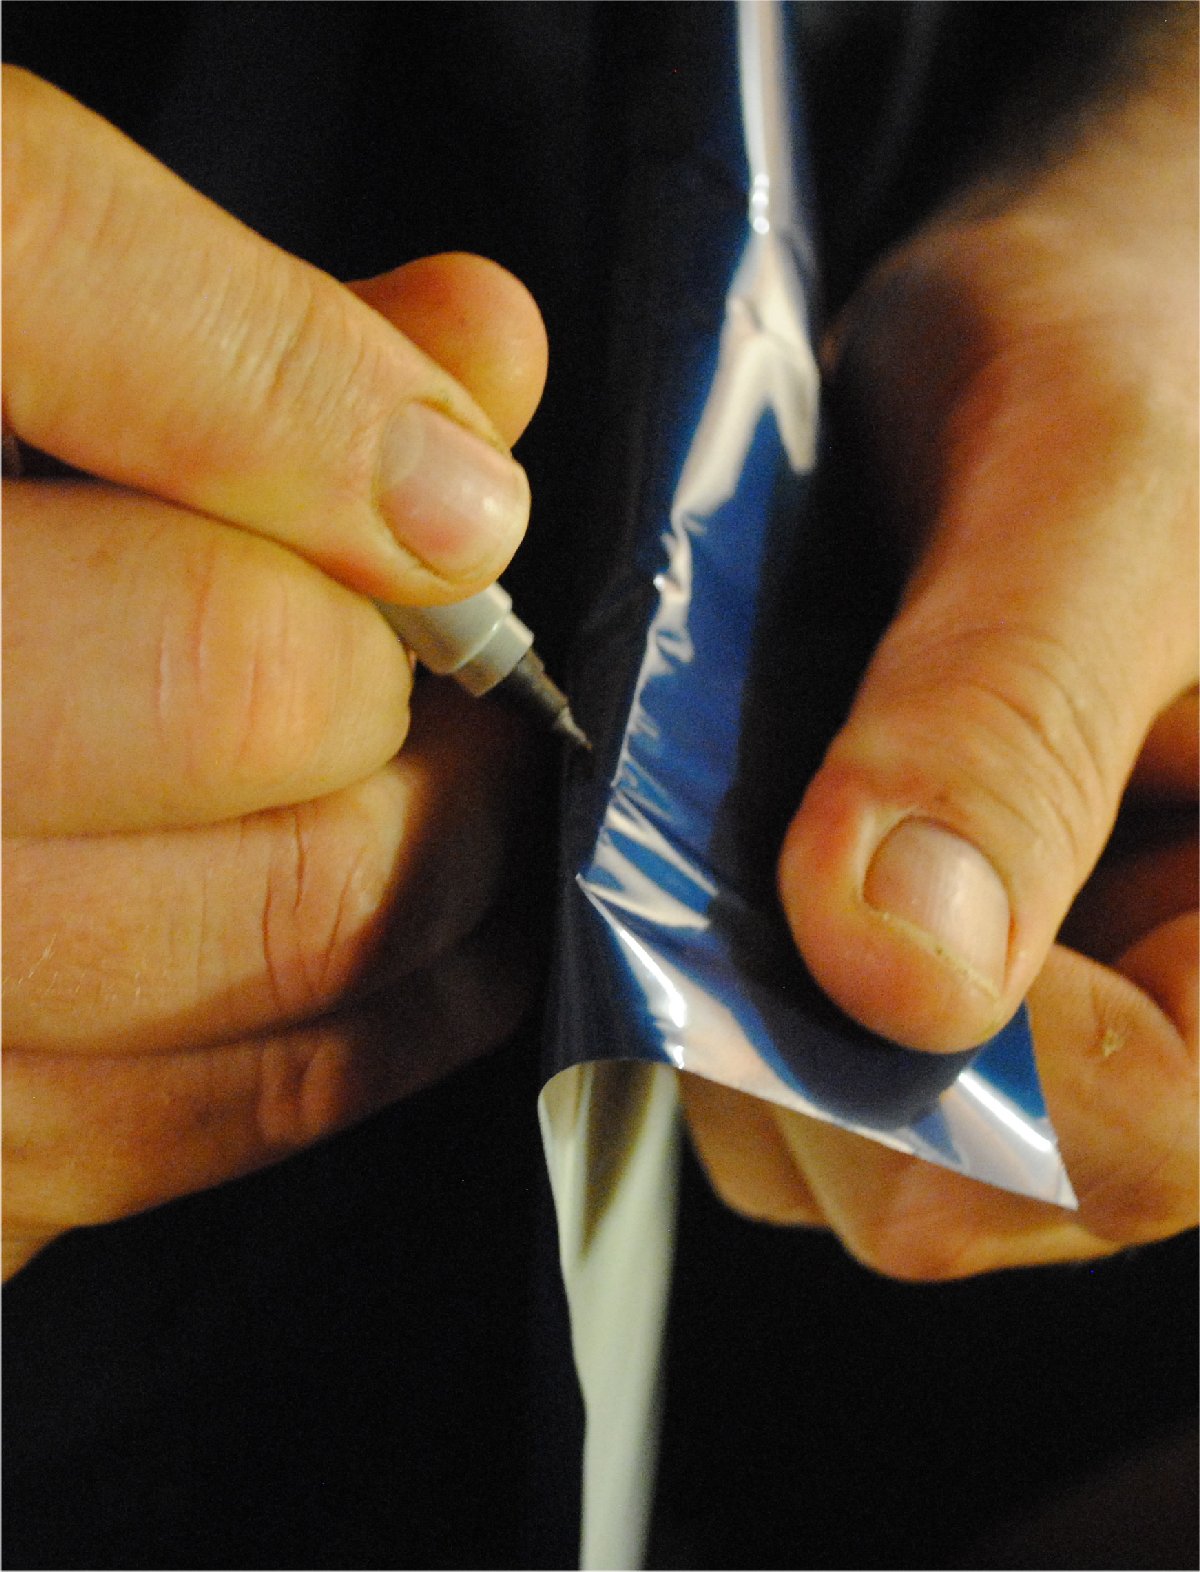
At the tip the film is ironed over the edge, but not across the face of the wing tip, depending on the desired pattern. I wanted the line between blue and white to be halfway across the tip. So I pulled the blue covering over the tip and marked the center line with a pen at the trailing edge:
Then I marked the center line in the vicinity of the spar:
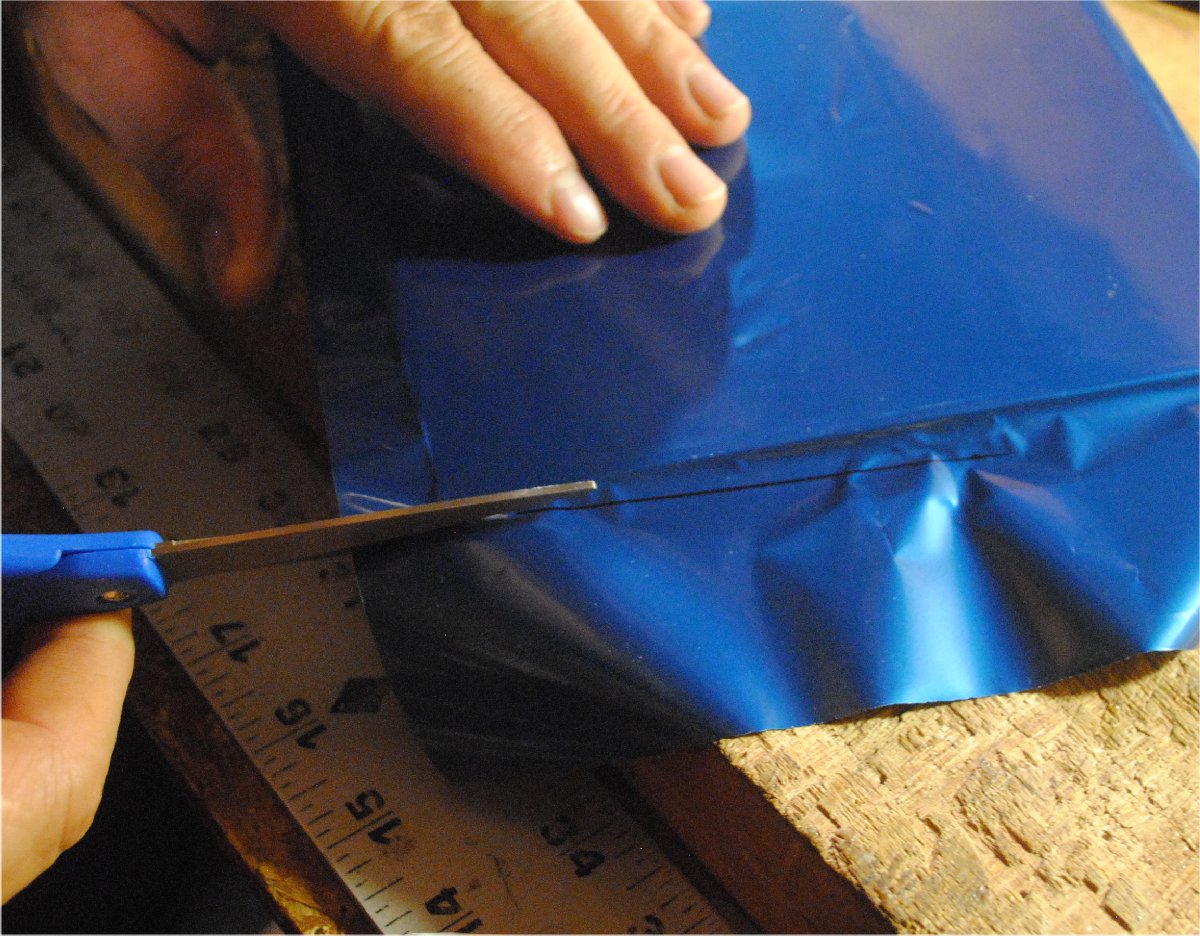
Then I made a guide line for my scissors:
The excess was cut off, and the film was ironed onto the tip.
Here’s what it looks like with the film ironed down. The black smudges are ink from the marking pen. They can be removed easily later with acetone.
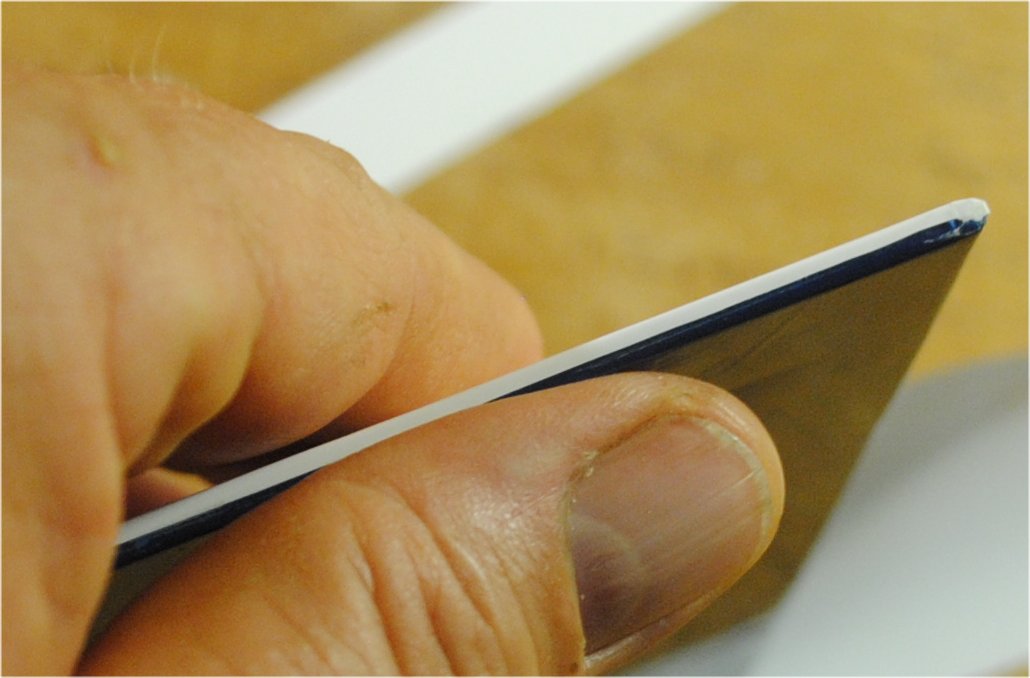
The corner at the trailing edge of the tip can be finished in the same way that the white one was. Slits are cut, the flaps are trimmed to about 1/8 inch, and they are ironed down one by one. Then the trailing edge is finished the same way as the white one, with one exception. The protruding film is trimmed with a sharp pair of scissors so it will cover only half of the trailing edge. When I look at the wing from the rear I want the edge to be blue on the bottom and white on the top. So the scissors are held at just the right angle so they can glide along and cut a strip off, leaving exactly the correct amount. The film isn’t snipped. The scissors just zip along and cut the film.
So, the complete procedure is to iron the entire line of the trailing edge all the way to the edge of the balsa. Don’t leave any spots where it’s not attached. Then trim the protruding portion. Then the remainder is ironed down along the trailing edge. Here’s what it looks like after it’s ironed down. Half of the trailing edge is blue and half is white.
The only other important part of this wing is the top blue piece. This piece requires a bit of extra care because of the line that will be visible between blue and white. Some guide lines are needed to assure that the line is straight. I’m using the edge of the balsa because I know that the plane was built straight, and the balsa is clearly visible through the white film. If you want the dividing line elsewhere, or if you know your balsa isn’t straight, you can mark your chosen location with a pen.
This piece can be tacked at the two corners that form the straight line against the white, but I prefer to do it exactly as the other pieces, by tacking it in the middle of each end. In my experience, tacking at the corners first leads to a curvy line.
The film is laid out in the correct location, one end is tacked, then the other end is pulled flat, making certain that the edge is located at the correct position on the target line. Then the second end is tacked. The edge will wrinkle and pull away from the target line.
Then the center portion of the edge that forms the blue/white division along the spar is gently pulled into place. Notice that it is not stretched excessively. It’s just pulled flat and placed where it belongs.
Then it is tacked with the iron.
Then the first corner is pulled into line.
This corner is then ironed into place.
This process is repeated at the other end.
Then the remainder of the line is ironed down, with extra care to avoid distorting it. After the entire blue/white dividing line is secured, then the center of the leading edge is pulled out and tacked.
The hard work is done. Now the rest of this piece is finished just like the others. The film going over the end at the tip is heated and stretched just as the white film was, to make it lie flat against the flat face of the wing tip. And if there is enough protruding film to grab onto, the corner can be heated and stretched, then trimmed and ironed down without a wrinkle. Here’s what the wing looks like with all of the covering attached.
Note that I have not shrunk any wrinkles out of this wing. So far I have only stuck the film on, and I’ve tried to make it as flat as possible by pulling it into place and stretching it around corners where necessary. If you are relying on the film to shrink to get rid of wrinkles you’re doing it wrong. You’re supposed to put the film on without wrinkles, to the extent that you possibly can.
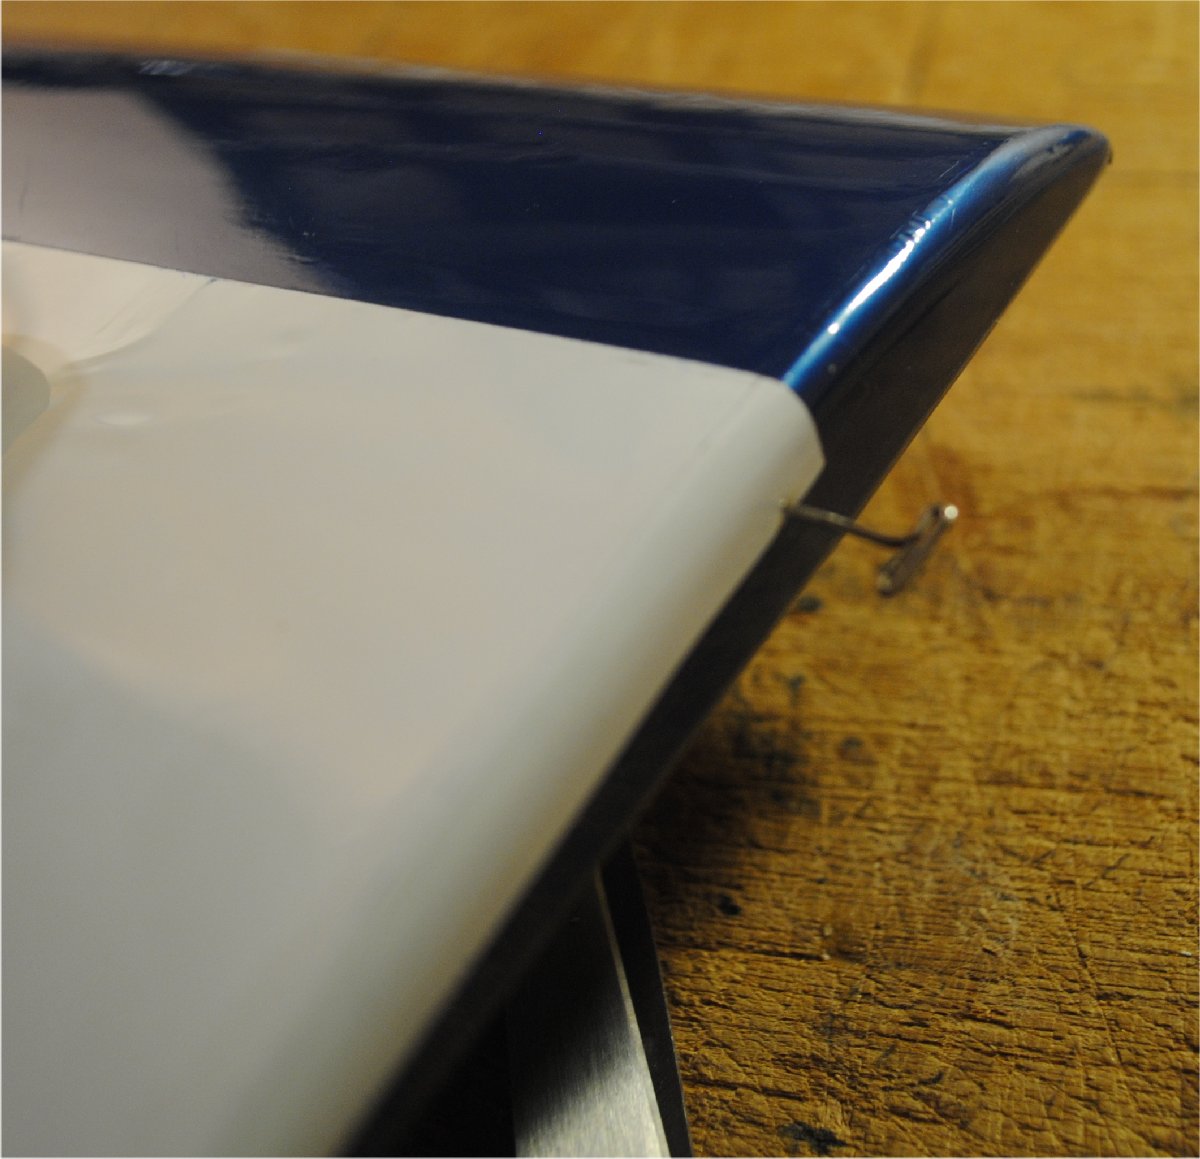
Next I’m going to give it a going-over with a heat gun to tighten everything. First I need to provide an escape path for heated air. A T-pin is stuck through the wing tip to make a small, inconspicuous hole.
Here’s the hole with the pin removed.
Here I am blowing a heat gun at some little wrinkles. None of these wrinkles are serious. They’re just minor blemishes.
This can also be done with an iron. Sometimes it helps to turn the iron temperature up a bit for this step so you’re not there all day trying to tighten your film. If you are using a heat gun, be careful not to burn a hole in your film. It’s a good idea to recognize when this is about to happen, so I would suggest making a 3 x 3 inch square of balsa sticks and covering it with Monokote, Ultracote, or the new Chinese Cheap-O-Kote or whatever they call it, and go ahead and blow a hole in it just to see what it looks like. I’ll provide a photo sequence of tightening, and then overheating a test square in Part 4.
And here’s the finished wing.
In Part 3 I’ll talk about how to cut out patterns and cover a fuselage.


