Using the principles described in the tutorials on Ribs and Fuselages, you should be able to trace, measure, mark and cut just about any airplane part. The rule of thumb is that if it’s curved, make a tracing, and take measurements to mark points for accurate placement of the tracing. If there are no curves, don’t trace. Measure with a ruler and mark the balsa. Your square and straight parts will be far more accurate if you measure and mark than if you trace.
Don’t even trace a curve if it’s a perfect circle. Measure the part and use a compass to draw it. Plans are frequently inaccurate, so a good builder interprets the plan to determine what the designer meant rather than what the draftsman drew. If a bunch of bulkheads in a square fuselage with parallel sides have dimensions such as 2.96″, 3.08″ and 3″, that means there is probably a drafting error or some inaccuracy in reproduction. The designer obviously meant 3 inches, so mark your parts at 3 inches unless you can find a good reason not to.
If you are marking wood for cutting out bulkheads with rounded tops that are not circular, use the paper doll technique. Don’t trace the whole part, because the draftsman may have made an error. Especially if the two sides look inconsistent with each other, choose the better looking side and trace it on a folded piece of paper.
Here’s a bulkhead with a non circular curved top on the Terrier plan.
This drawing looks pretty good, but sometimes you can see pretty severe inconsistency between left and right sides. Just to make sure, I’m going to make my template symmetrical. First I get a piece of office paper and fold it so the bottom is evenly matched.
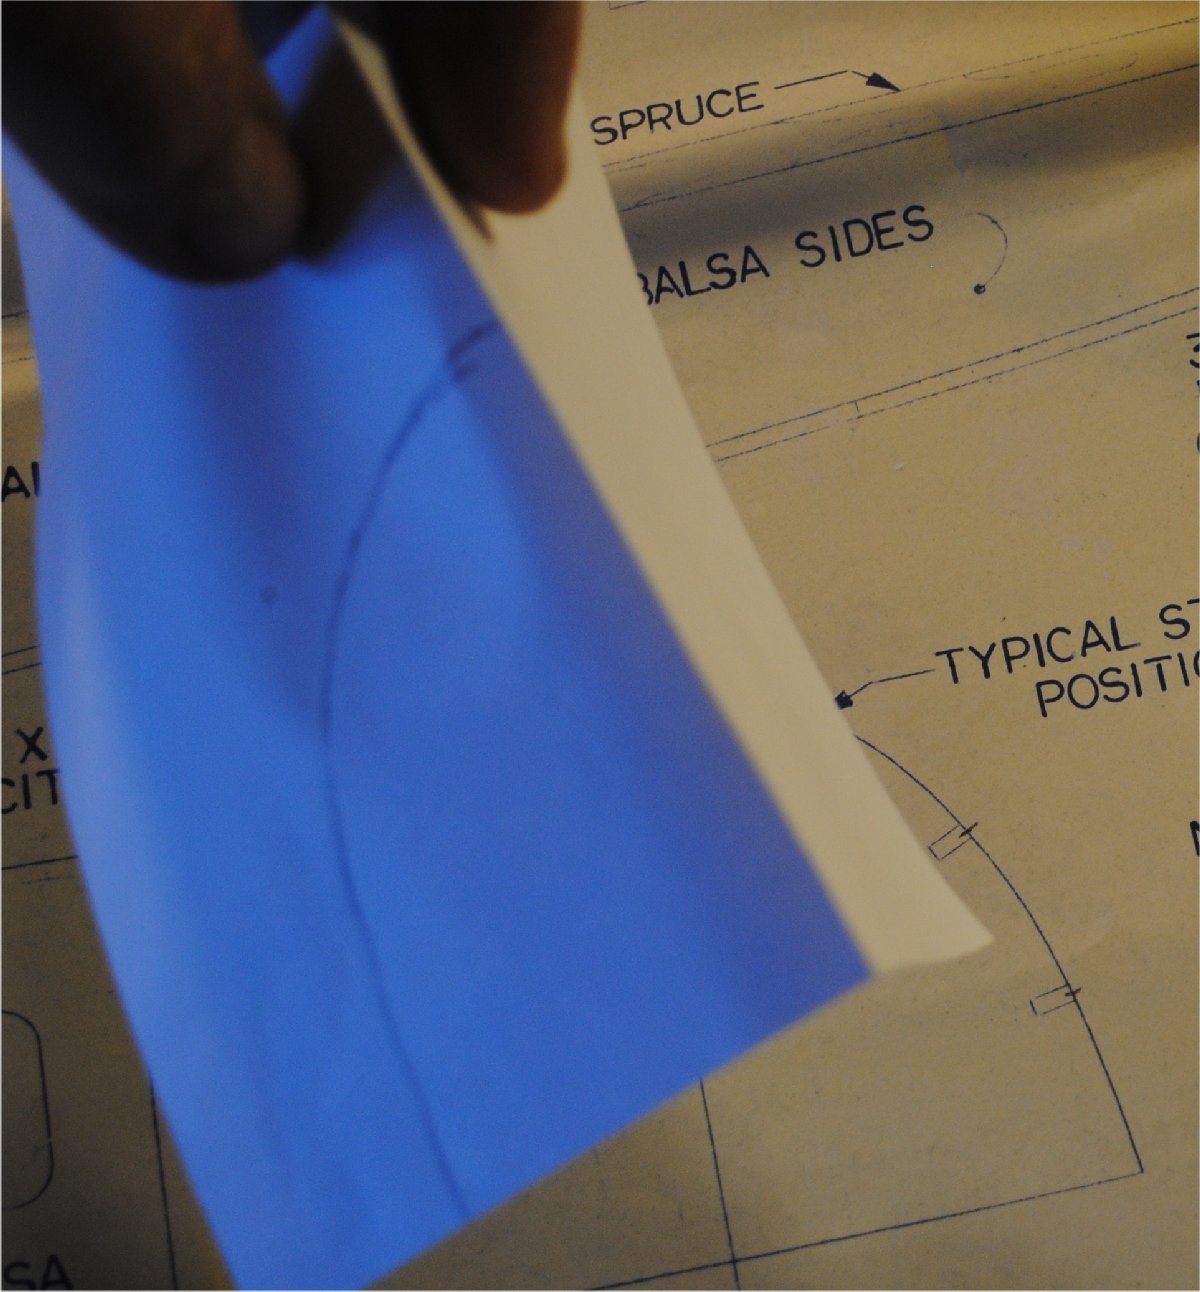
The paper is placed so the bottom edge is aligned with the bottom of the bulkhead drawing, and the crease is exactly on the center line. Then the top flap is opened like a book to cover the whole drawing.
Now the bulkhead is traced on only one side.
Then the paper is picked up and the crease is folded backwards.
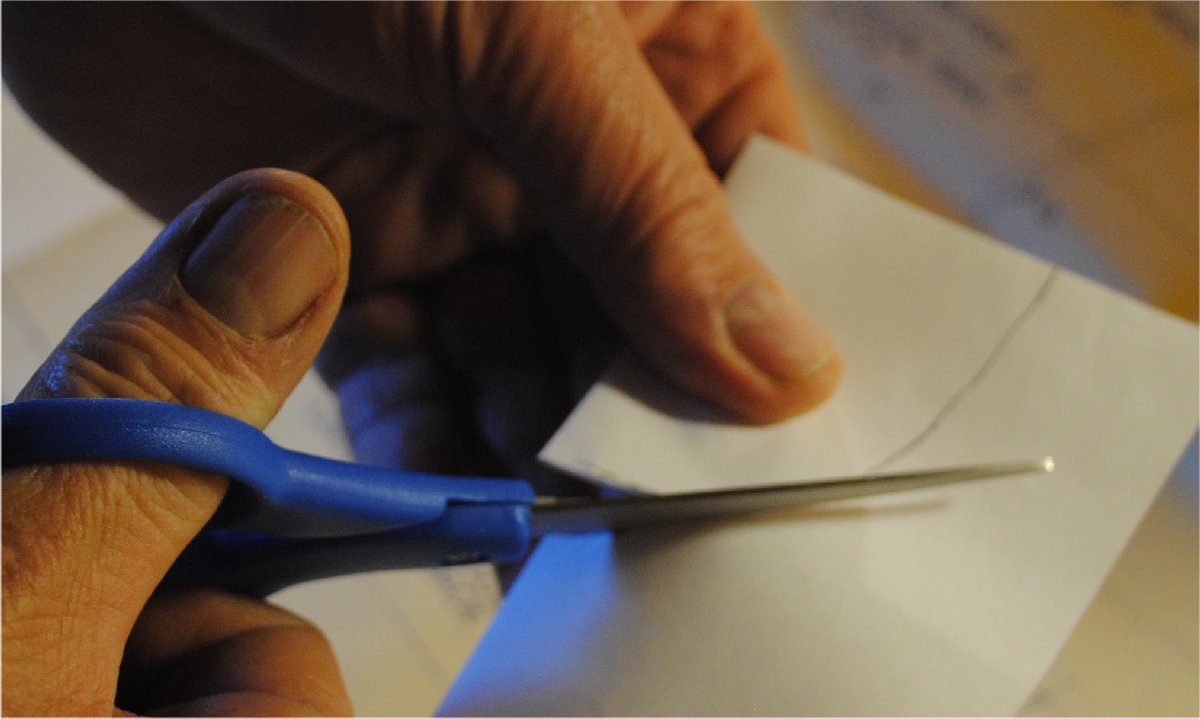
Cut along the line.
Open the crease and you have the whole part.
Now use the paper template to trace a line on the wood you are cutting. This is a great way to draw a symmetrical part.
For stabilizers, fins, rudders, cutouts, and many other parts, you can find the necessary techniques somewhere in the three installments in this Part Cutting series. If you have any questions, send me an email and I’ll try to fill in any gaps I may have left.


