If you cut the parts accurately according to the printed plan, your wing should fit perfectly in the wing saddle, right? Experience tells me that it usually isn’t 100% accurate, though.
I’m currently building a Baby Buzzard, which is a 2/3 size version of the Buzzard Bombshell, published in RCM in the 1970s. Here’s what the top of the plane is supposed to look like according to the plan.
Here’s a photo of the top of the cabin that I built.
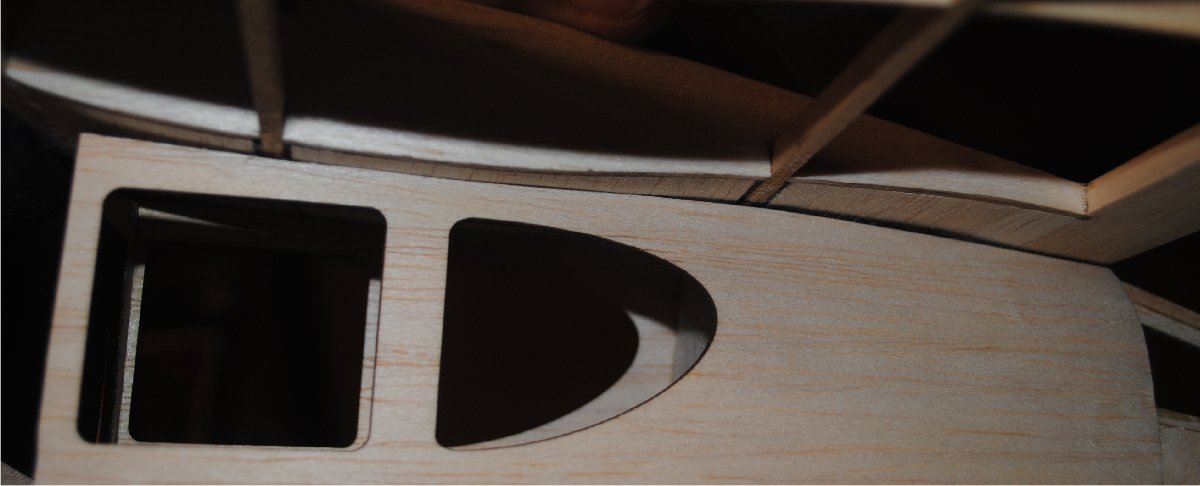
With the wing installed, it’s apparent that the wing doesn’t match the top of the plane.
If you just go after it with a sanding block, there is a strong likelihood that you will sand a little bit too much in some places. What you need is a guideline to follow. Place a pen against the bottom of the wing, and hold it at a constant angle as you draw a line on the fuselage parallel to the bottom of the wing.
Notice how the line is an equal distance from the bottom of the wing along its entire length, which is why the line disappears where there is a crack between the wing and the fuselage.
Now use your hobby knife with a fresh blade to trim along the line. Here’s the new contour on top of the fuselage.
Put the wing back in place and check the fit.
As you can see, there is still a little bit of a crack at the front and the rear. Using a pen with a little bit finer point, another pass can be made to achieve a really close fit.
For this particular plane I want a good fit before I install the front windshield header. I’ll install the header a little bit high so it can be carved away in the right places. I know the wing will not fit properly when the header is installed, but I will be certain that the problem is not caused by the top of the cabin because I already fixed that part, so I can confidently carve the windshield header until I achieve a perfect fit.


