Although the photos in this article are of tube type pushrods with a smaller tube inside, the same principles apply to the kind with cable or metal rods inside as well. On the building board I have the Drake II seaplane by Ken Willard, available from Model Aviation plans service through AMA. Notice the state of progress of this model. The fuselage is pretty much there. The bottom is complete except the last segment, and the top is not started yet. You can’t put tubes in the tail section if it’s already closed up, so don’t get ahead of yourself.
The first thing to do is make a hole in the side of the fuselage where the pushrod is going to exit. Don’t make the hole right up at the top near the stabilizer saddle. The rod attaches to a control horn that hangs down 1/2 to 3/4 inch below the stabilizer, so move the hole down about that far from the stabilizer to make room for the control horn. Don’t make the hole all the way back at the hinge line either. Put it several inches forward to allow the rod just enough flex to allow the horn to travel in an arc.
Do not make the holes with a twist drill, because if you use a twist drill it will wander around and make a huge ragged hole. Instead, use a piece of brass tube the same size as the pushrod housing. You can use an unsharpened tube, but it makes it a lot easier if you sharpen the inside edge with a reamer. If you don’t have a reamer you could probably use a small round file or a pocketknife. I suppose you could sharpen the outside edge, but it works a heck of a lot better with the inside sharpened.
Insert the brass tube into the balsa wood at the angle you want your pushrod housing to come through the side of the fuselage. Use a slight twisting motion as you go. 
When you bore the hole on the opposite side for the other pushrod tube, make sure the two do not interfere with each other on the inside of the fuselage. It helps to place them at slightly different angles, or put one slightly lower than the other. Once you have two holes, put the pushrods in and see where they naturally want to go through the bulkhead just in front of the exit holes. Mark the location and use a long twist drill to make holes.
Figure out where the front of your pushrod tube needs to be, at the rear of the radio compartment. Make sure it allows the rod to be straight from the servo arm to the guide tube where it is braced in the bulkhead. It’s a lot easier to put the tube in the right place than it is to carefully bend a rod to connect to a poorly placed tube. This means that you want the tube to be in the right place vertically as well as horizontally. Once you find the front location and the rear exit, plot a course through the bulkheads to take the tubes in a gradually curving path. Don’t make them straight all the way, with a sharp curve at one end.
When you get all the holes made, put the tubes in and glue them in place with CA glue. They stick a lot better if you roughen the outside of the tubes with sand paper before putting them in place.
Here’s what it looks like from the top.
On this plane I’m using a 72 MHz receiver with a long antenna, although it is shorter than the standard long antenna found on OEM receivers (the ones shipped with the radios). It’s long enough that I need to stretch it outside the cabin of the plane, but still shorter than the fuselage itself. An antenna tube that doesn’t exit in the rear would be perfect for a seaplane. I used a segment of inner pushrod that was left over from some old project. It ends inside the back end of the fuselage and leads all the way to the nose compartment where the radio will be installed later. Placement is not critical as long as you can get your fingers in there to insert the antenna later. Just make sure it doesn’t interfere with the layout of your important control equipment.
I’m not really installing the receiver now. I’m just showing how the tube will be used.
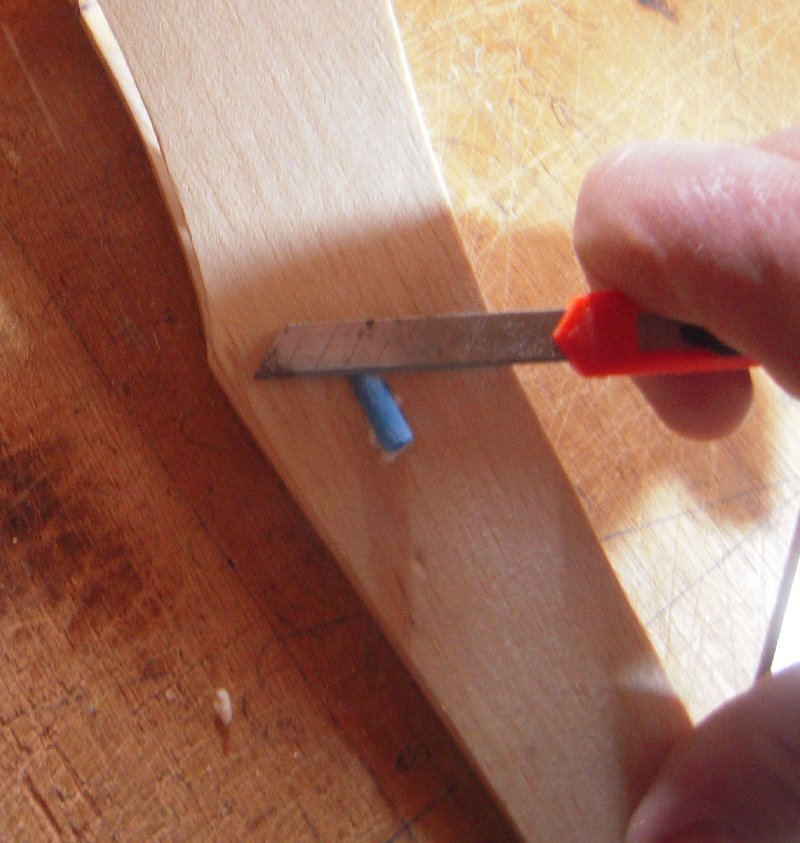
Now that all the tubes are installed, trim the ends where they protrude through the fuselage sides. Use a long utility knife rather than a short X-Acto knife. The X-Acto knife wouldn’t be able to get very close and you’ll end up mangling the wood.
After cutting off the protruding end, sand it with a sanding block. Make sure you have relatively new sand paper to avoid frustration. Also, it’s a good idea to use your finger inside the fuselage to support the pushrod tube as you sand it. If your balsa wood is very soft and you don’t support the tube, you might press it in with the sanding block, and then you’ll accidentally sand an ugly depression into the surrounding wood. If you support the tube it is easy to sand it perfectly flush.
After this step, it’s time to build the rest of the airplane, then cover it. After covering, we’ll get back to pushrod installation in Installing tube-type pushrods Part II.


