
Hey, I wonder if Chuck Cunningham’s foam floats can be made without foam. Let’s find out.
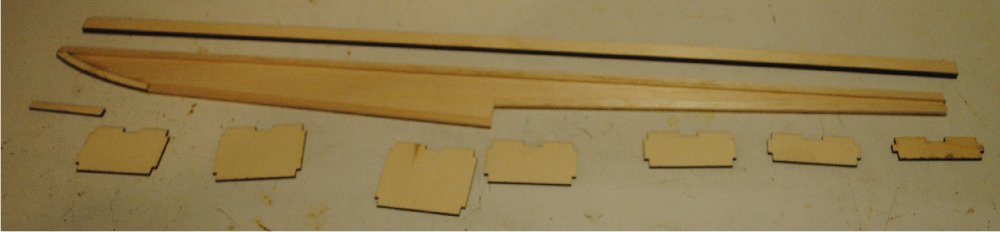
I’m building a Bingo 20 to fly from a friend’s pond. I was going to build these from foam just like the 36 inch set, but at the last minute I decided to use just wood instead.
The main difference between wood floats and foam floats is that if you make a bad landing with wood floats, depending on how hard you smack the water, you can split a seam and the float will take on water, and then your plane will sink. Foam floats can’t fill with water because they’re already full of foam. But I don’t plan to have any bad landings, and I’m sure you don’t either, so I’m going to go ahead and make some Cunningham-style foamless floats for my small Bingo.
According to Chuck’s formula the floats should be about 27 inches long. I calculated the outline of the float side and cut it from 1/16″ balsa sheet, and I cut the plywood spine as well. When I decided to make the floats from wood I cut out bulkheads from lite ply. I figured there was room in there for about 7 bulkheads including the front and back. Because I won’t have foam to hold everything together I decided to put 1/8 x 1/4 balsa stringers on the top and bottom edge of each float for a little bit of extra strength.
From there it was pretty easy to stick the two sides together with the bulkheads in between.


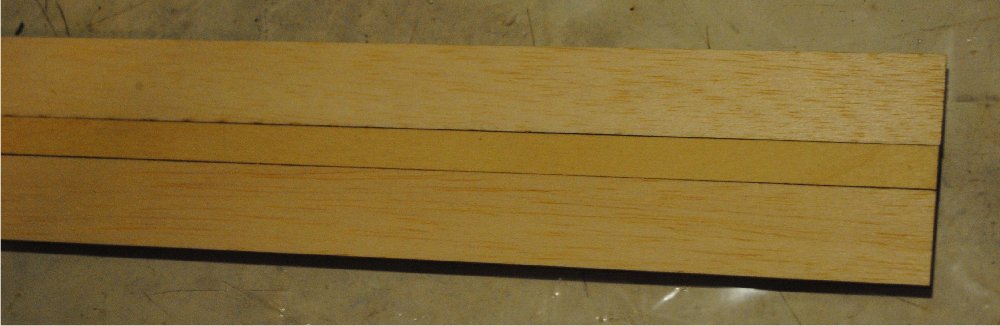
I have the spine set in place in this photo, but it’s not glued yet. First I made a single top plate from the hard spine, plus a strip of 3/32 balsa on each side of the spine.
The top plate is placed on a flat surface, and the float is glued to it.

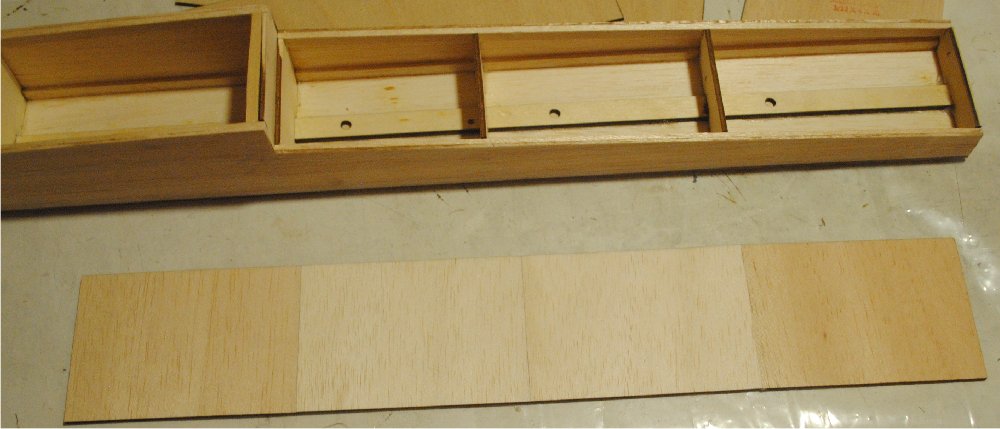
I’ve decided to cover the aft section with 3/32 balsa sheet, and the forward section with thin birch plywood. In all three segments the grain will run crosswise. The curved segment at the front will be 1/32 plywood, and the main straight segment will be 1/16 plywood, which should handle landing stress a bit better than balsa, especially if I hit a floating stick during a high speed takeoff run.
I made a piece of 3/32 balsa sheet long enough to cover the entire tail section.
While holding the float down on a flat surface, I glued this piece in place with medium CA.
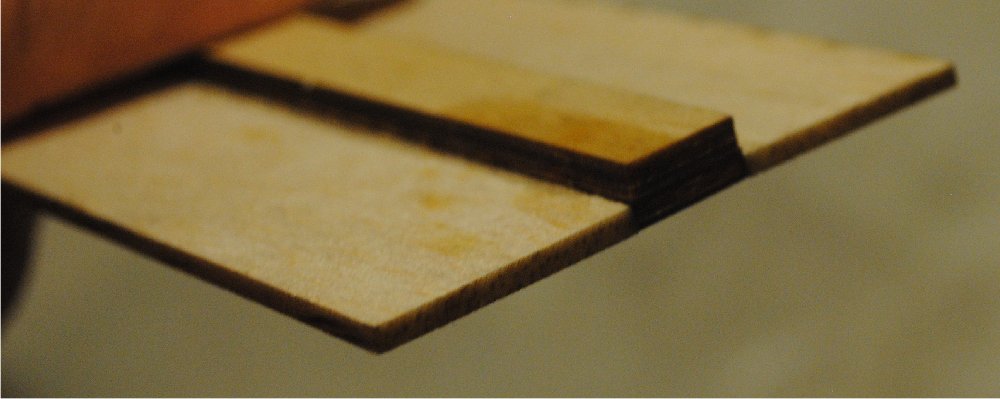
Because two pieces of birch plywood will make a joint where the bottom of the float changes from flat to curved, I decided to add 1/4 inch triangle stock to both sides of the bulkhead at that location.

Once again, while holding the float down firmly on a flat surface I added the 1/16 inch plywood plate to the flat segment, then the 1/32 inch plywood to the curved segment. There was a very small gap where the two pieces of plywood meet. I sanded the joint to fill the gap with sanding dust.

Then I hardened the dust in the gap with thin CA.

With triangle stock on the inside and a filled gap on the outside, this joint is never going to break.
That certainly was easy. It looks like everything is done except final sanding and paint/covering/finishing. It looks like a Chuck Cunningham float, but this one is a foamless float. I like building with wood, so I think I prefer this version, but if you like foam, try it the other way. Either way is good.
All that’s left now is to apply a waterproof finish.


