The main compartment under the wing is 5.5 inches long, starting 3.25 inches from the front of the fuselage side. Measure back to 3.25 inches and make a vertical line, then another one 8.75 inches from the front of the fuselage side. Duplicate these lines on the opposite fuselage side. Don’t forget that F2 goes in front of the first line, and F3 goes behind the second line. 
Using thin CA, lightly glue all three bulkheads to one fuselage side, using a square to make sure they are glued at exactly 90 degrees to the side.
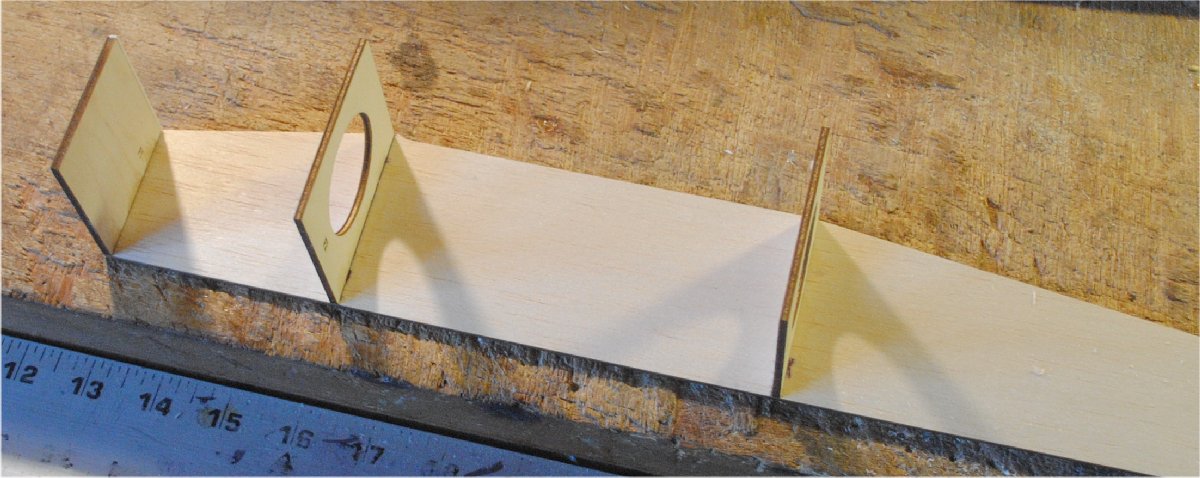
Flip the first side on top of the second one and glue the bulkheads to the second side. It should be pretty square when you finish.
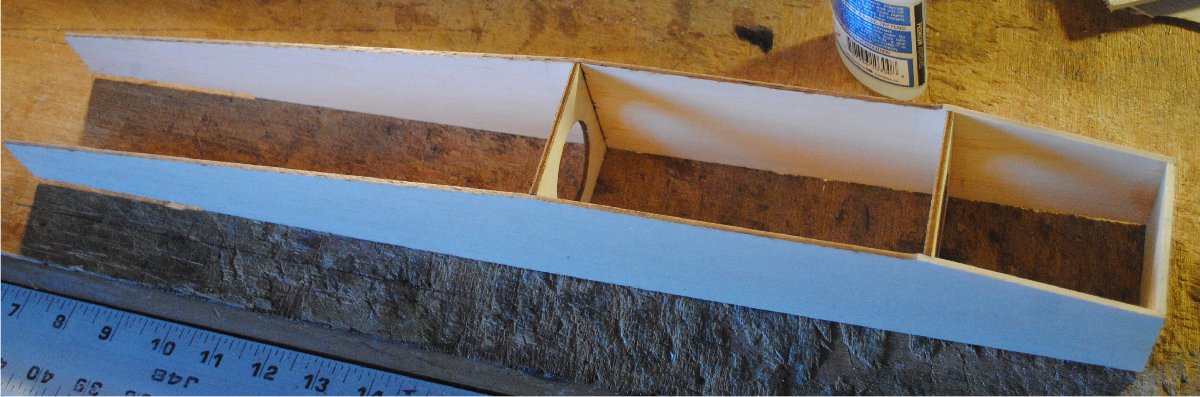
The fuselage bottom is two pieces of 1/32 inch birch plywood in two pieces with a joint in the middle of F3. Center the front edge of the forward piece on the firewall, and glue it in place with medium CA at the firewall only.

Then center it on the fuselage and glue it to F3. Now your fuselage should be square. Glue F2 to the floor, then use thin CA to glue the joint where the fuselage sides meet the floor, applying the glue from the inside of the plane.

Glue the rear floor to F3, making sure it is centered and flush with the forward floor.
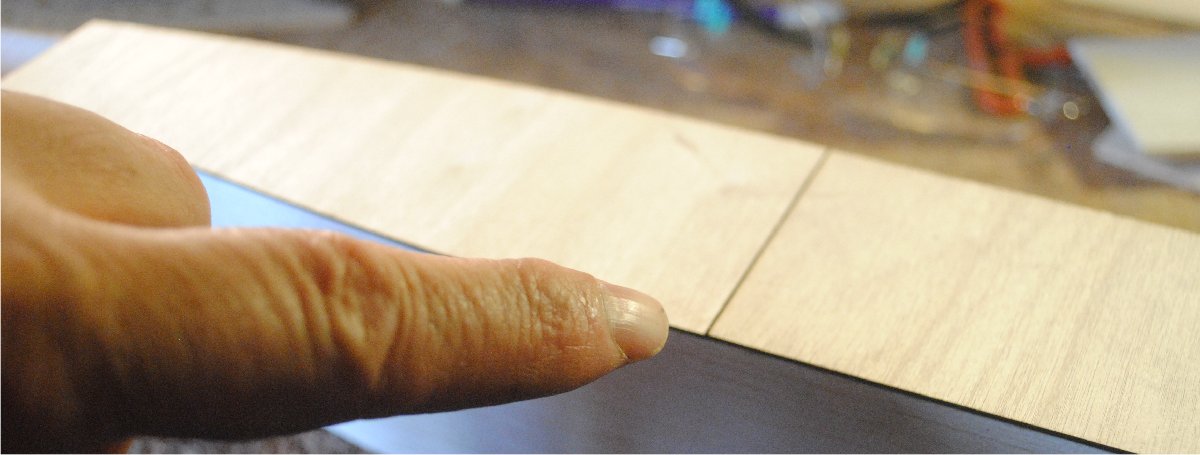
You will probably notice that the floor is not flush with the outside of the fuselage sides at the aft end.

Push the fuselage sides into place so they line up with the outline of the floor, and glue them from the inside with thin CA, straightening and aligning them as you go along. After the entire floor is in place, add some light 1/4 inch balsa triangle stock behind F1 and F3, and in front of F2.

After the triangle stock is in place, sand the top flush and add 3/32 balsa sheet to the top in front of the wing saddle. Note the bevel on the top edge at the wing leading edge. It’s probably easier to bevel this sheet before it is glued in place. If you’re one of those guys who likes electric motors, you’ll probably want to make this piece a removable hatch.

Add a scrap of 1/8 balsa in front of the vertical stabilizer where it comes out the top of the fuselage. I didn’t get a photo of it at the time, but here’s a photo taken through the hole in the bottom of the fuselage, after the fuselage was finished. You’ll notice that the stick is crooked, but this doesn’t really matter. What matters is what it looks like on the outside.

You may also notice that I trimmed the stick to get the fin to settle in place.
Get some more 1/4 inch wide sticks either 1/8 or 3/32 inch thick and add uprights and a crosspiece about halfway between F3 and the front of the tail.

Add the top sheet on the rear of the fuselage, and sand the rough edges off.

Part Two covers wing assembly.