$55.00
Description
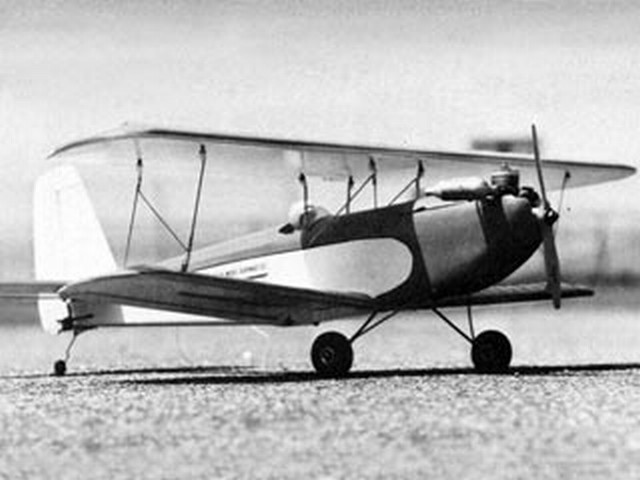
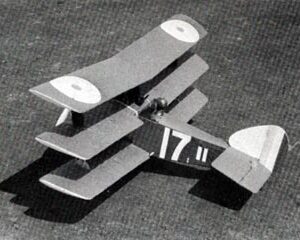
The Wren is a nice little building project, but the plan is kind of funky. There are a lot of vague details that just don’t make sense, so I made some executive decisions to make sure the parts would fit together. The bottom of the fuselage in front, the firewall and hatch block, the top bulkheads, and the wing center sections are the main areas that get kind of hazy, but the way I’m cutting the parts they should fit together if you know how to build an airplane.
While I was drawing the parts I kind of got carried away with my own changes, and I decided that the turtle deck stringers should be 3/16 x 3/16 sticks before I noticed that the plan specifies 1/8 x 1/4. I was going to change it to match the plan, but then I remembered that the wing spars and fuselage longerons are 3/16 x 3/16, which means you can use leftover sticks for the turtle deck.
Another funny thing that doesn’t seem to add up is the engine bearing beams. The plan shows notches all the way out to the edges of the firewall, but the fuselage view shows the beams shimmed away from the fuselage sides with 1/4 inch balsa. So I made holes in the firewall 1/4 inch away from the edges. It will be really easy to figure out when you get the parts in your hands, but if you want to forgo the entire issue you can use the extra parts included in the kit, with no holes for engine beams, and just mount your engine on a nylon mount, or use a firewall mounted electric motor if you’re into that sort of thing.
The chin section of the fuselage is supposed to be covered with 1/8 inch balsa, but that doesn’t help your efforts to attach the landing gear, so I’m supplying birch and lite ply pieces for this area. Assemble the fuselage sides with the lite ply doublers, then bulkheads A and B. Lay the 1/8 birch ply landing gear plate into the notch, then cover it with the lite ply fuselage bottom skin, and use 1/8 balsa in front of the lite ply piece. The plywood will provide a good foundation for landing gear and screws.
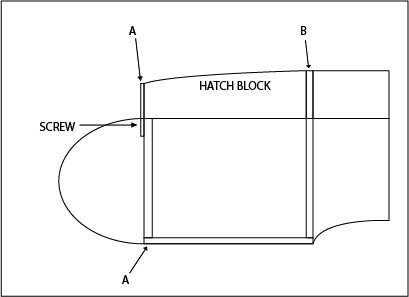
The only really tricky modification I’ve made is that I split Bulkhead A (the firewall) into two pieces, top and bottom. Build the fuselage with bottom A flush with the top of the fuselage sides. Stick top A onto a block of balsa and use it as a guide for sanding the hatch block to shape. The tricky bit is that the hatch block sits on top of bottom A, and top A hangs down 1/4″ below the hatch block and overlaps in front of bottom A to keep fuel residue out of the fuselage, and to provide a handy way of attaching the hatch. It’s attached by screws that go through top A into bottom A from the front.
Additional information
| wingspan | 38 |
|---|---|
| engine | 15-20 |

