|
ARTICLES
HomeGet started building with these basic tools An easy, great looking color layout for maximum visibility Build swept back wings to avoid tail heaviness Install your wings with bolts when the plans show rubber bands How to build a straight fuselage without using a jig How to build a simple cowl out of balsa blocks Fixing construction mistakes How to get longer run time from a Cox engine by using a remote tank Compatibility of various paints and finishing materials Propeller selection guide for 2 stroke and 4 stroke glow engines Store robbie@balsaworkbench.com MY OTHER WEBSITES Jensen Speaker Dealer Harmonica amplifiers with classic blues tone |
If you’ve ever wondered how to build a straight fuselage from scratch with only a few basic tools, I can assure you that it’s easier than it sounds.
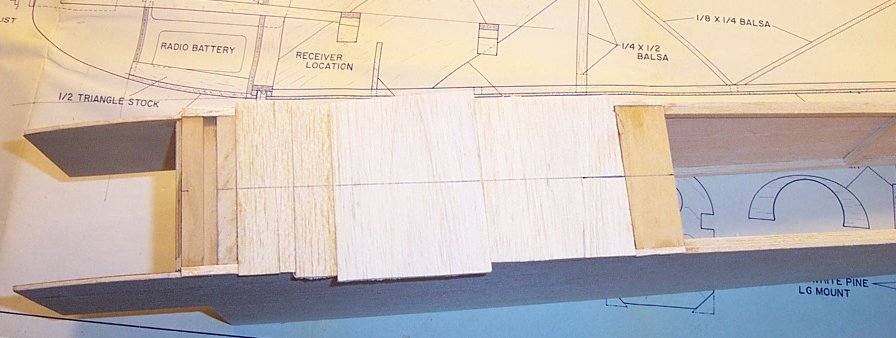
After you get the fuselage sides and bulkheads cut out,
glue
these
four pieces together to make a basic box. Measure the diagonal distance
from corner to corner in the cabin/radio compartment. First measure one
way…. 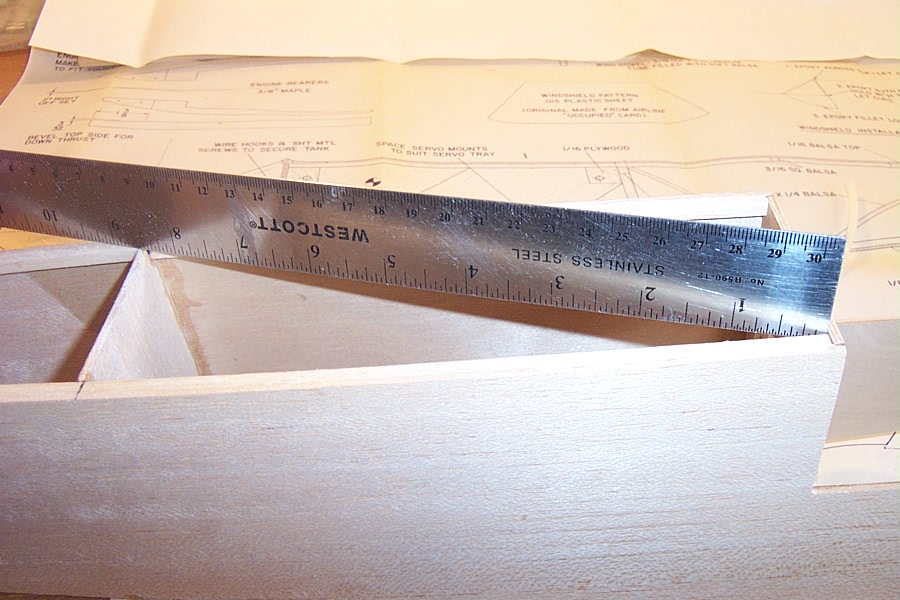 Then the other way.... 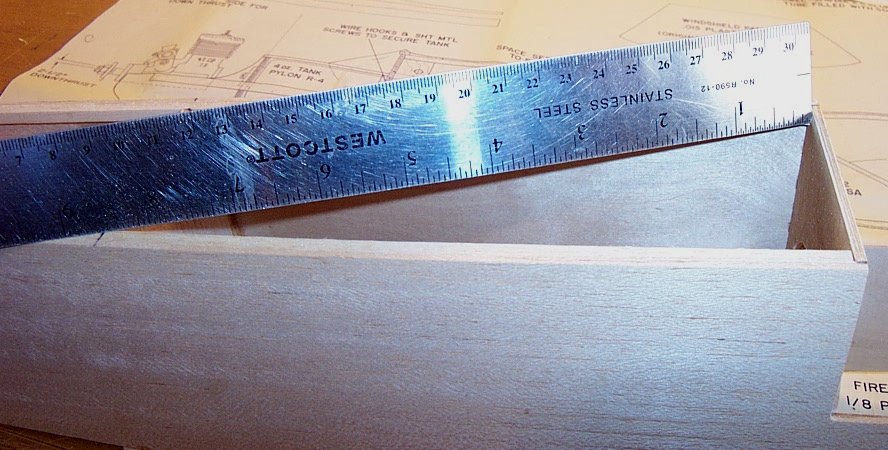 If your two measurements are the same, then your fuselage is square. If not, squash the fuselage diagonally until the two dimensions match. You may have to put a squeeze on it hard enough to crack the glue, then reglue it in the right position. After you have the radio compartment square, put the
planking
on the
bottom of the fuselage, only in the radio compartment area. Then draw a
centerline on the bottom of the plane using a straight edge.
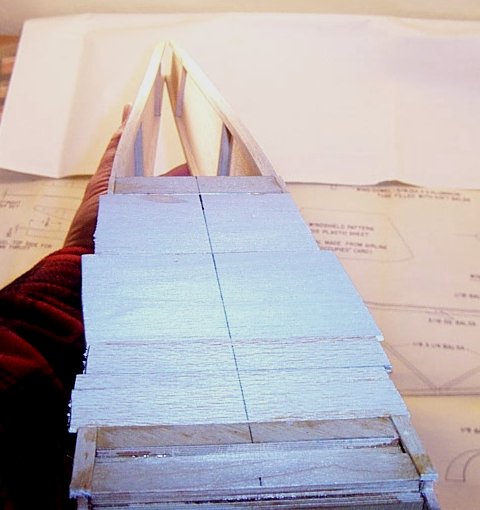
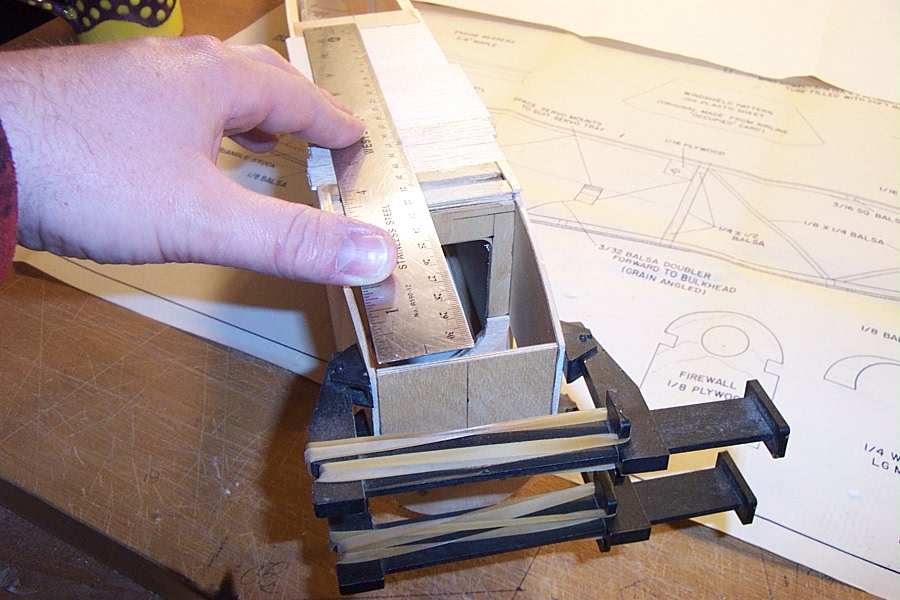
At this point you pull the tail together. I've
found
that if you do the nose first it's easier to get it crooked, and it
will have a severe effect on the tail. But if you do the tail
first, it's easy to get it straight. Just use the line on the
bottom of the fuselage to line up the tail joint. When you pull
the tail together and the line points right at
the joint, it’s straight. I like to use a long straight edge instead of
my eyeball for greater accuracy
When you’re gluing the tailpost, in addition to being centered the joint also has to be vertical. Glue just the tip of one corner and hold the fuselage in front of you with the tail pointing at your eye. You should be able to tell if the tailpost is parallel to the vertical sides of the fuselage. Shift it until everything is straight, and then glue the whole joint. After you get the tailpost joint worked out, go ahead
and
plank the
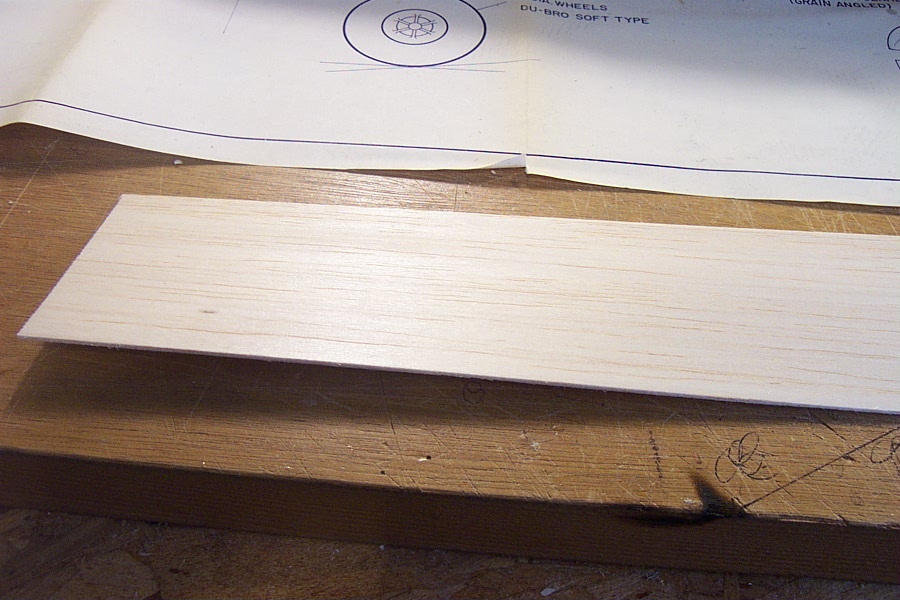
bottom of the tail section. Whenever I buy balsa wood, I always get
some flat sheets and some warped ones. Save the flat ones for wing
sheeting and fuselage sides, and use the warped stuff for cutting up
into little pieces for fuselage planking. Here’s a warped sheet
of 1/16″ balsa, in case you wanted to see one.
 After you get the firewall lined up on the centerline, epoxy it and clamp it in place. After you have that done, attach the chin sheeting. Now you have a straight fuselage, and you didn’t even need a jig. |
 One of my favorite planes is the