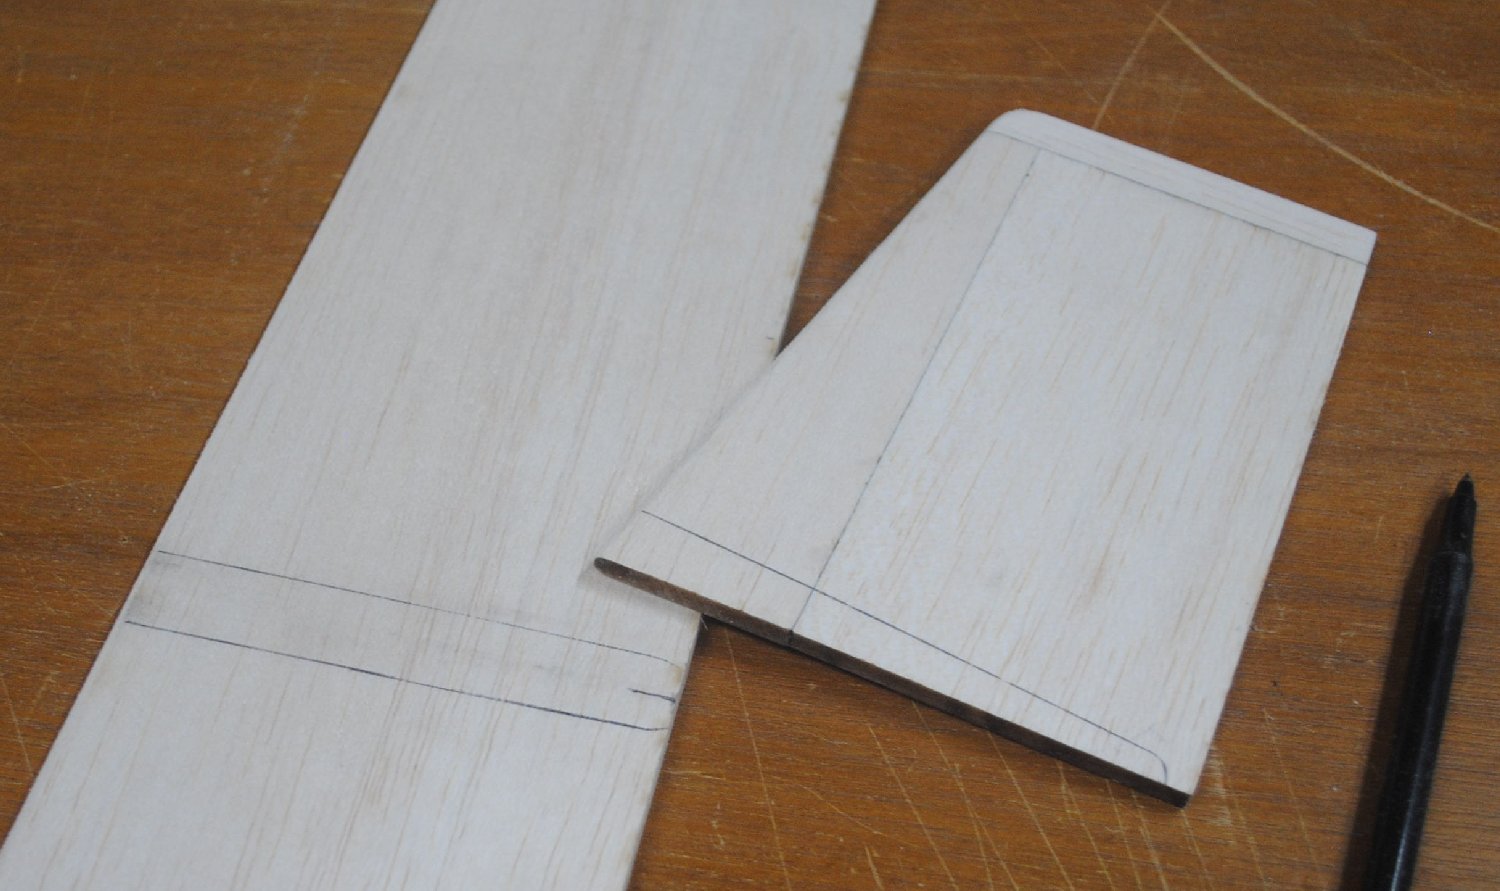
Sand the faces of the vertical and horizontal stabilizers to make sure the joints are even and there aren’t any glue chunks sticking up.
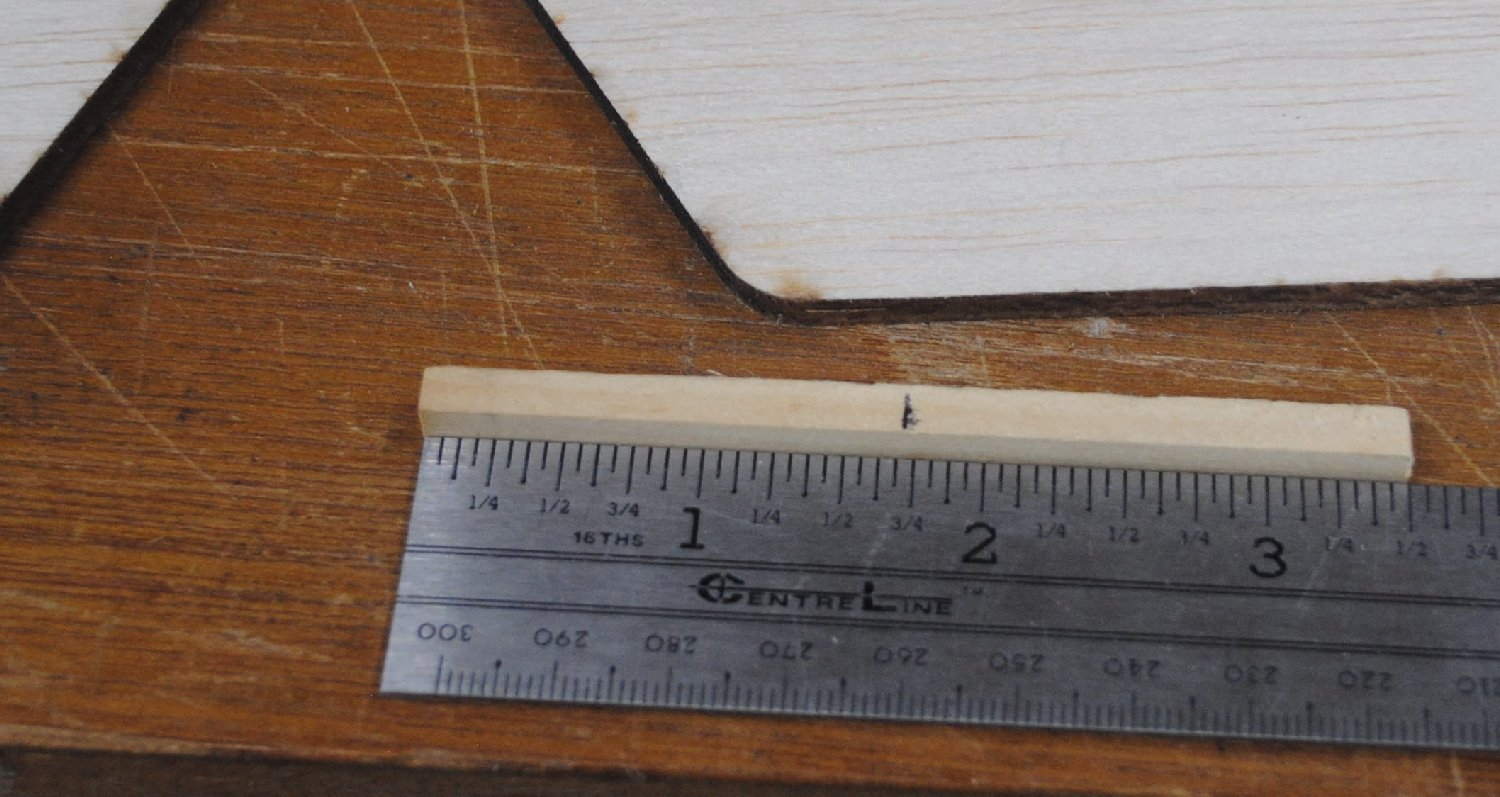
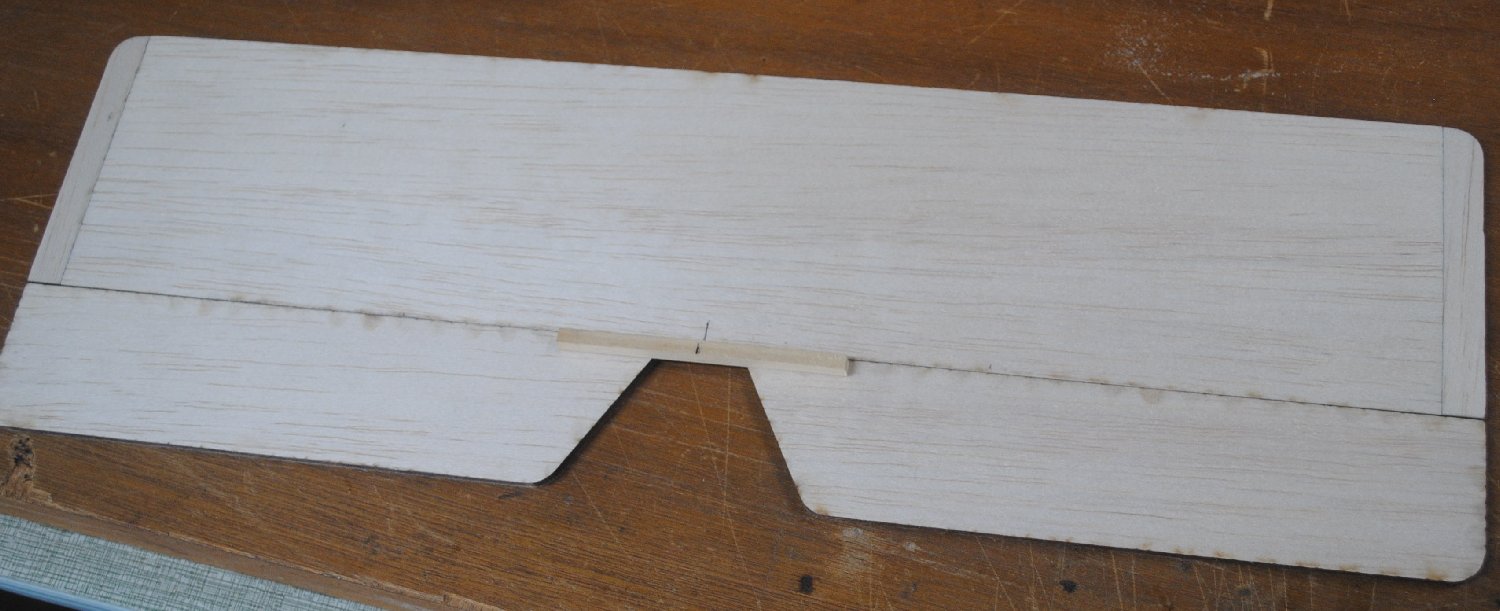
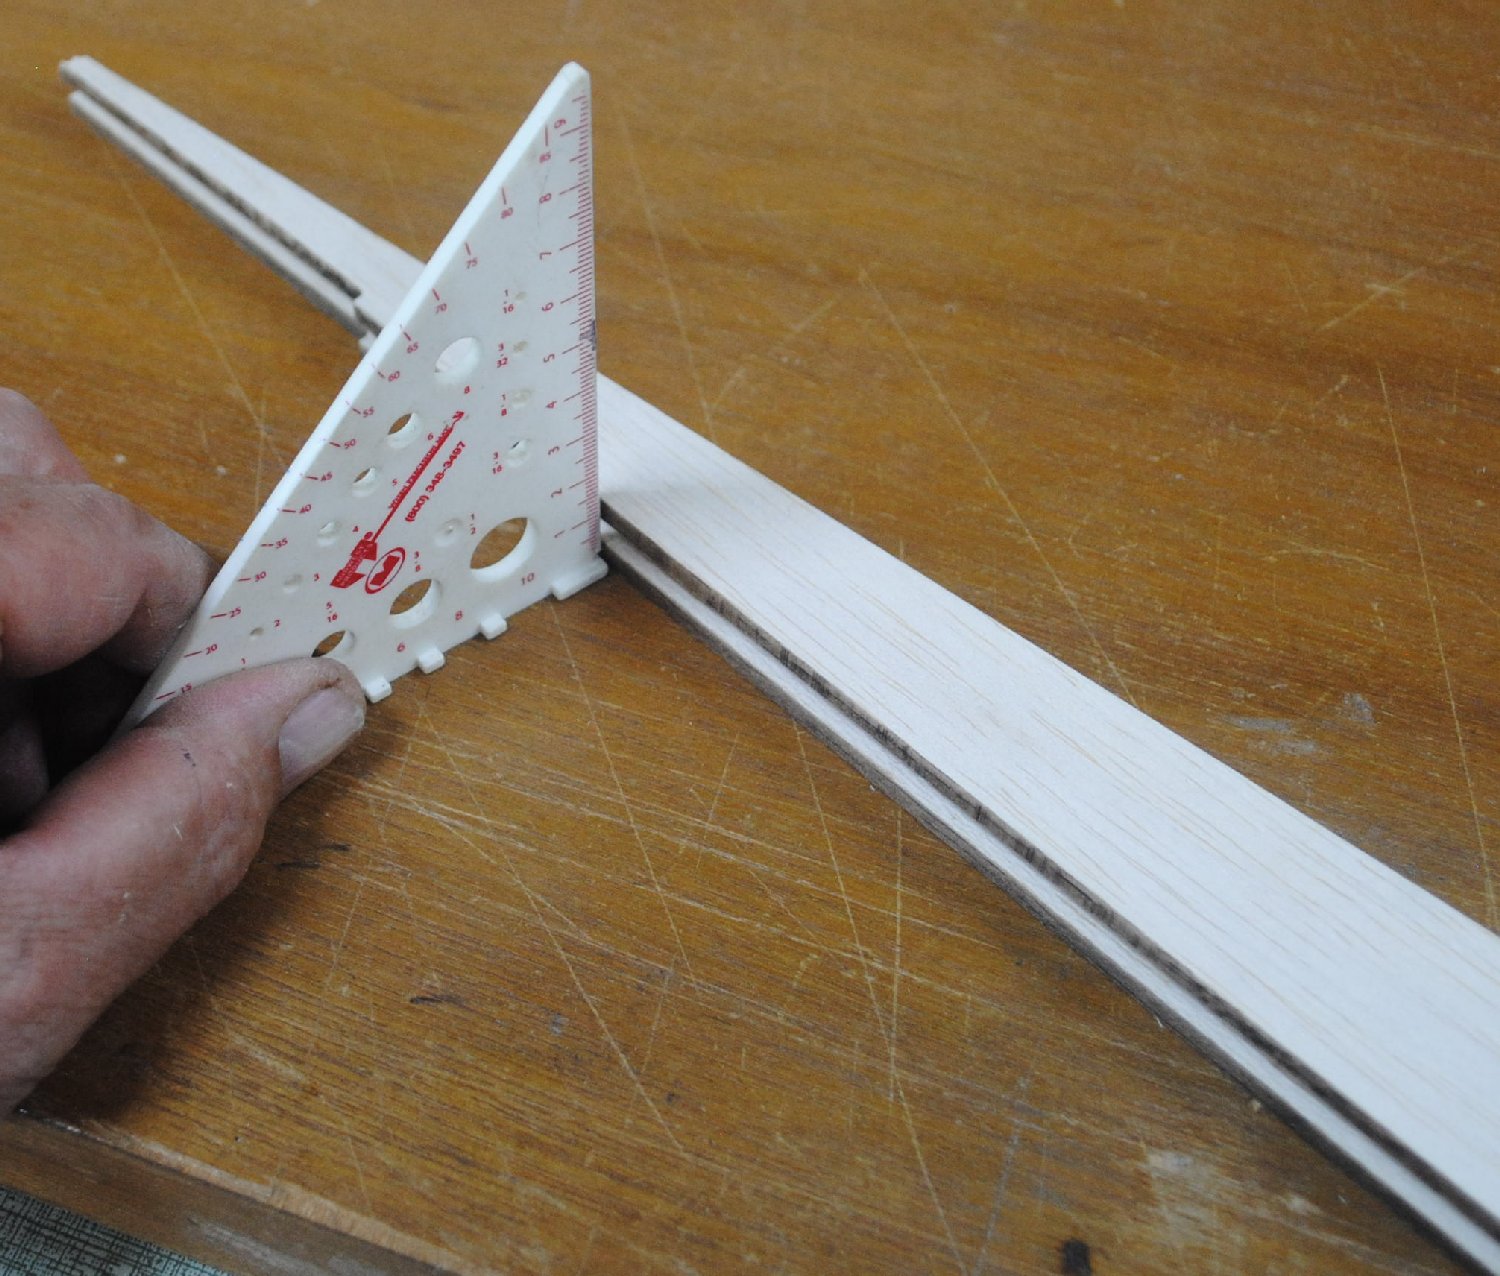
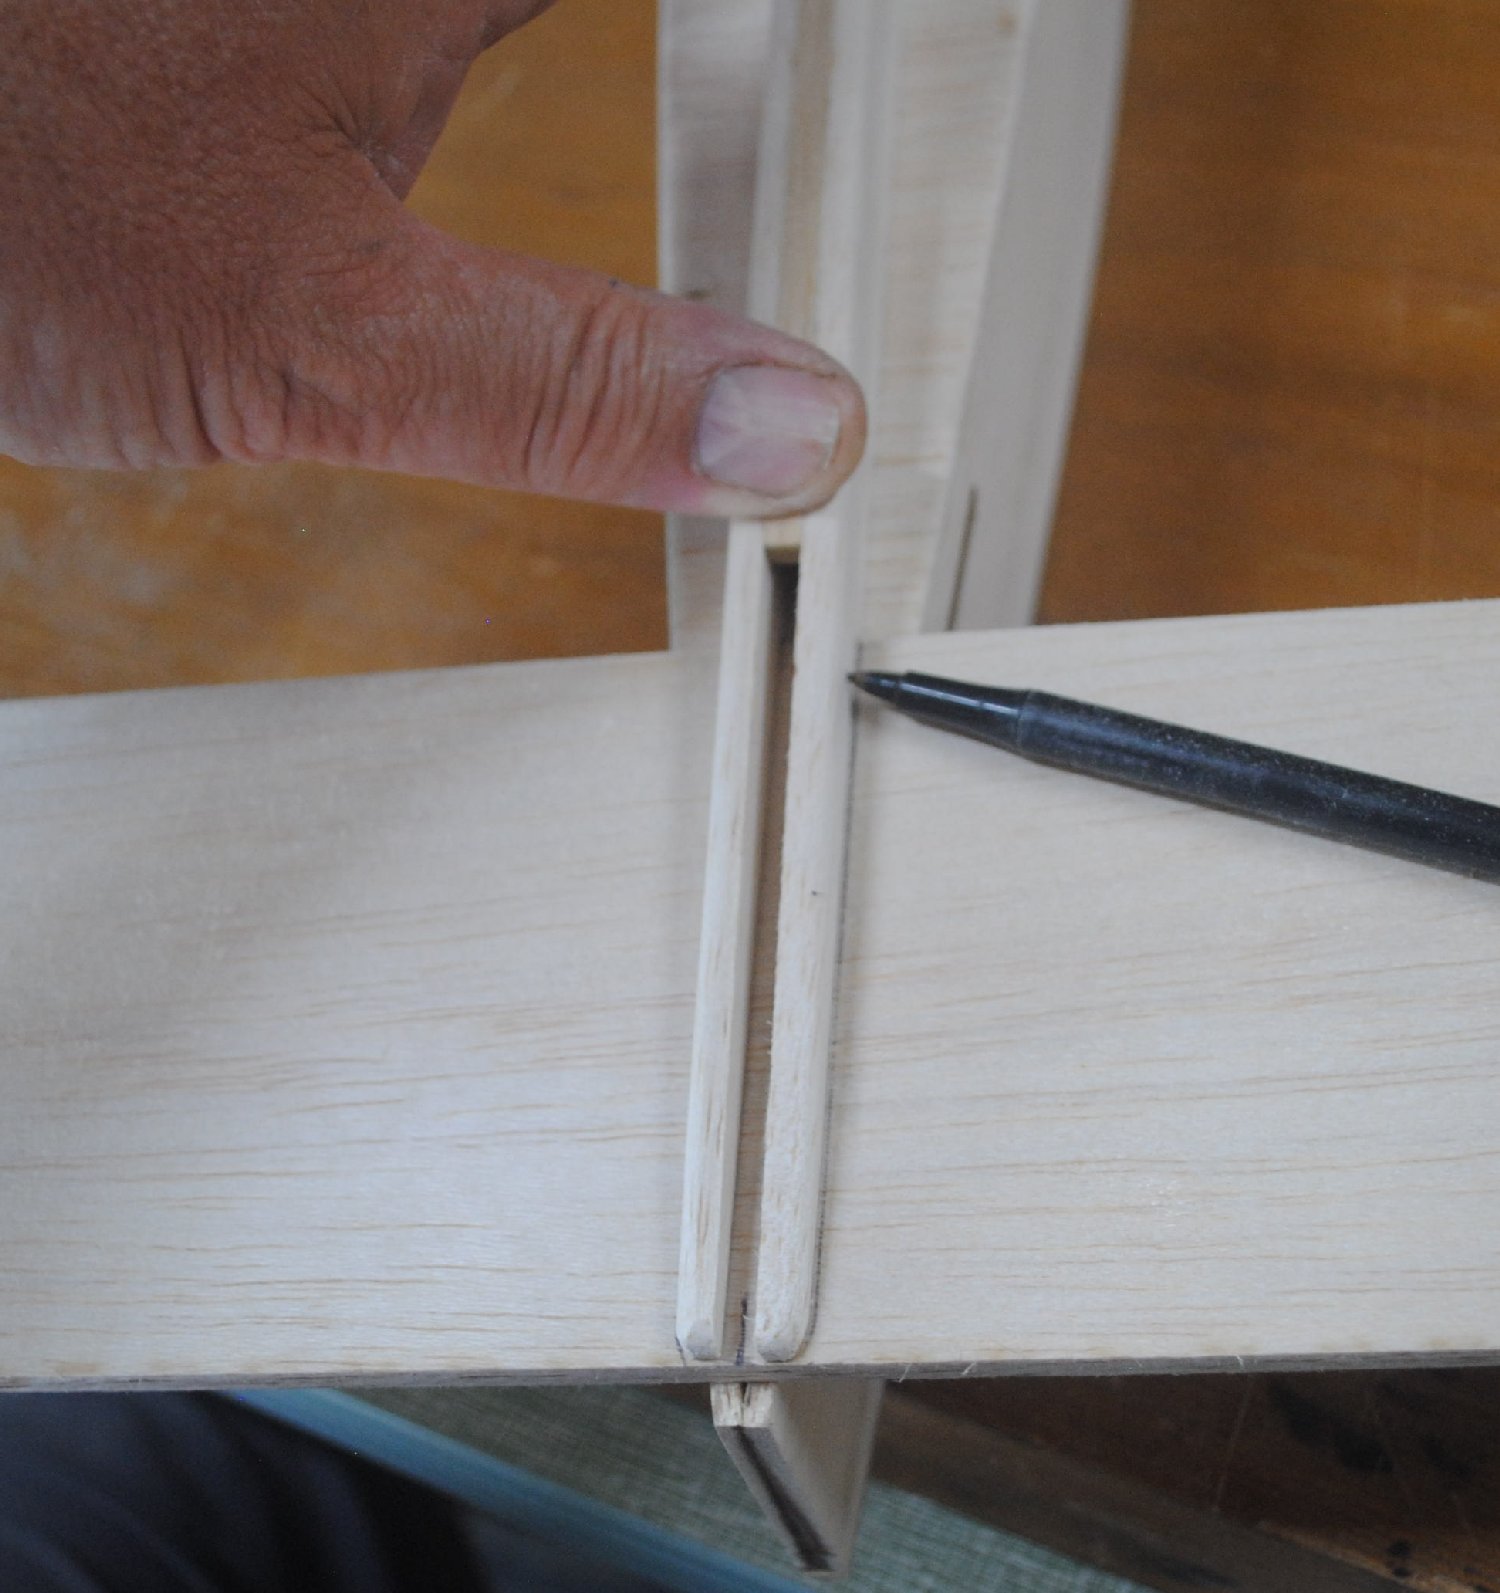
Mark the center of the 1/4 x 1/4 x 3.5 inch hard wood elevator joiner.
Mark the center of the stabilizer.
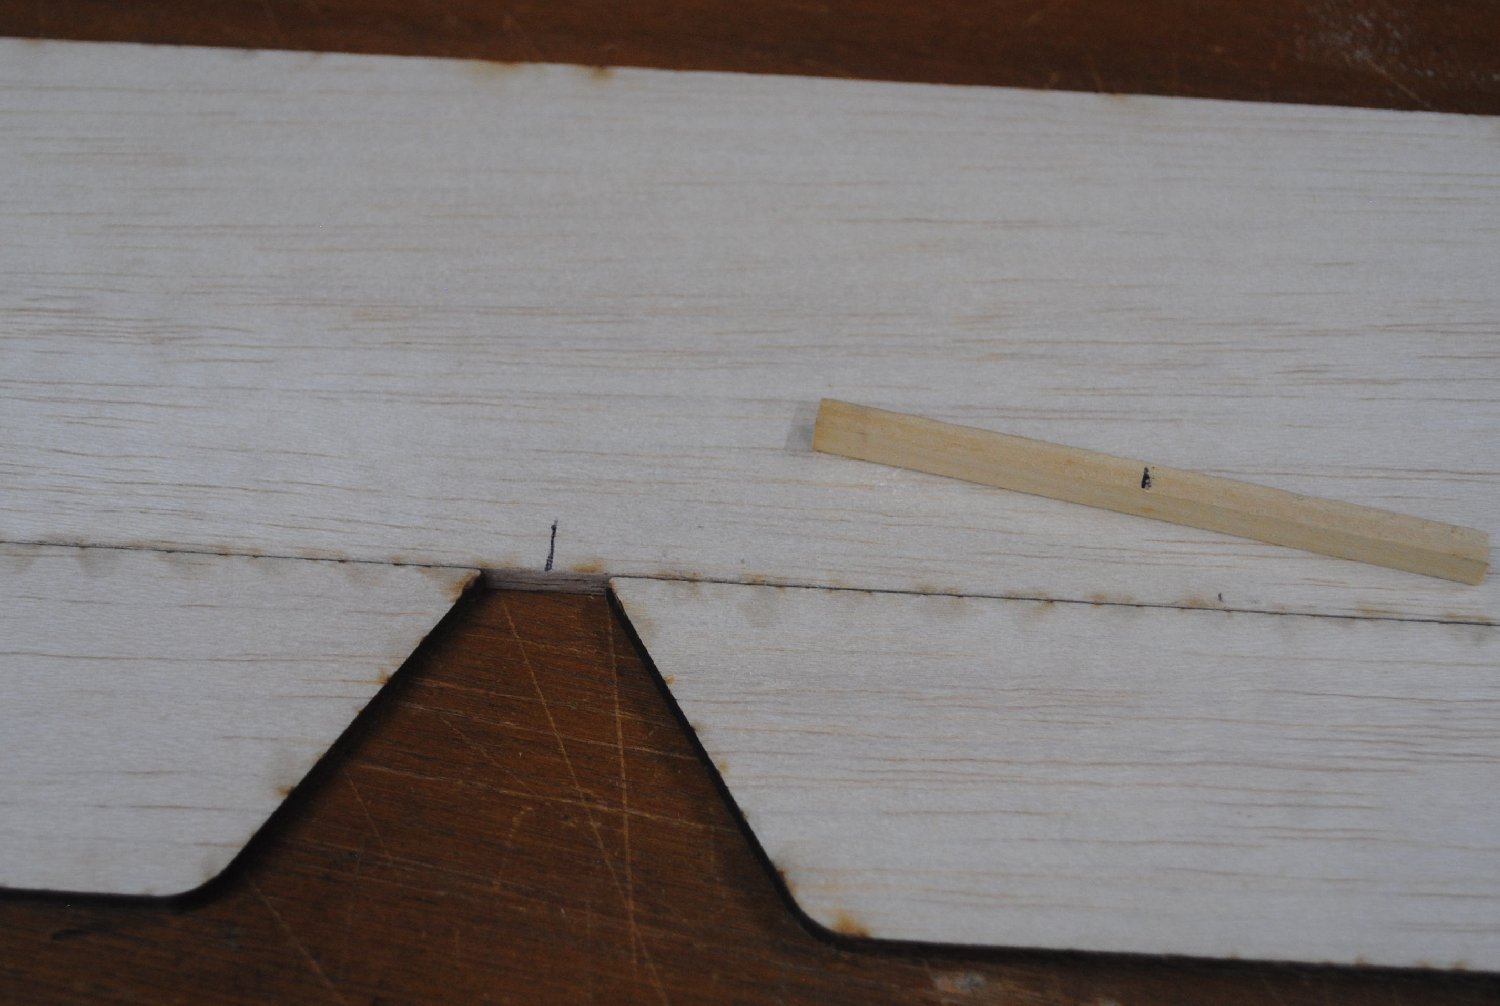
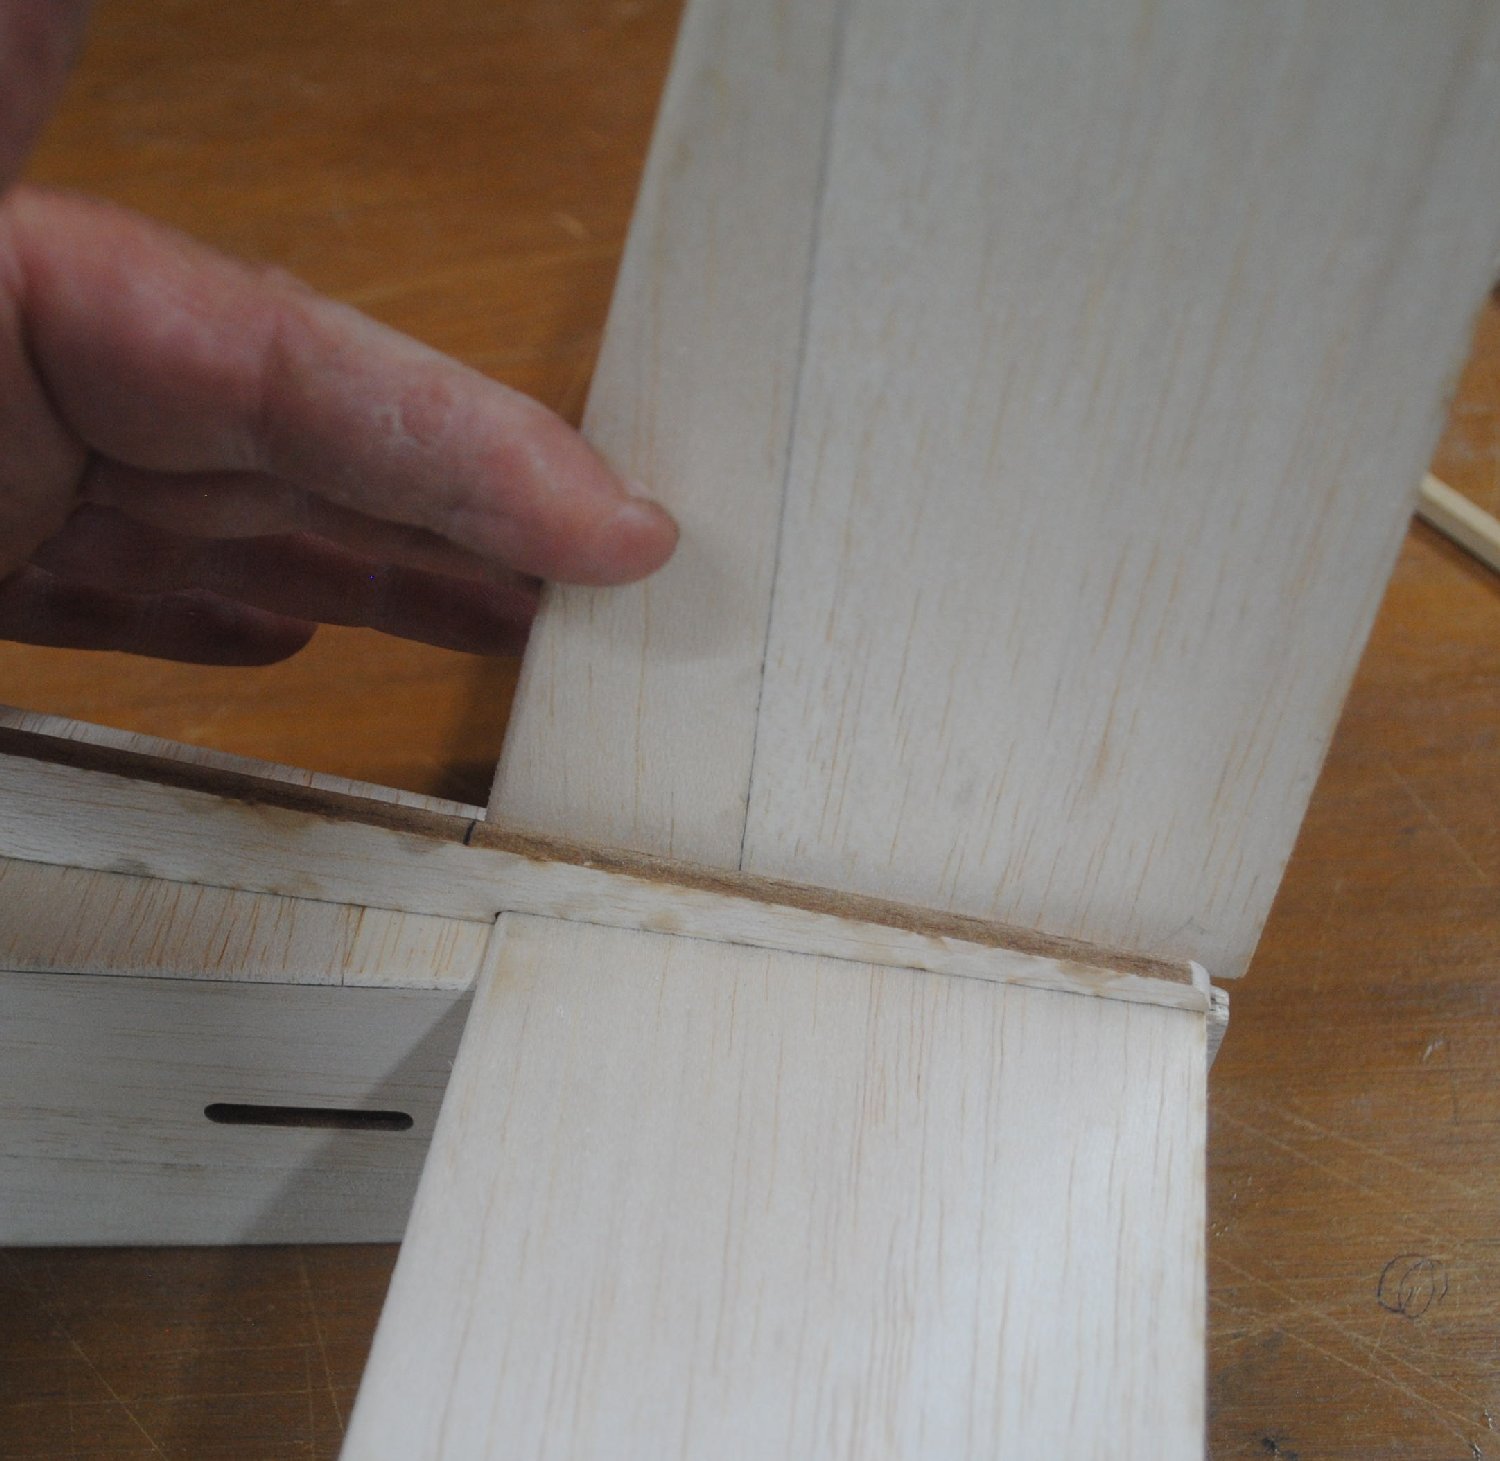
Put the elevators where they belong, with the tips flush with the stabilizer tips. Set the joiner stick on top of the elevators, aligned with the center of the stabilizer.
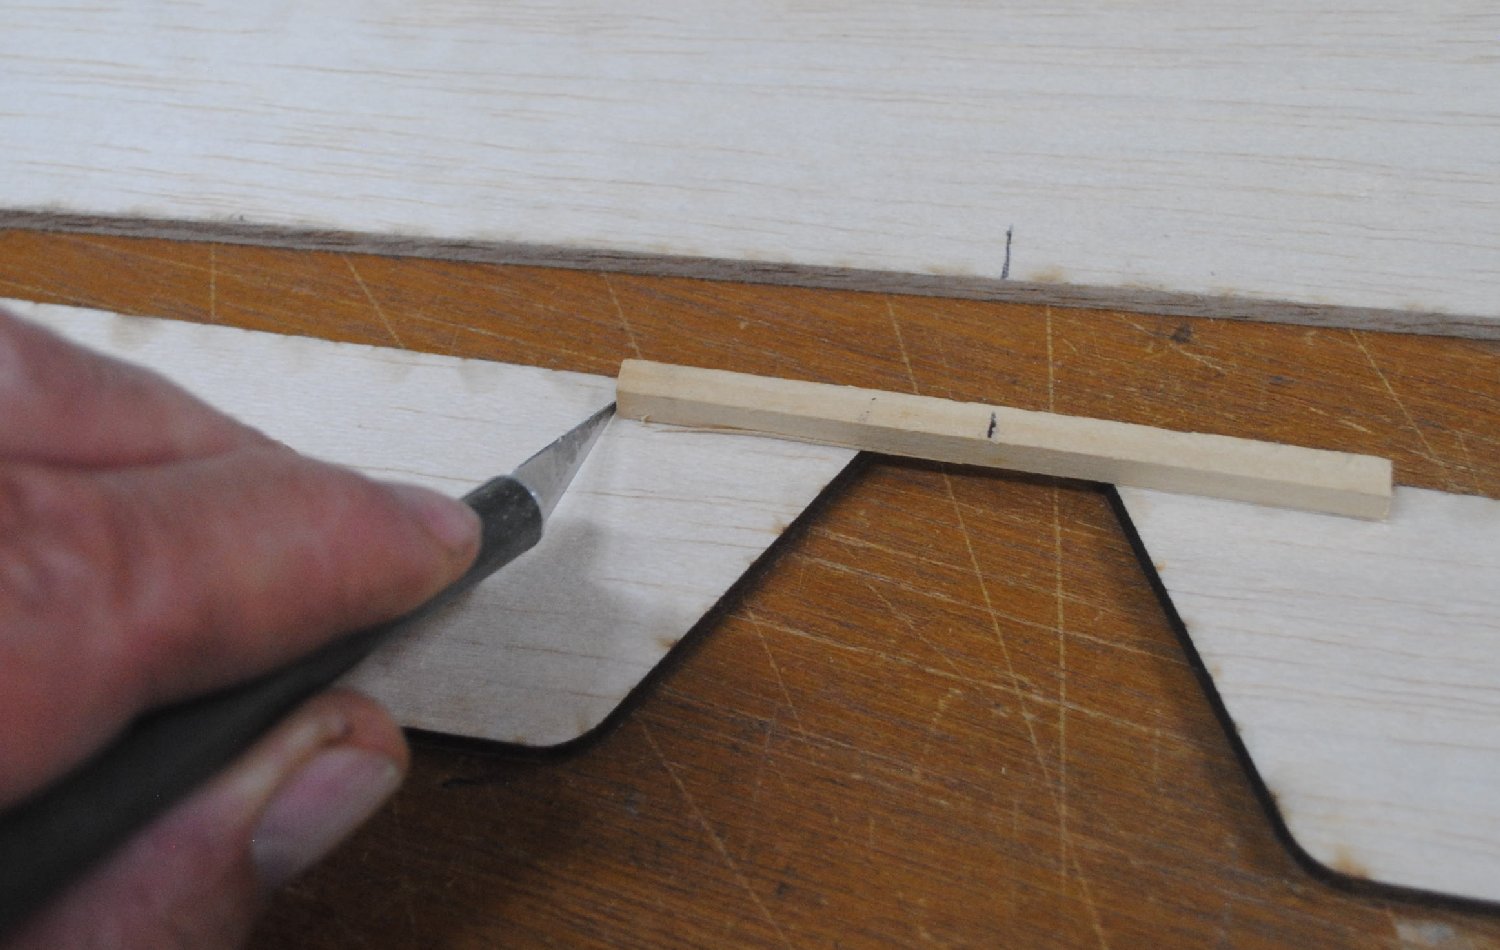
Use a hobby knife to mark the portion of the elevators to be cut out to accommodate the joiner stick. You need a precise fit, and the knife can make a more accurate mark than a pen.
Assemble the elevators with the stick to check length.
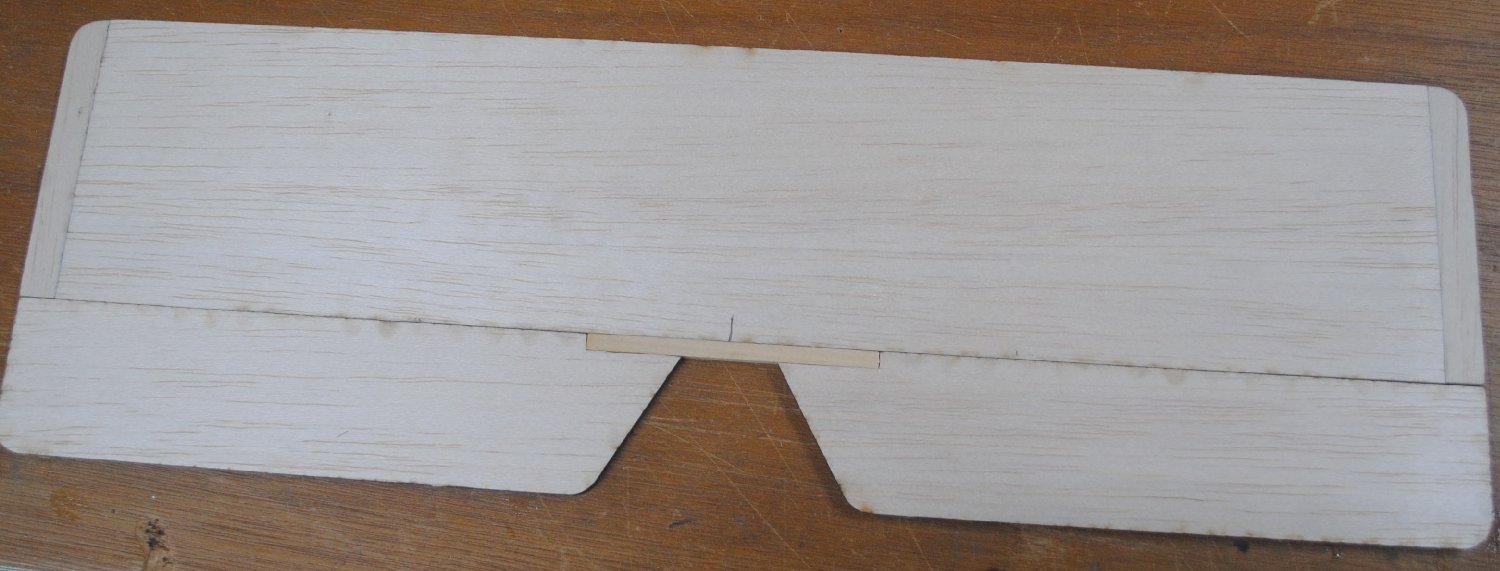
When everything looks good, put it together for real with glue. Glue this joint very well.
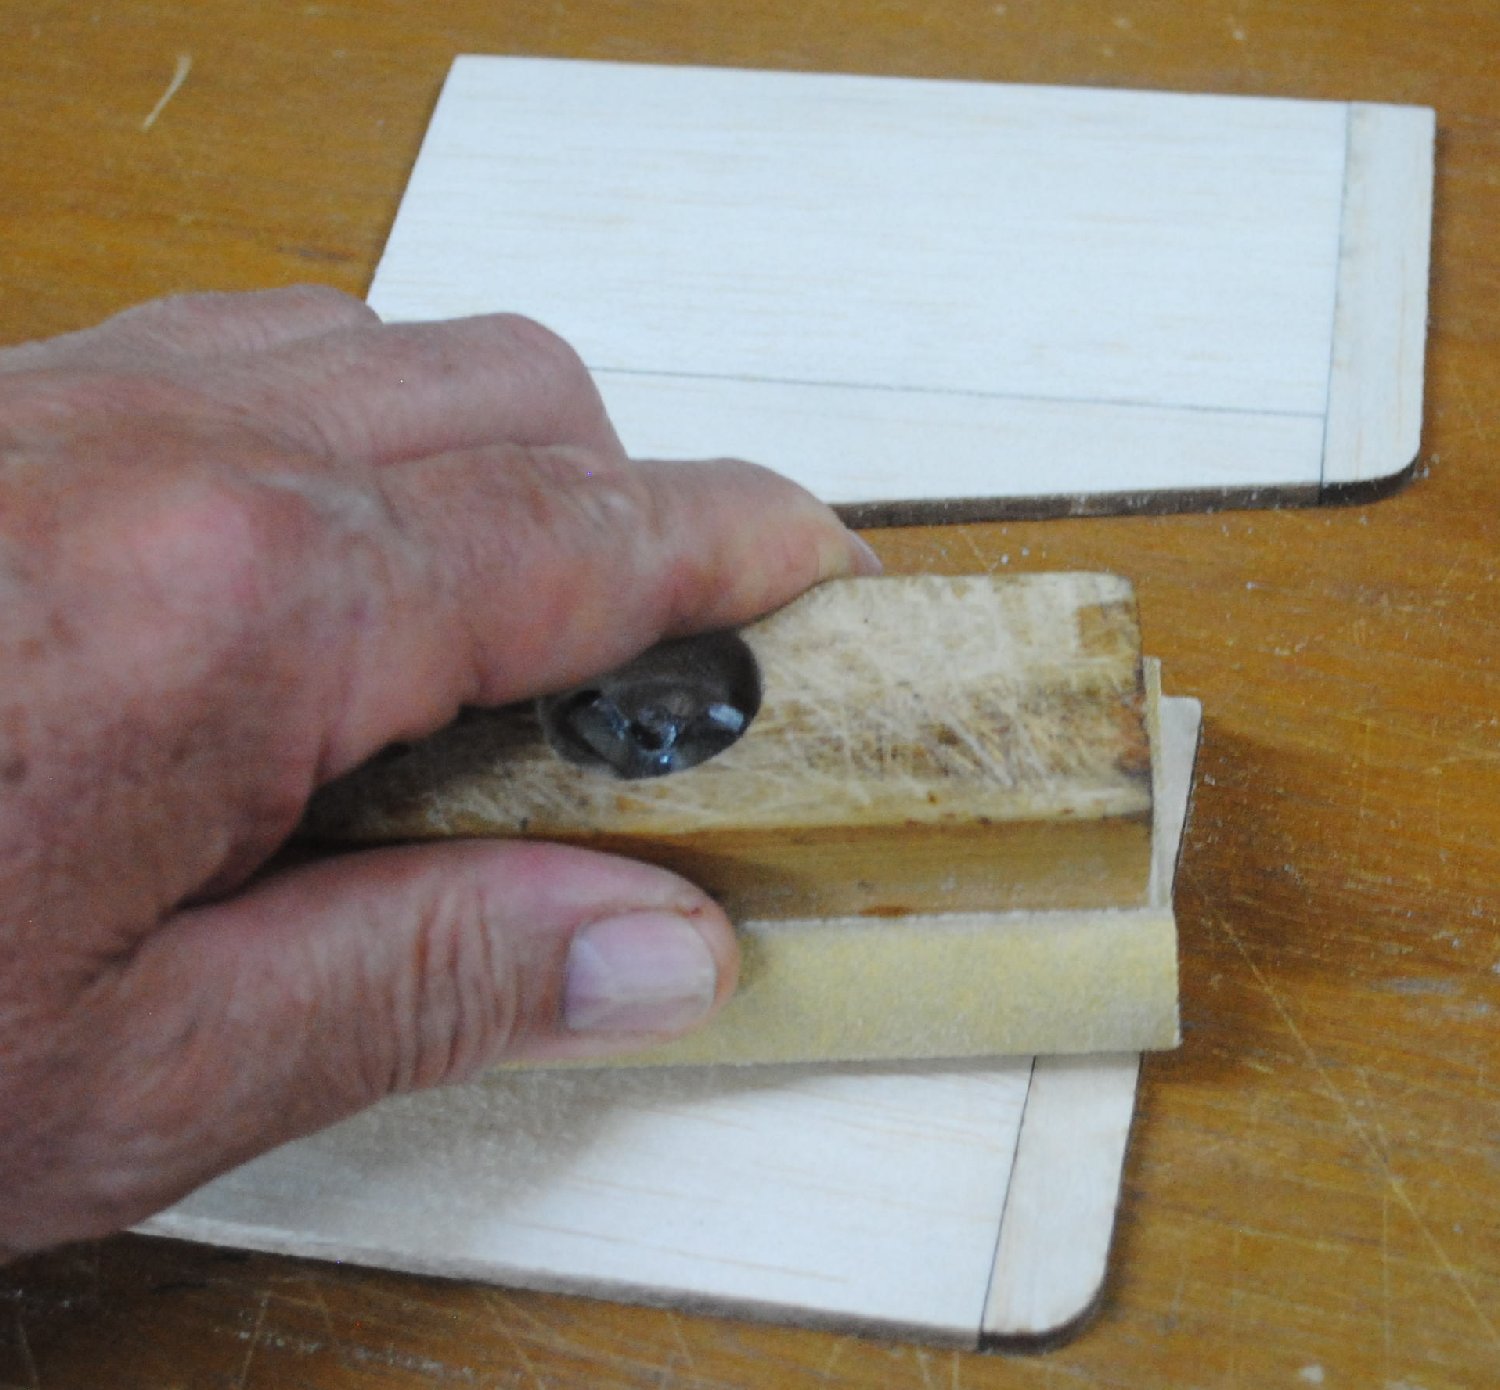
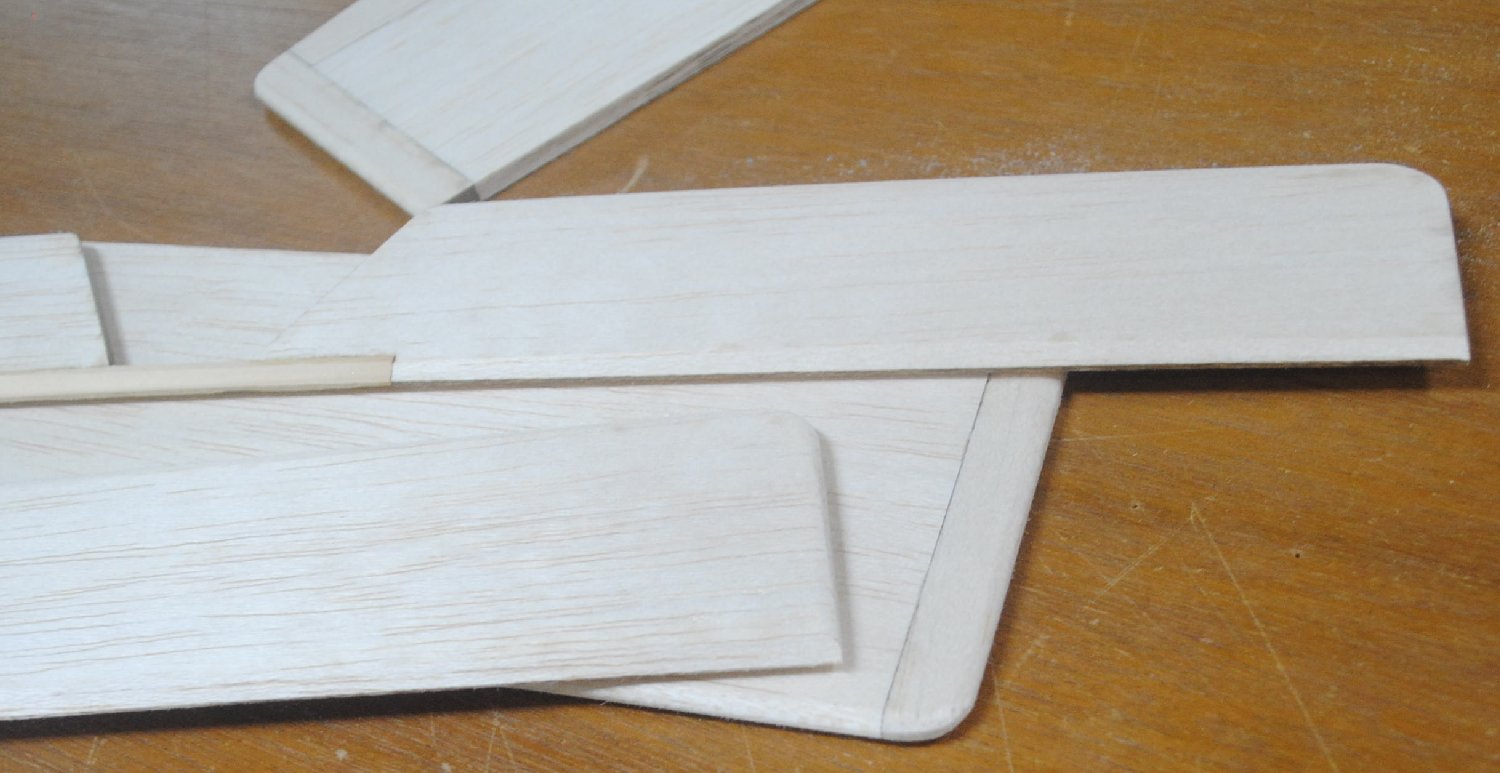
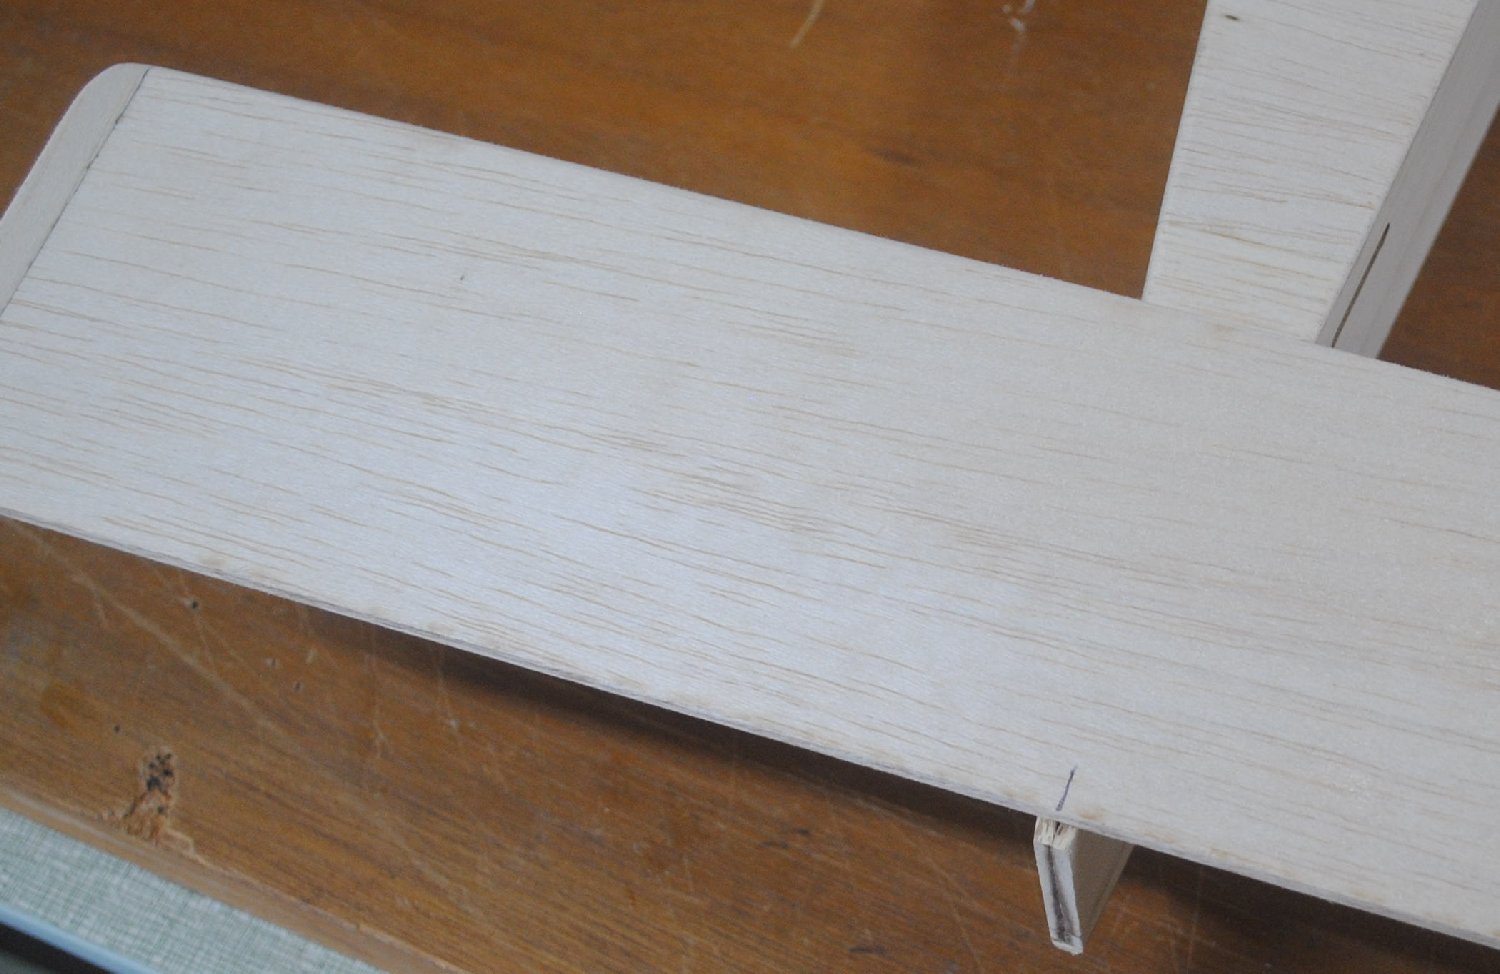
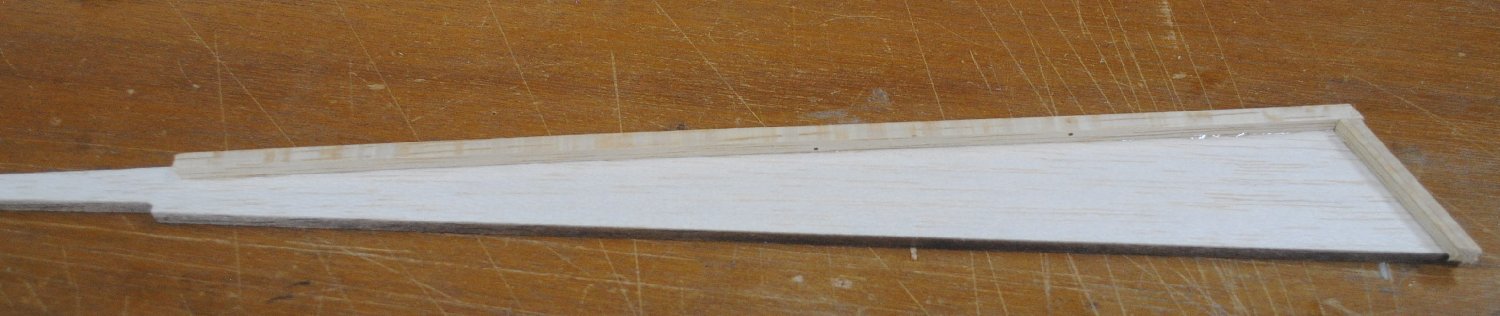
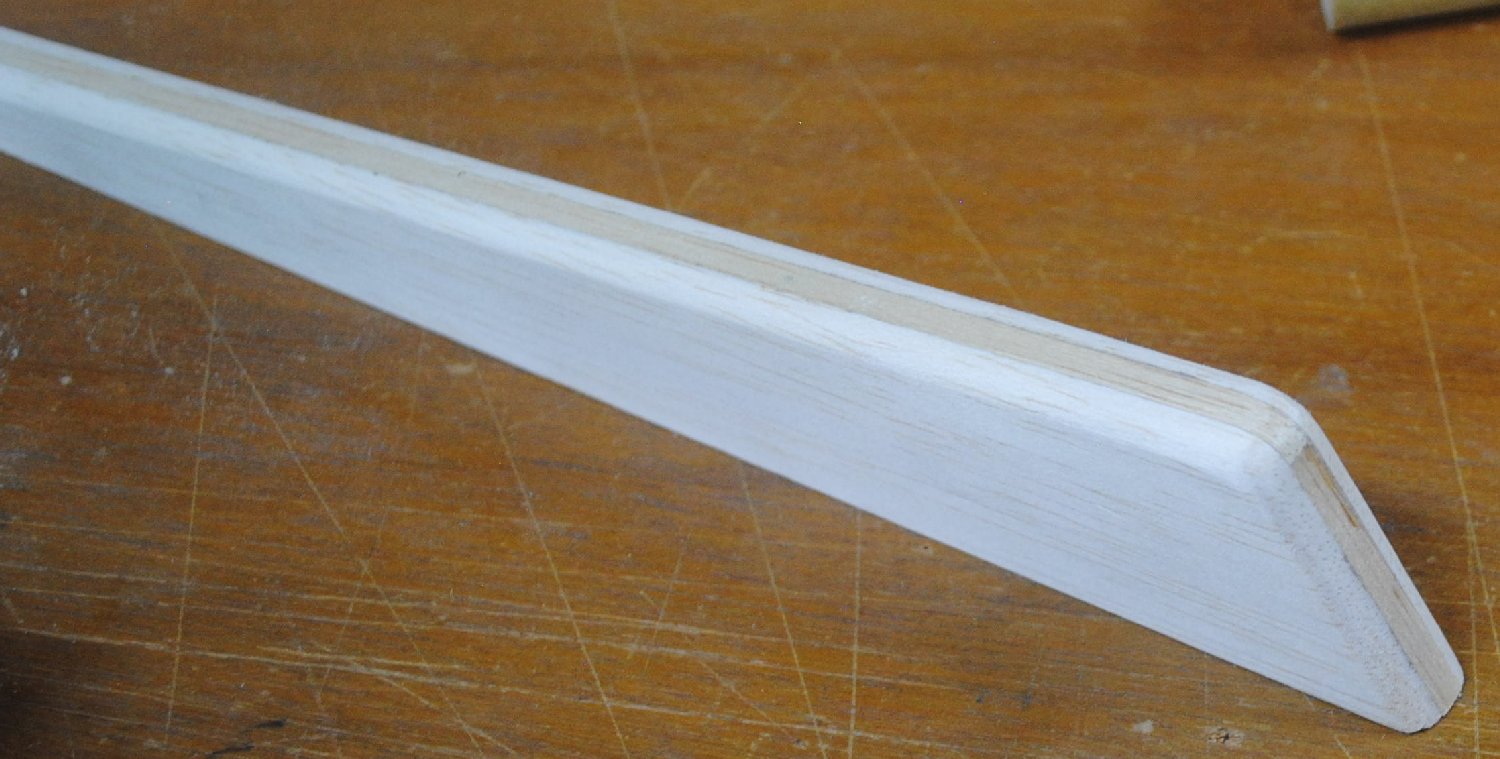
Now it’s time to sand the edges of all of your control surfaces. The rudder, elevators, and ailerons should be rounded on the tips and trailing edges. The leading edges should be beveled to a V shape. You can whittle the elevator joiner stick with a hobby knife first, then finish with the sanding block.
The vertical and horizontal stabilizers, should be rounded at the tips and the leading edge. The trailing edges should be left flat.
Put the horizontal stabilizer in place on the fuselage with the center mark aligned with the tail post. The fuselage should extend 1/4 inch behind the stabilizer.
Use a yardstick or tape measure to measure from the cabane strut to the tip of the stabilizer. Adjust the alignment of the stabilizer until the measurement matches on both sides. When the two sides match, your stabilizer is on straight.
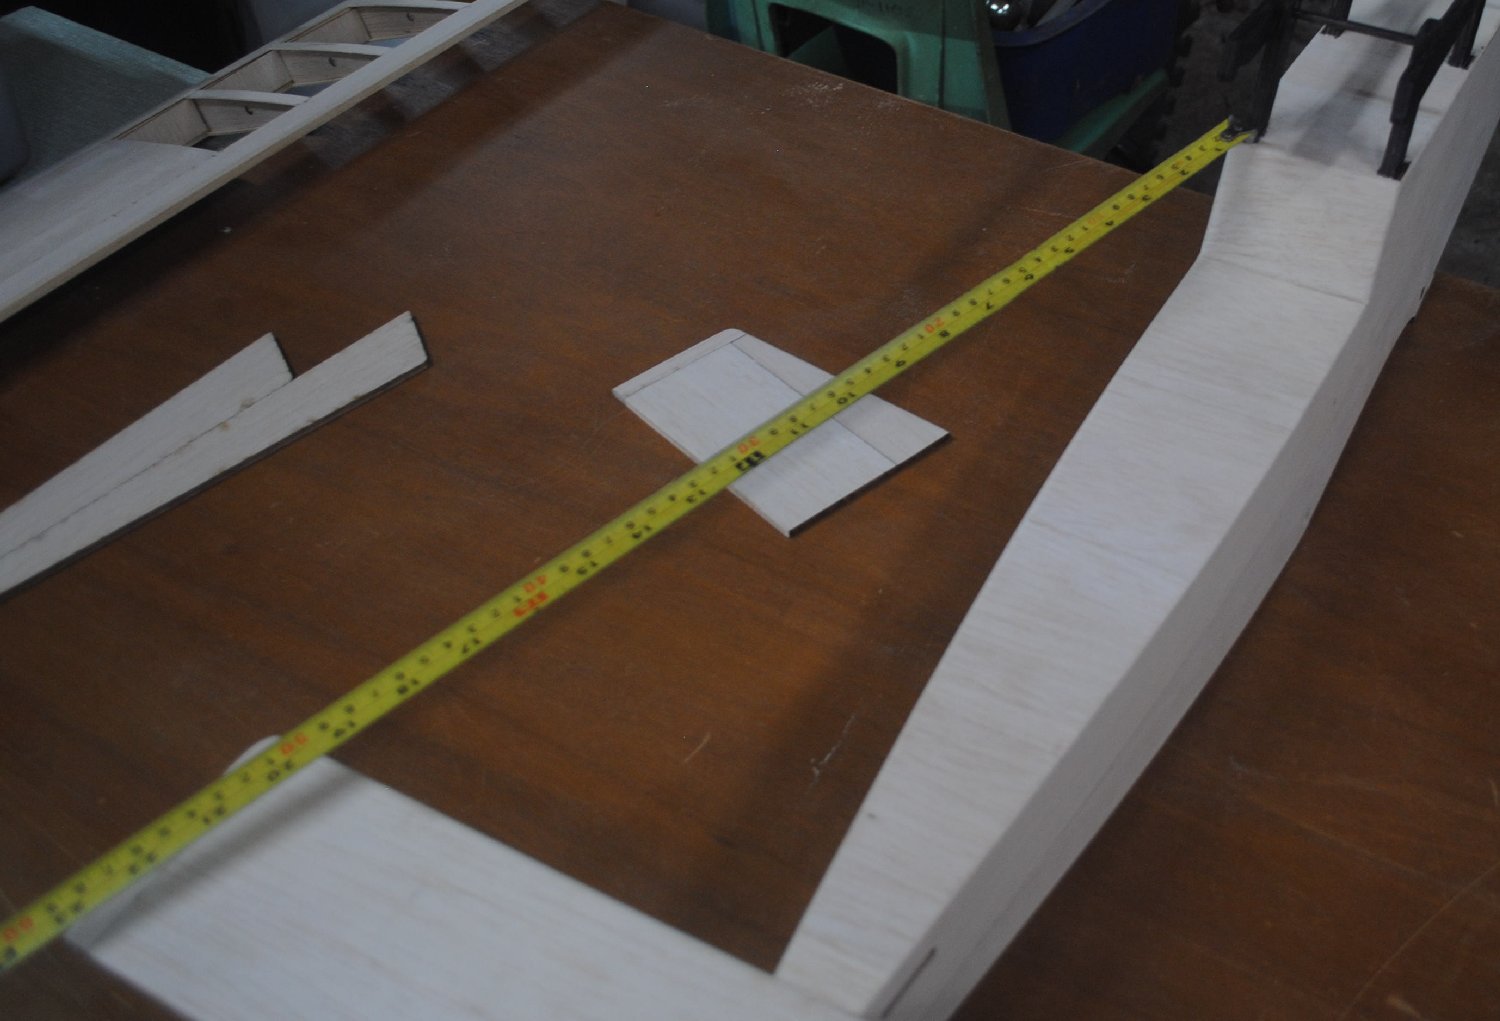
Mark the bottom of the stabilizer on both sides of the fuselage to show you where not to put covering film.
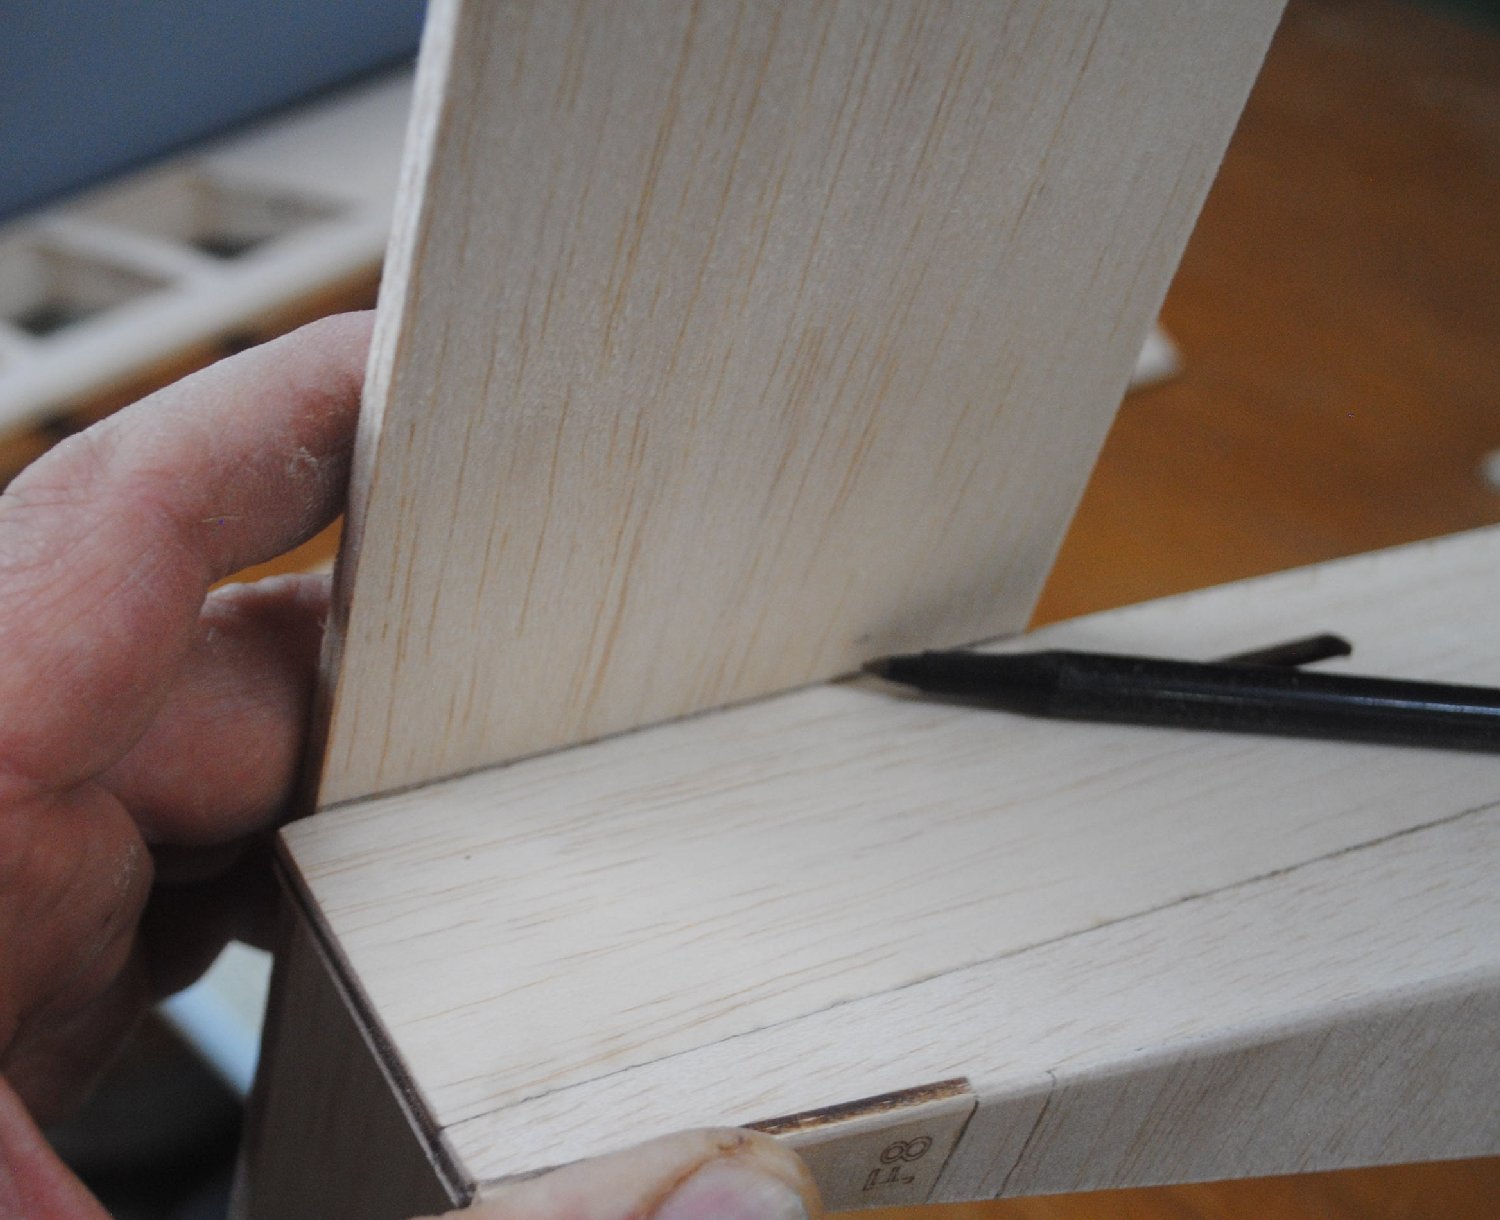
Set the vertical stabilizer in place on top of the horizontal stabilizer. The trailing edge should protrude 1/4″ behind the horizontal stabilizer so the vertical stabilizer is flush with the fuselage tail post.
Put one side of the head rest assembly in place and mark the location of the leading edge of the vertical stabilizer.
Lay the head rest piece on the table and attach the 3/16 x 3/16 inch balsa stick along the spine.
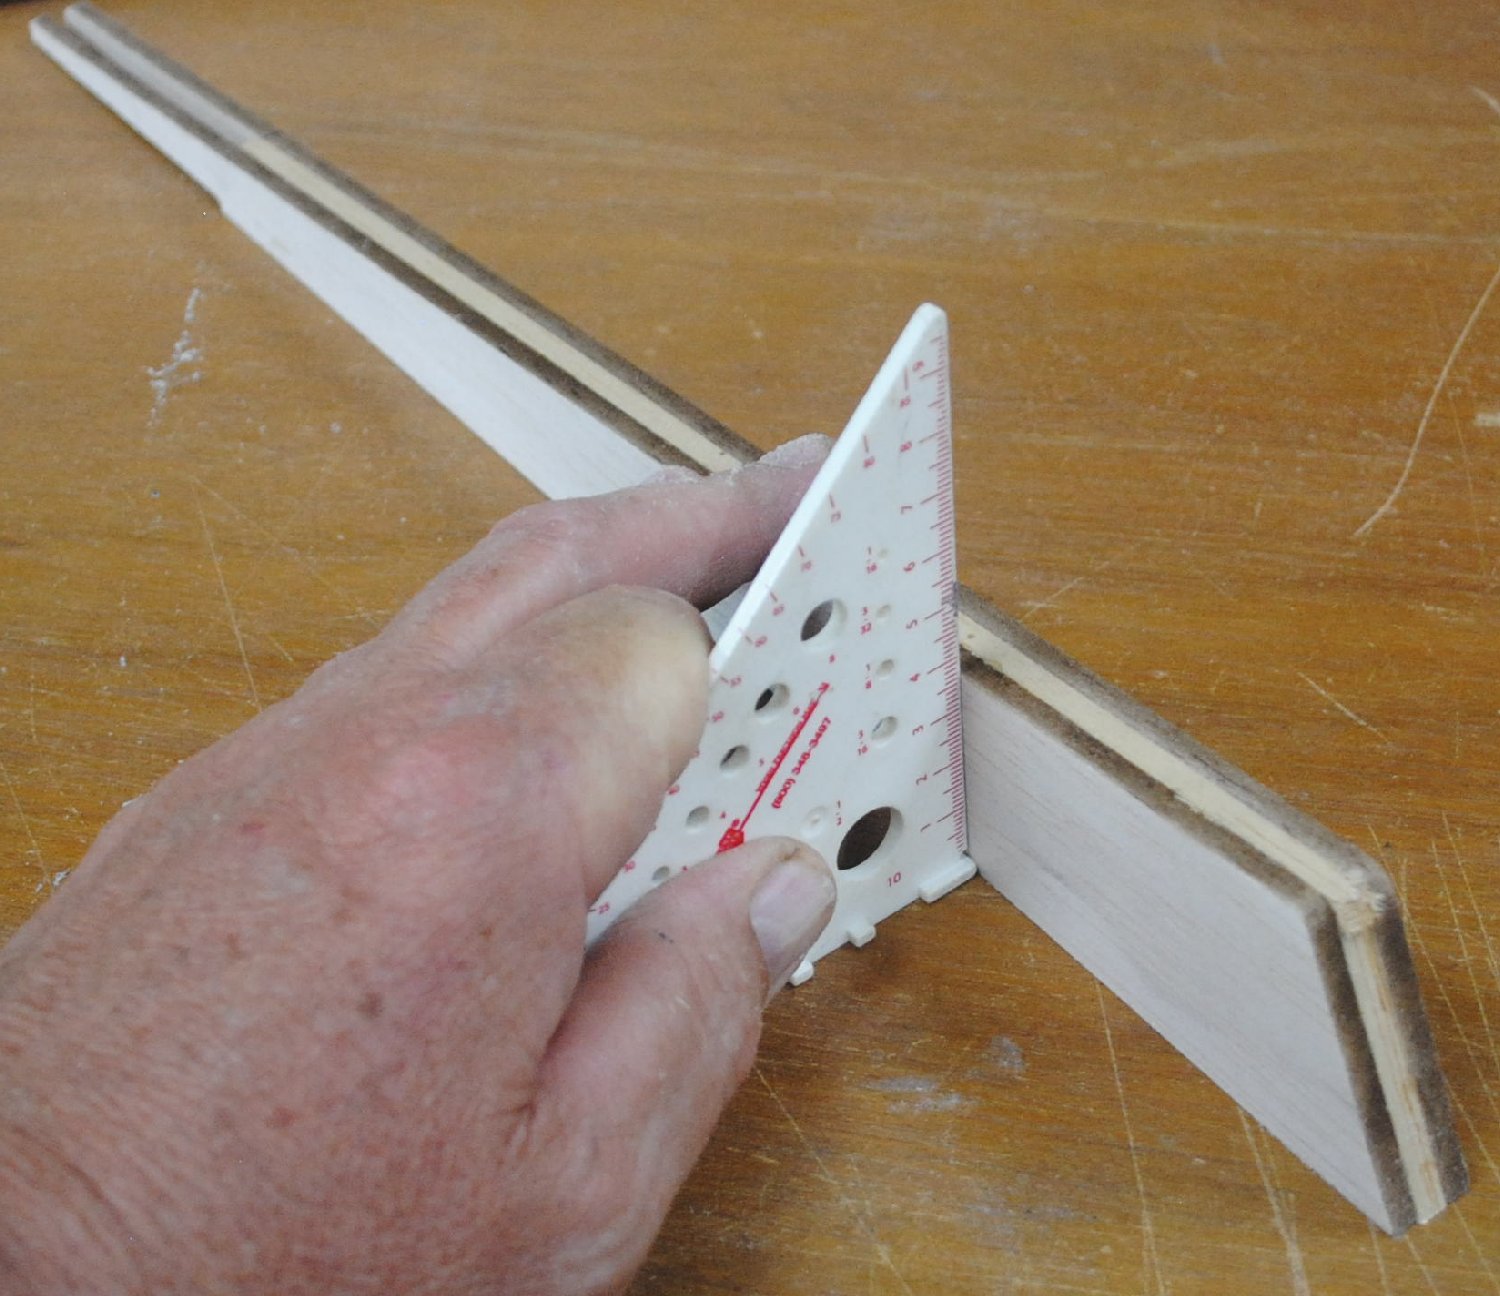
Using a square to align the bottom edges of the two pieces, attach the second side of the head rest assembly.
Use the square to make sure the head rest assembly stands up straight when standing on the table. If it doesn’t, flatten the bottom with the sanding block.
Round off the corners at the front and top of the head rest assembly.
Put the horizontal stabilizer and head rest assembly in place on the fuselage. Look underneath at the marks you made earlier on the stabilizer to make sure it’s in the right place. Now mark the location of the head rest assembly.
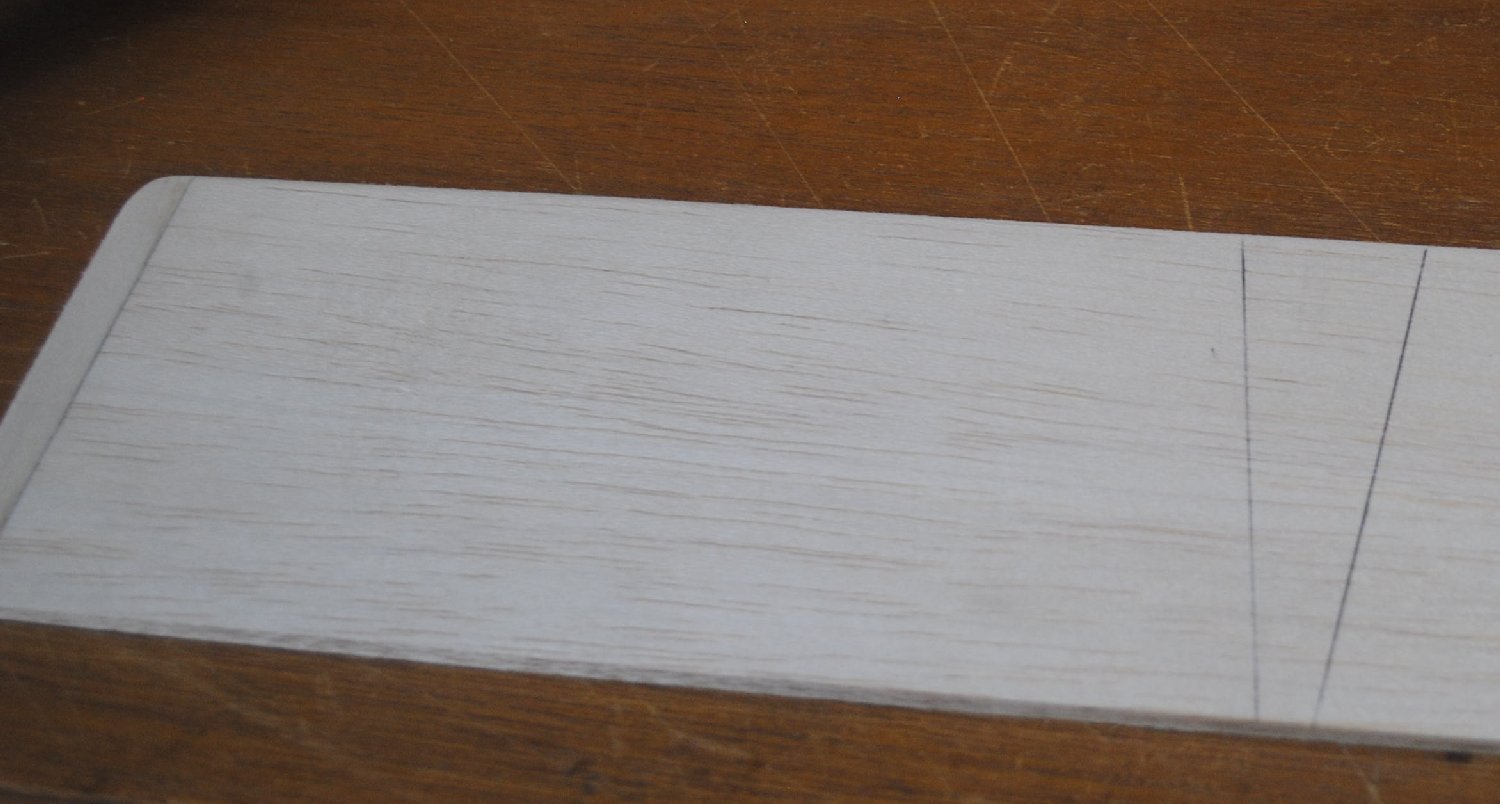
Place the vertical stabilizer in the notch and mark it. Now you can cover the tail pieces and you’ll know where not to put film so you can glue the parts together after they are covered.