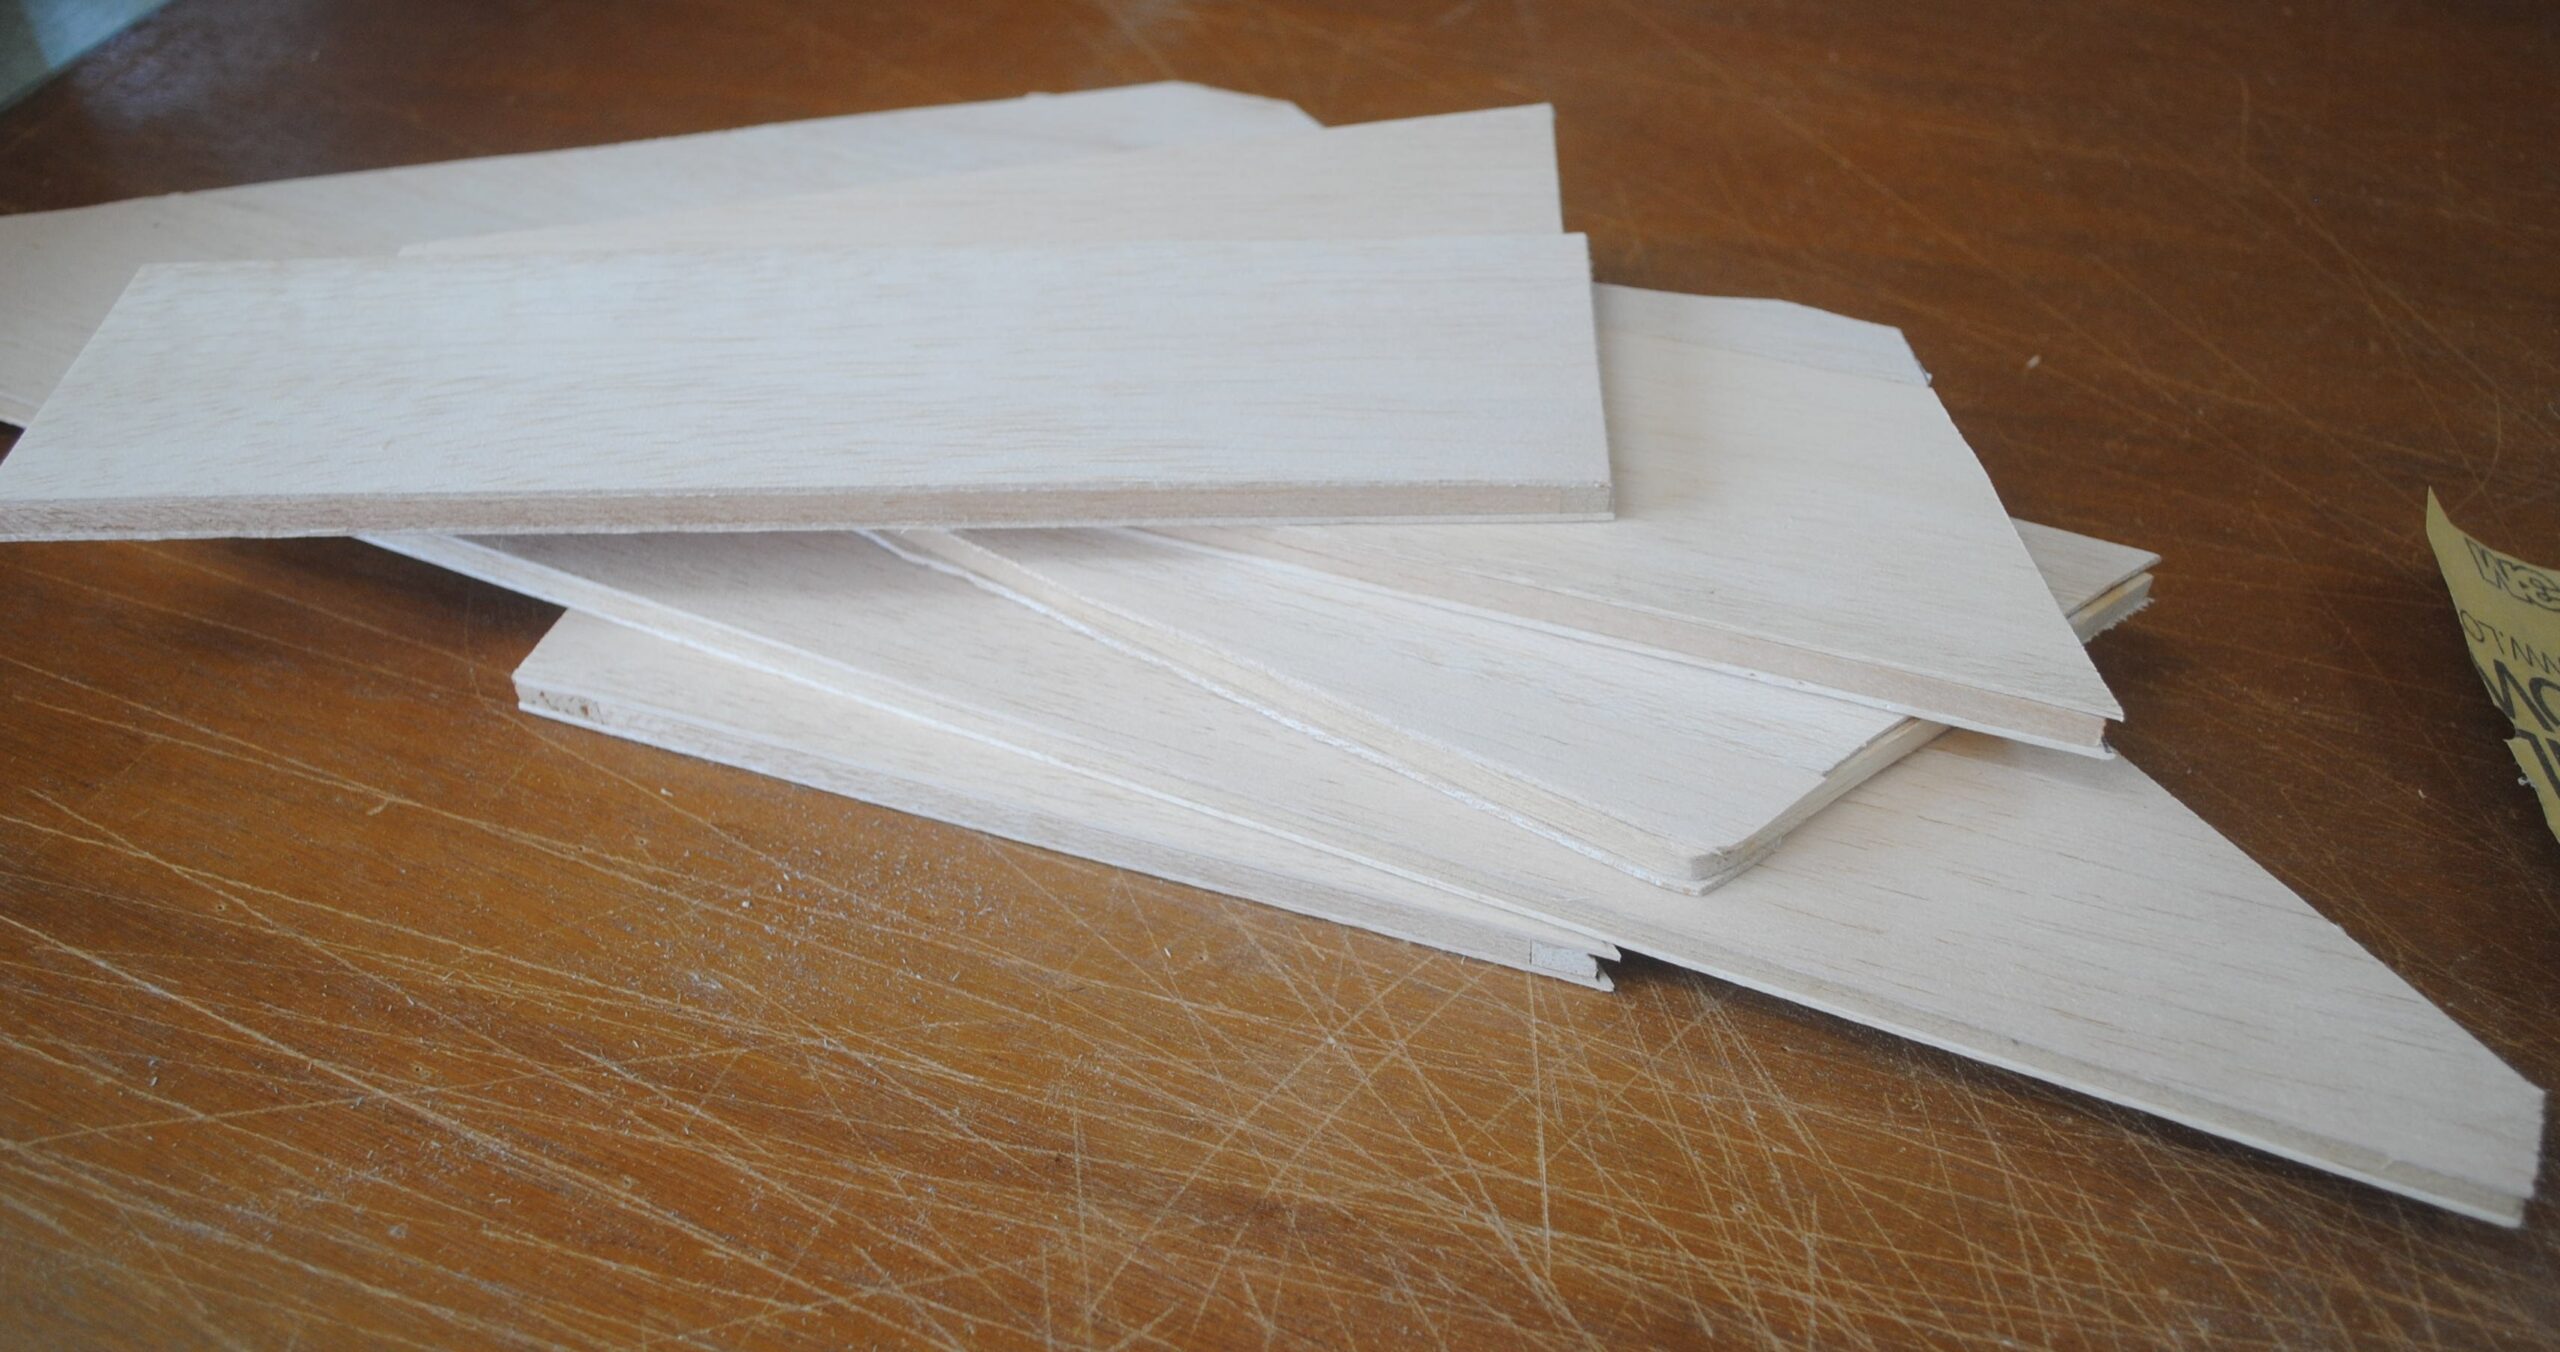
The Boogie Man tail is built from sticks 1/4 inch thick and sheeted on both sides with 1/16 inch balsa sheeting. Compared to an open structure tail made from just sticks, the sheeted design is intended to reduce damage from general handling, putting the plane in the car, and that sort of thing. I’ve stuck enough propellers through tails, and I thought this would help.
However, if you prefer open structure and decide to build the whole thing out of sticks without any balsa sheeting, you should use sticks that are 3/8 inch thick.
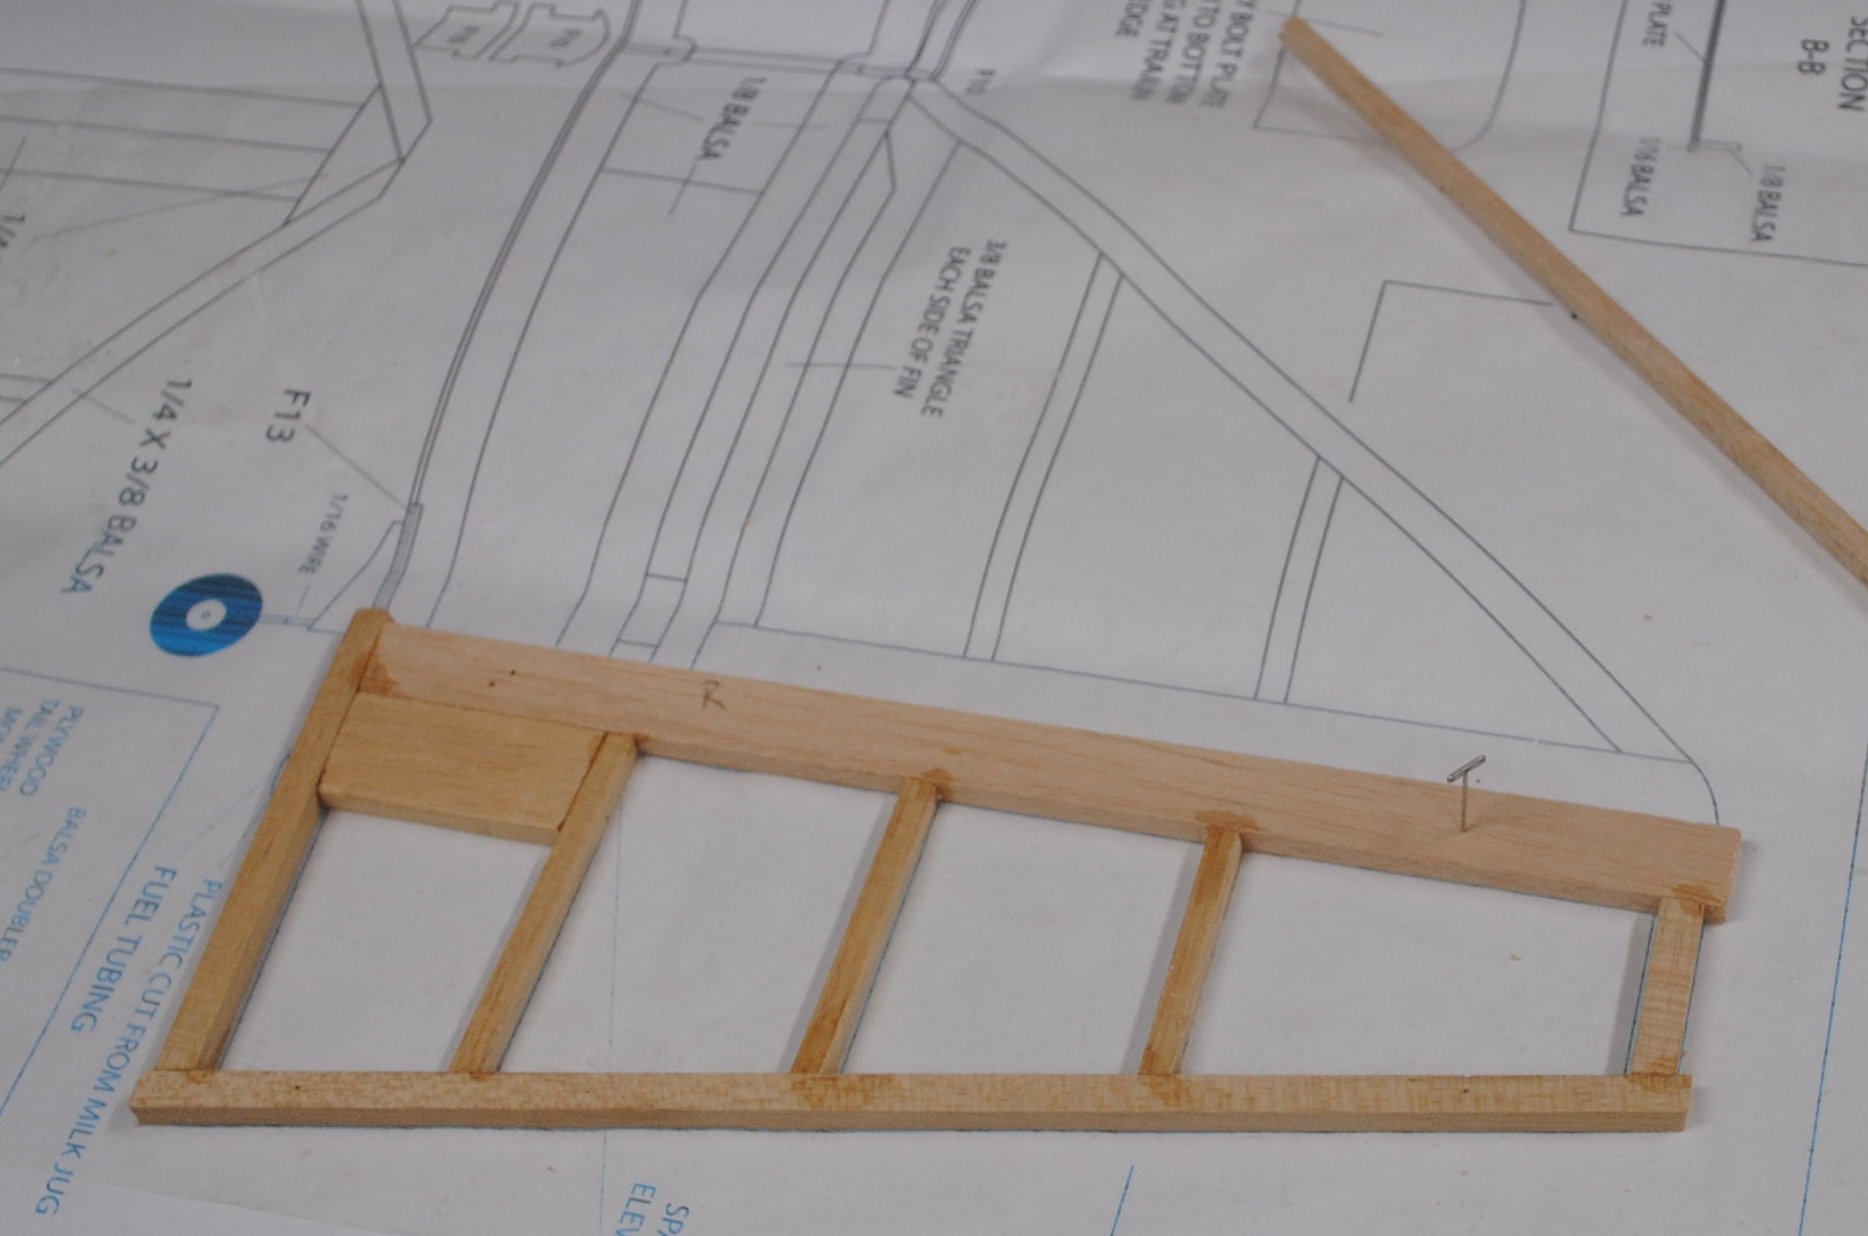
Protect the plan with some kind of covering, such as the plastic backing film from a roll of Monokote if you’re using CA glue, or wax paper if you’re using Titebond. Build the tail directly on the plan, pinning the parts down to keep the assemblies flat.

It helps to turn the plan so the part you’re building is at the edge of the table right in front of you.
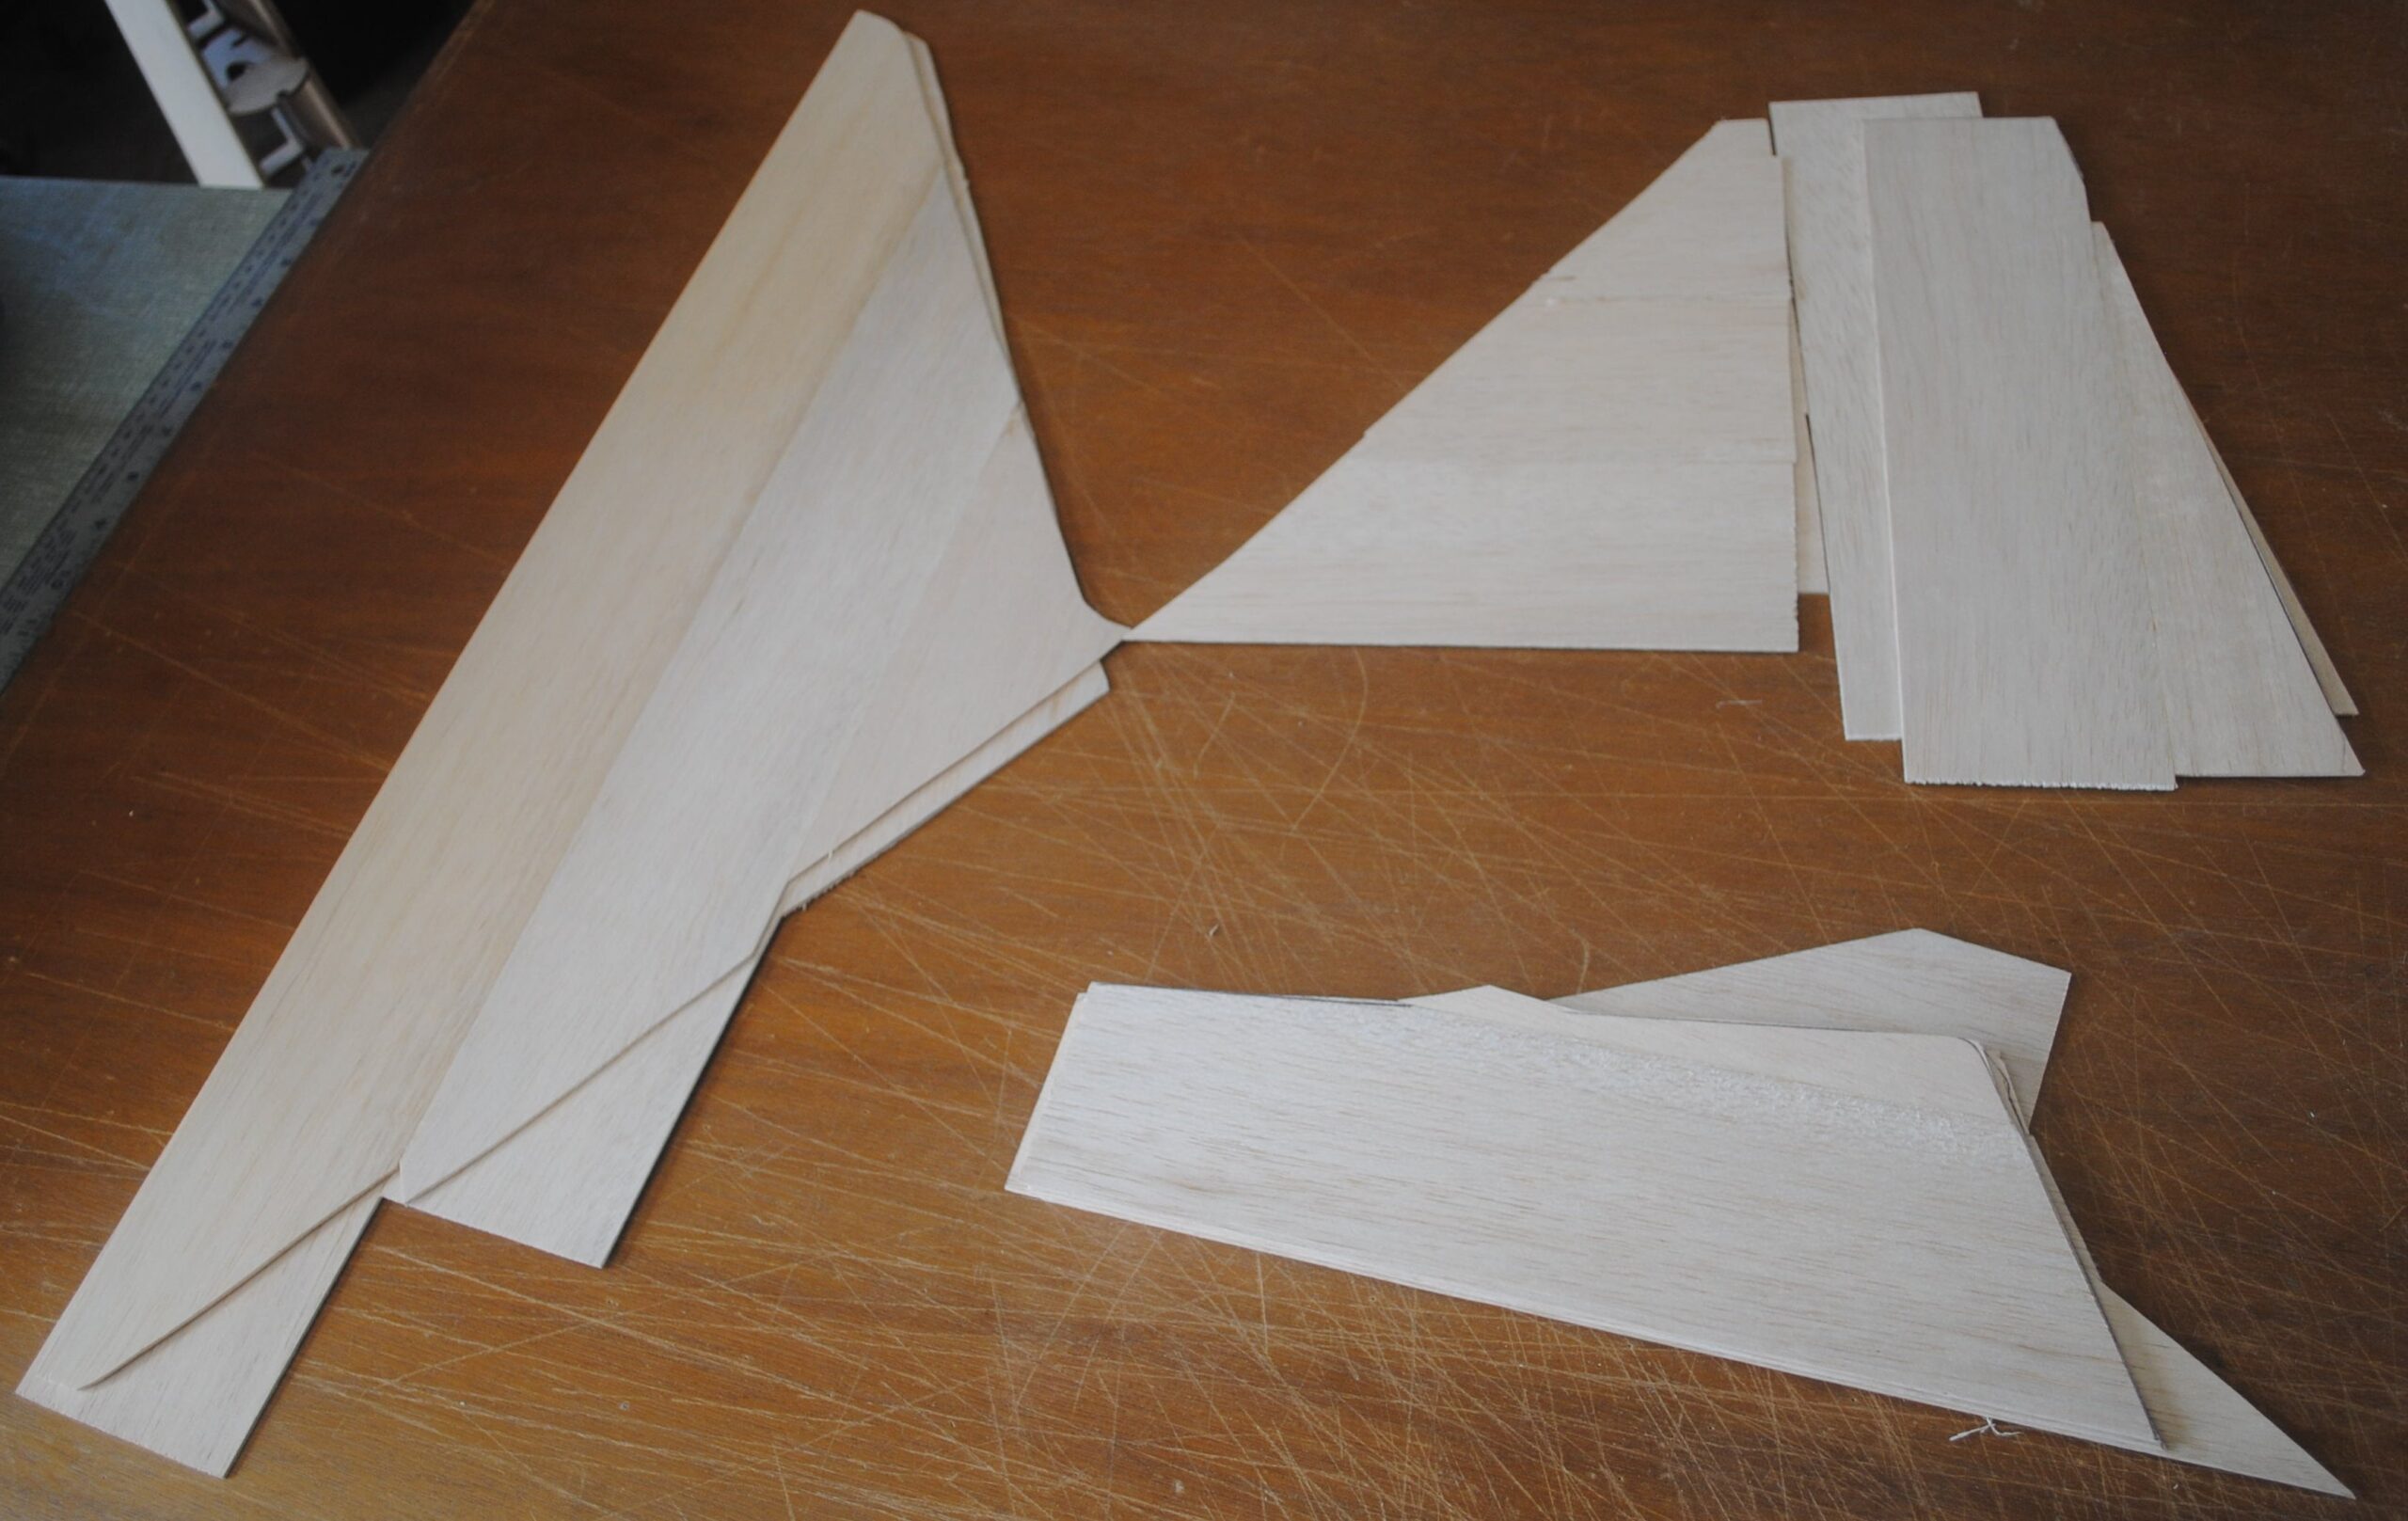
Make skins by laying the assemblies on top of 1/16″ sheeting and marking around the perimeter. Put the pieces of the skins together and edge glue them. See my edge joining tutorial if needed.
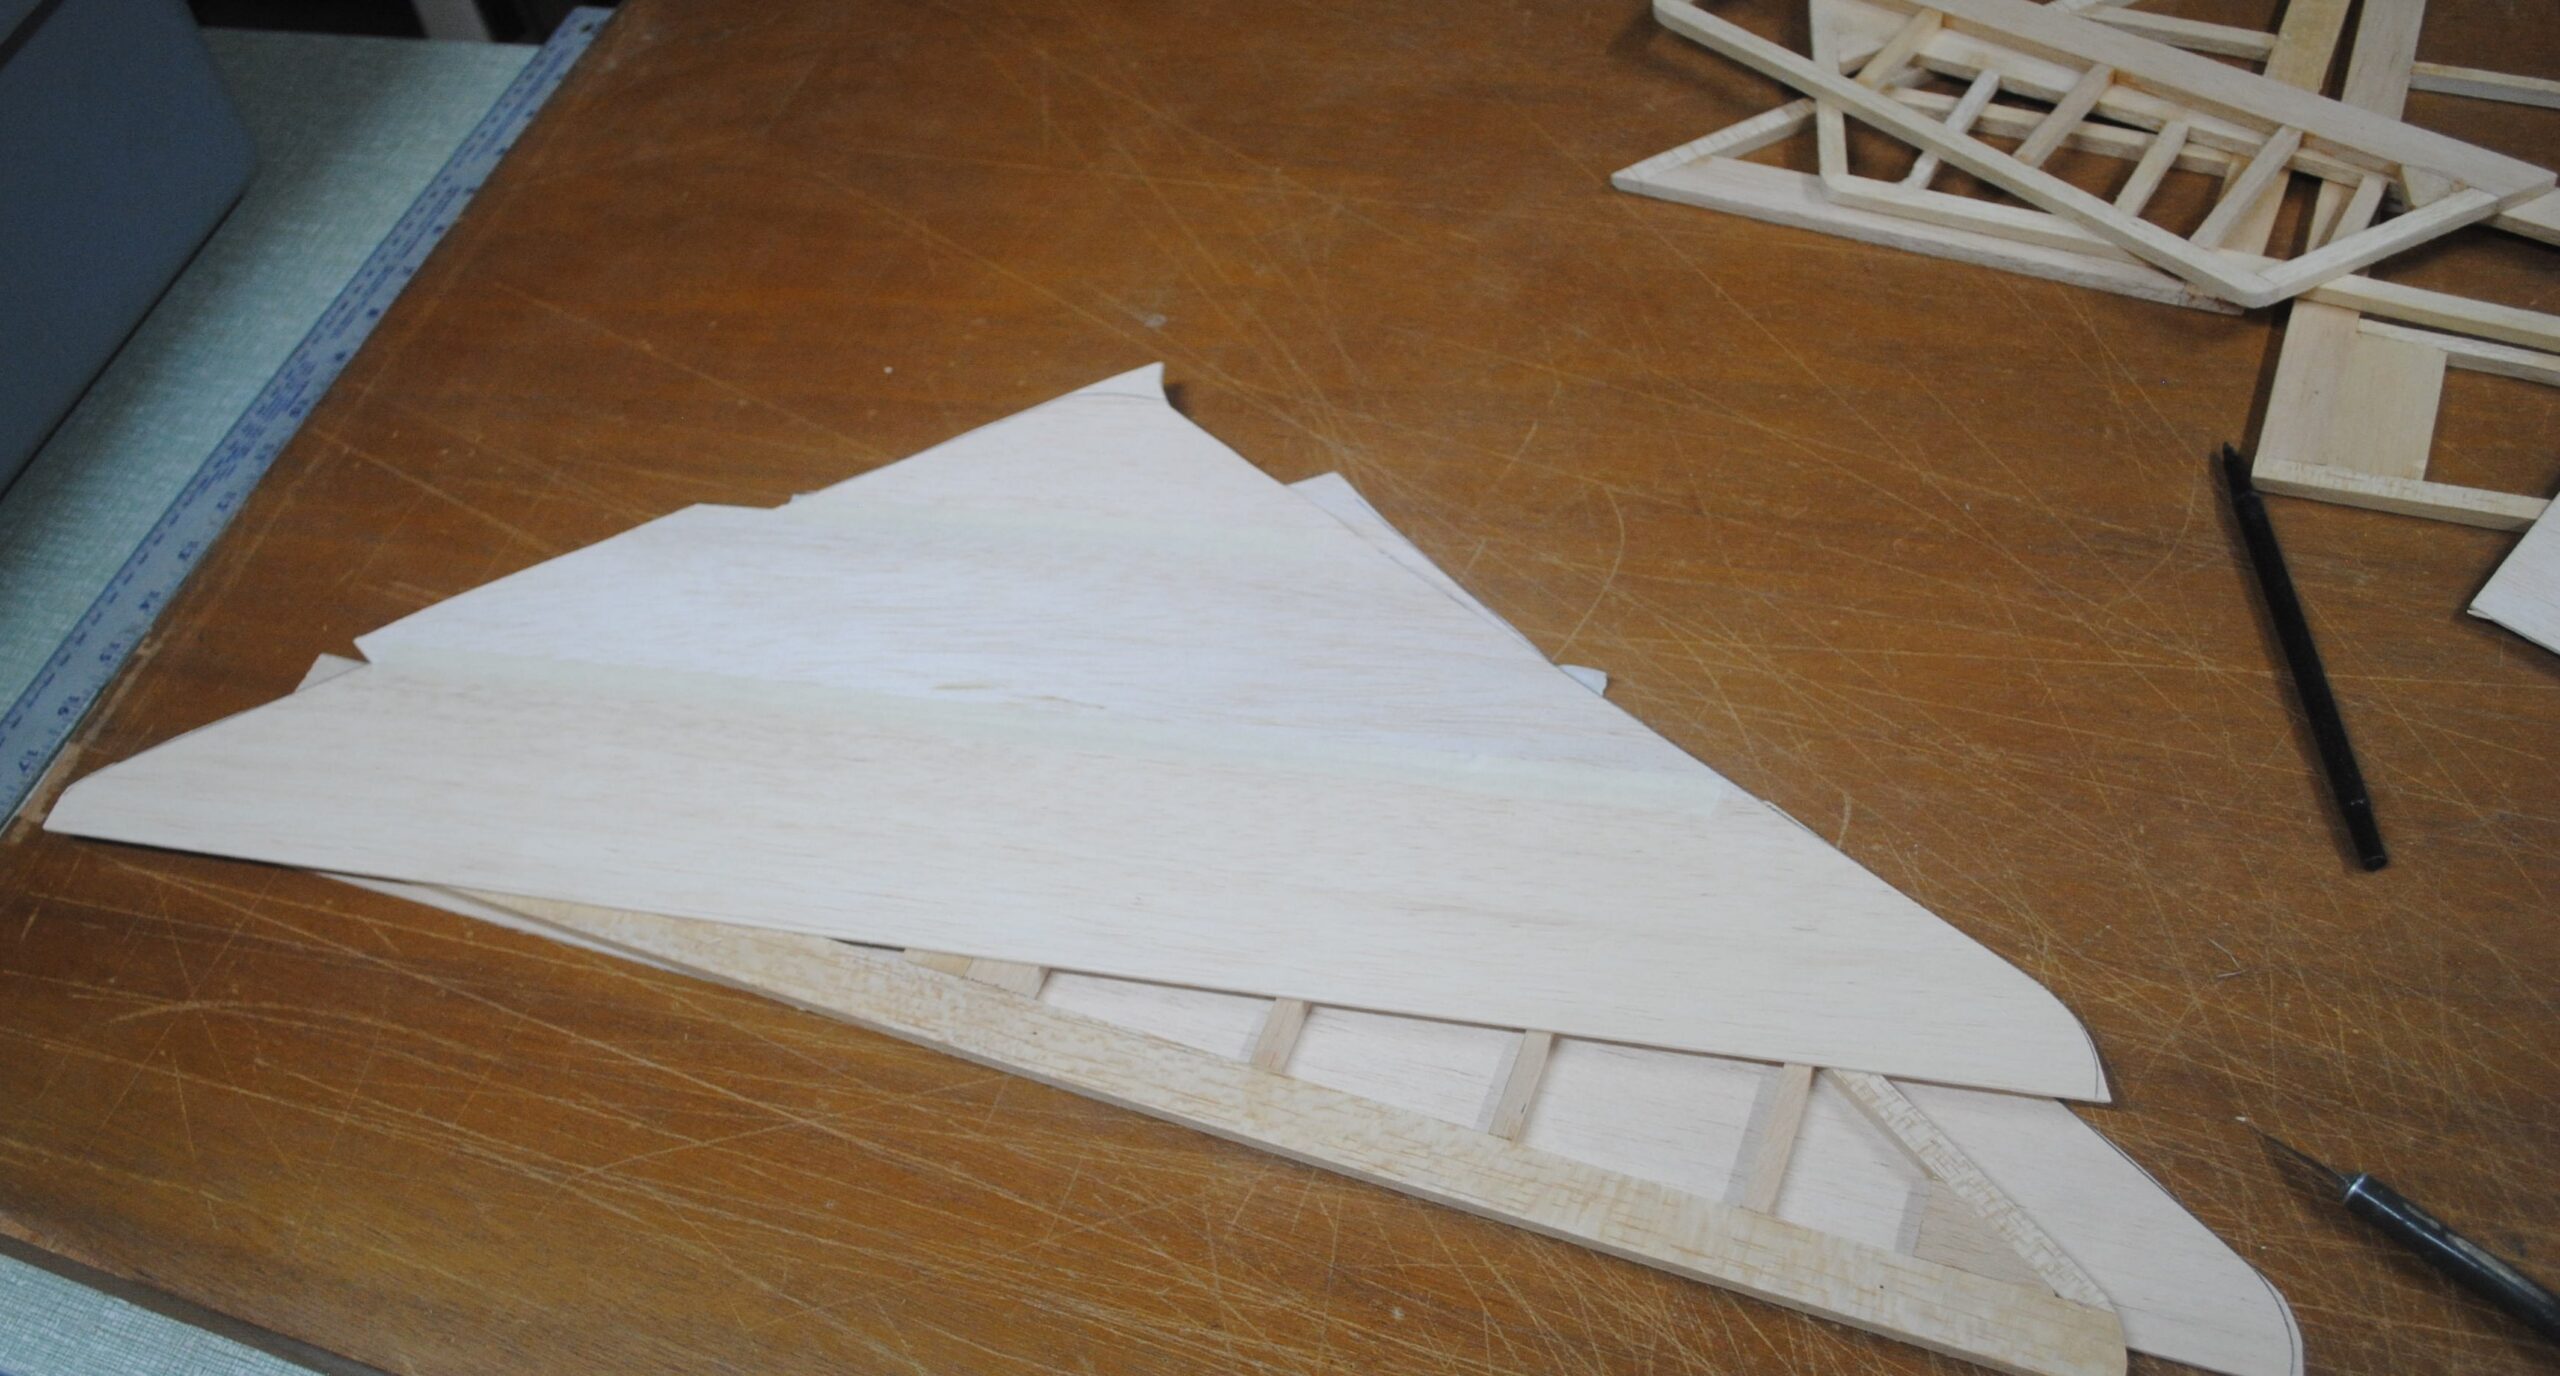
Sand your skins to get rid of glue lumps, ridges, and that sort of thing. If there are any defects that you’re not able to sand out, plan your work so the smoothest surfaces face out.
Apply glue to the frame.
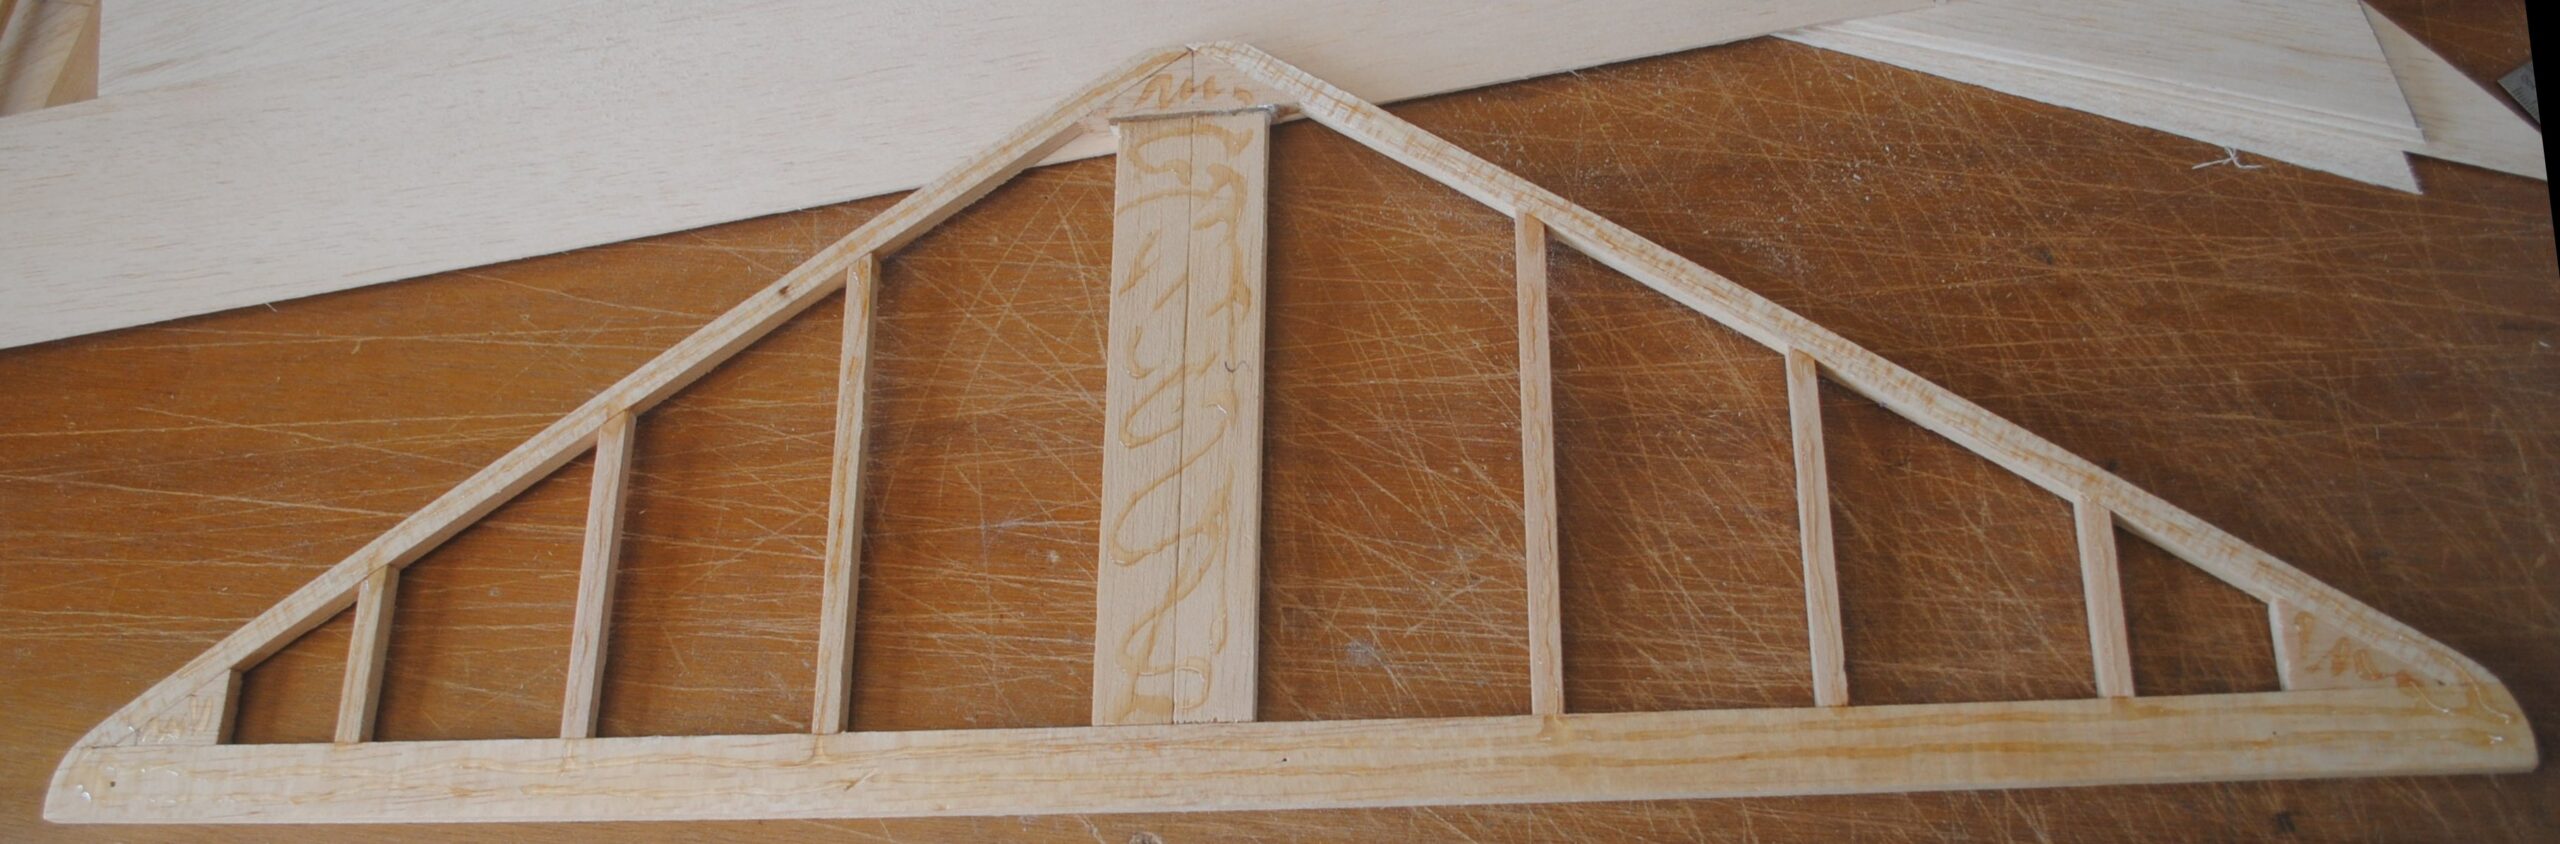
Stick it down to the skin. Make sure you don’t stick it on one end and roll it onto the skin because that will induce a curl into the final assembly. Line up one corner and touch it to the skin, then line up the edge and stick it down flat all at once.
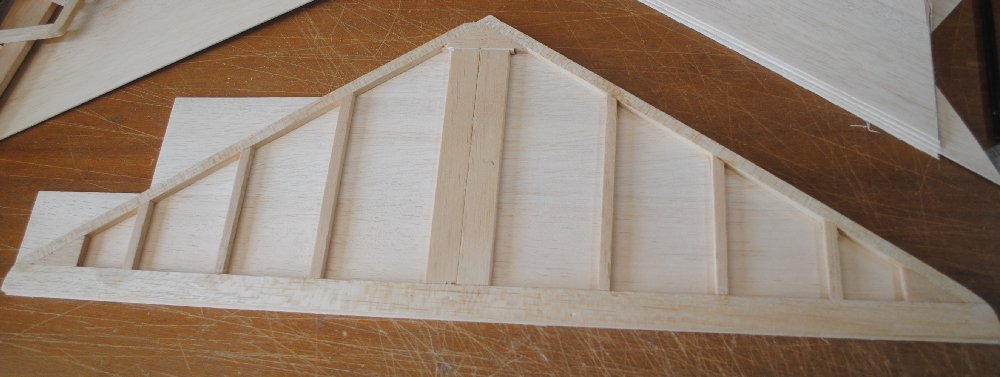
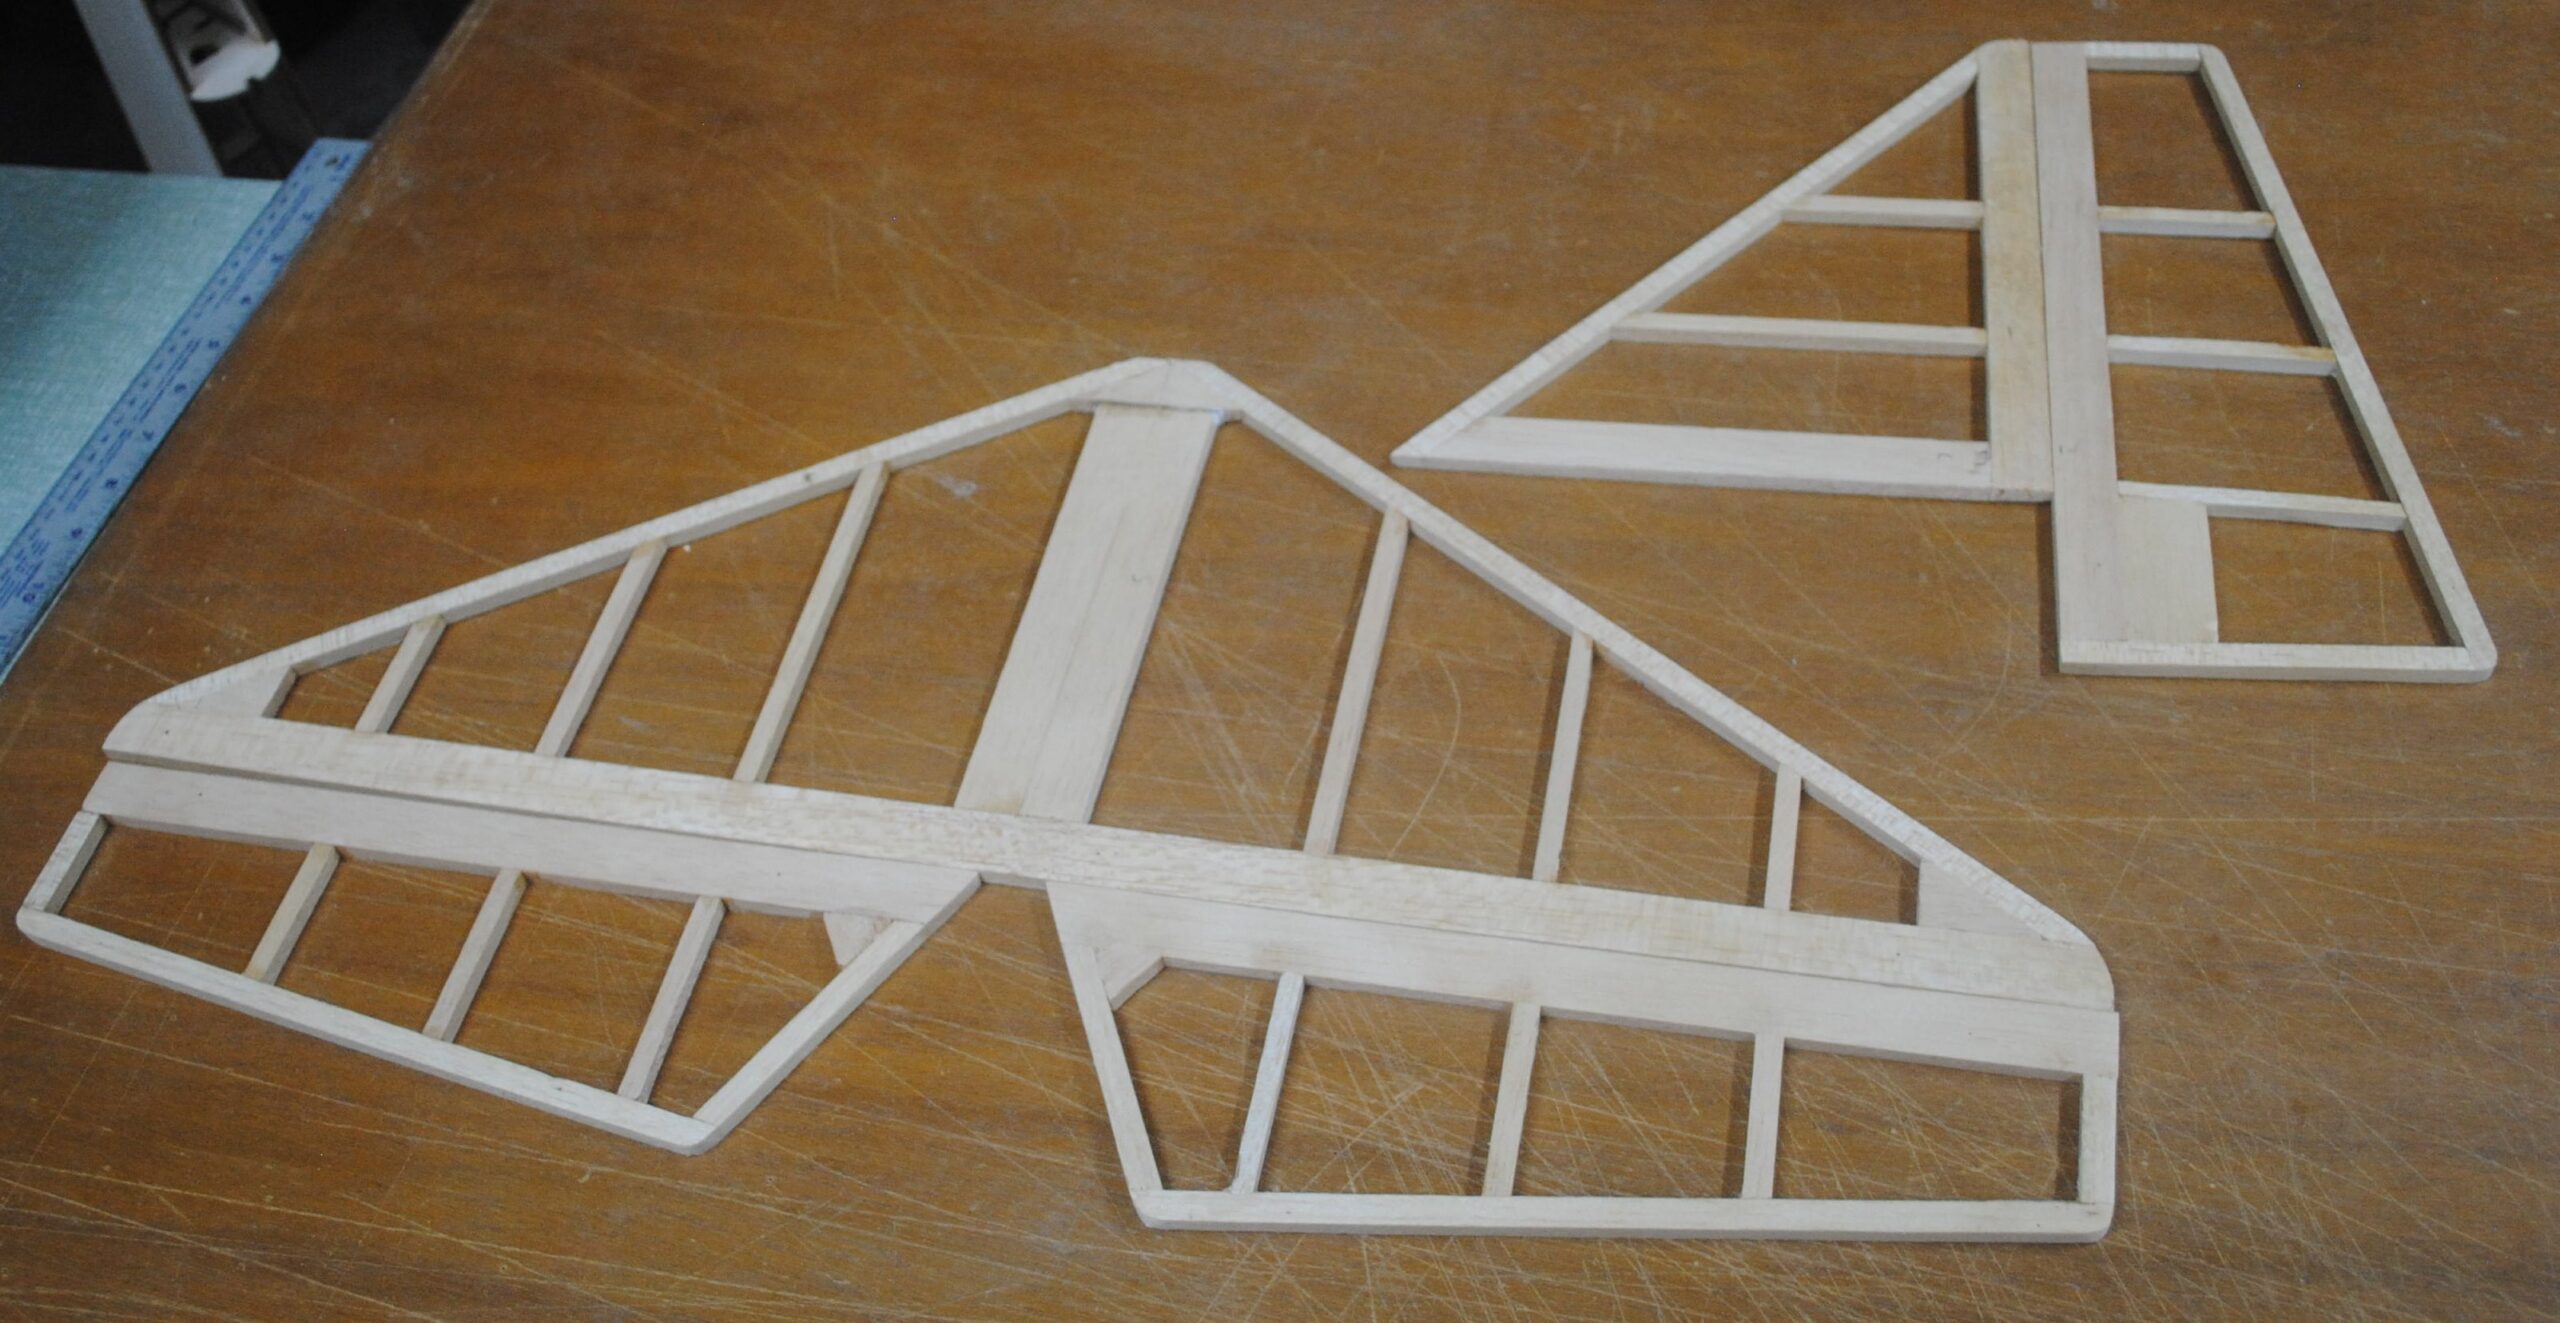
Continue until the elevators, rudder, and vertical and horizontal stabilizers are all laminated.
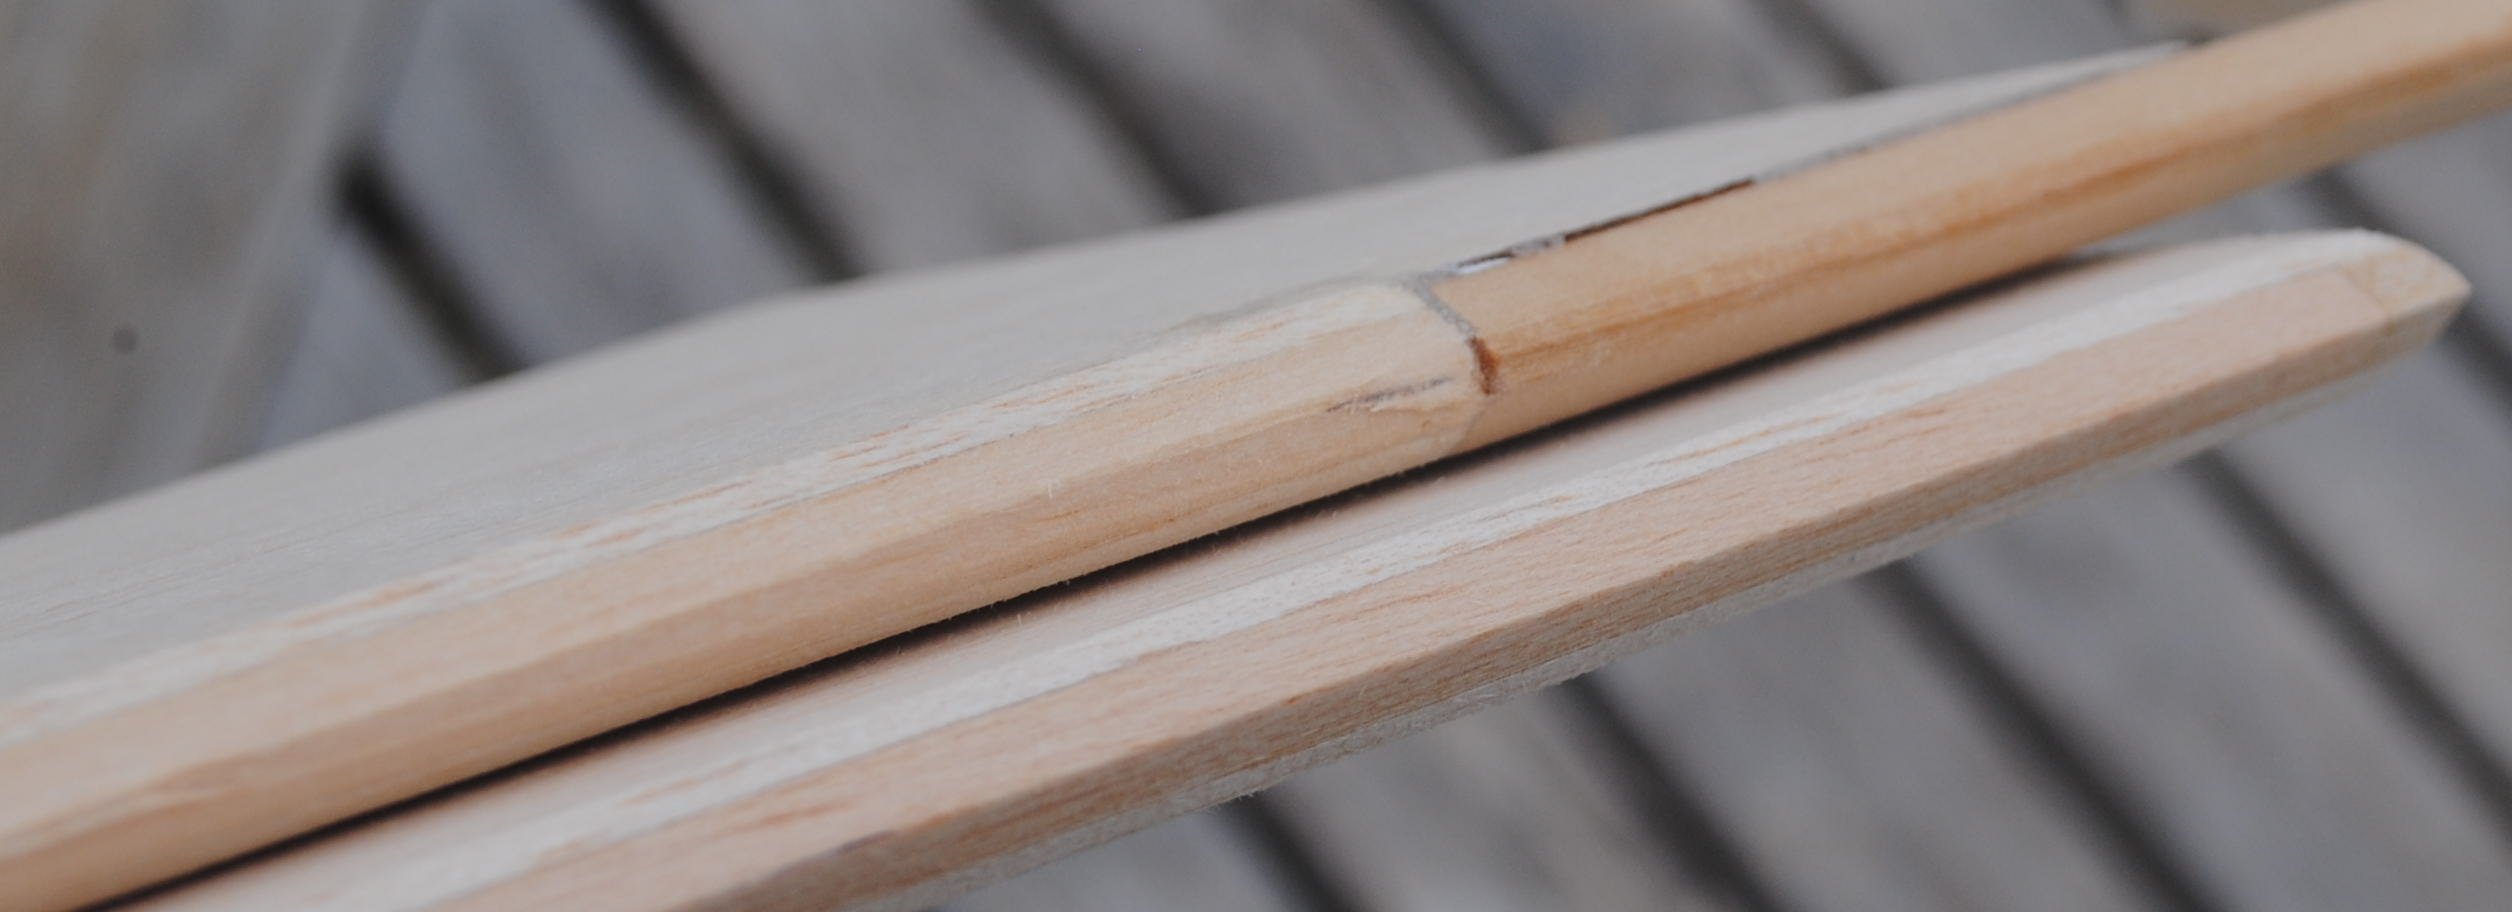
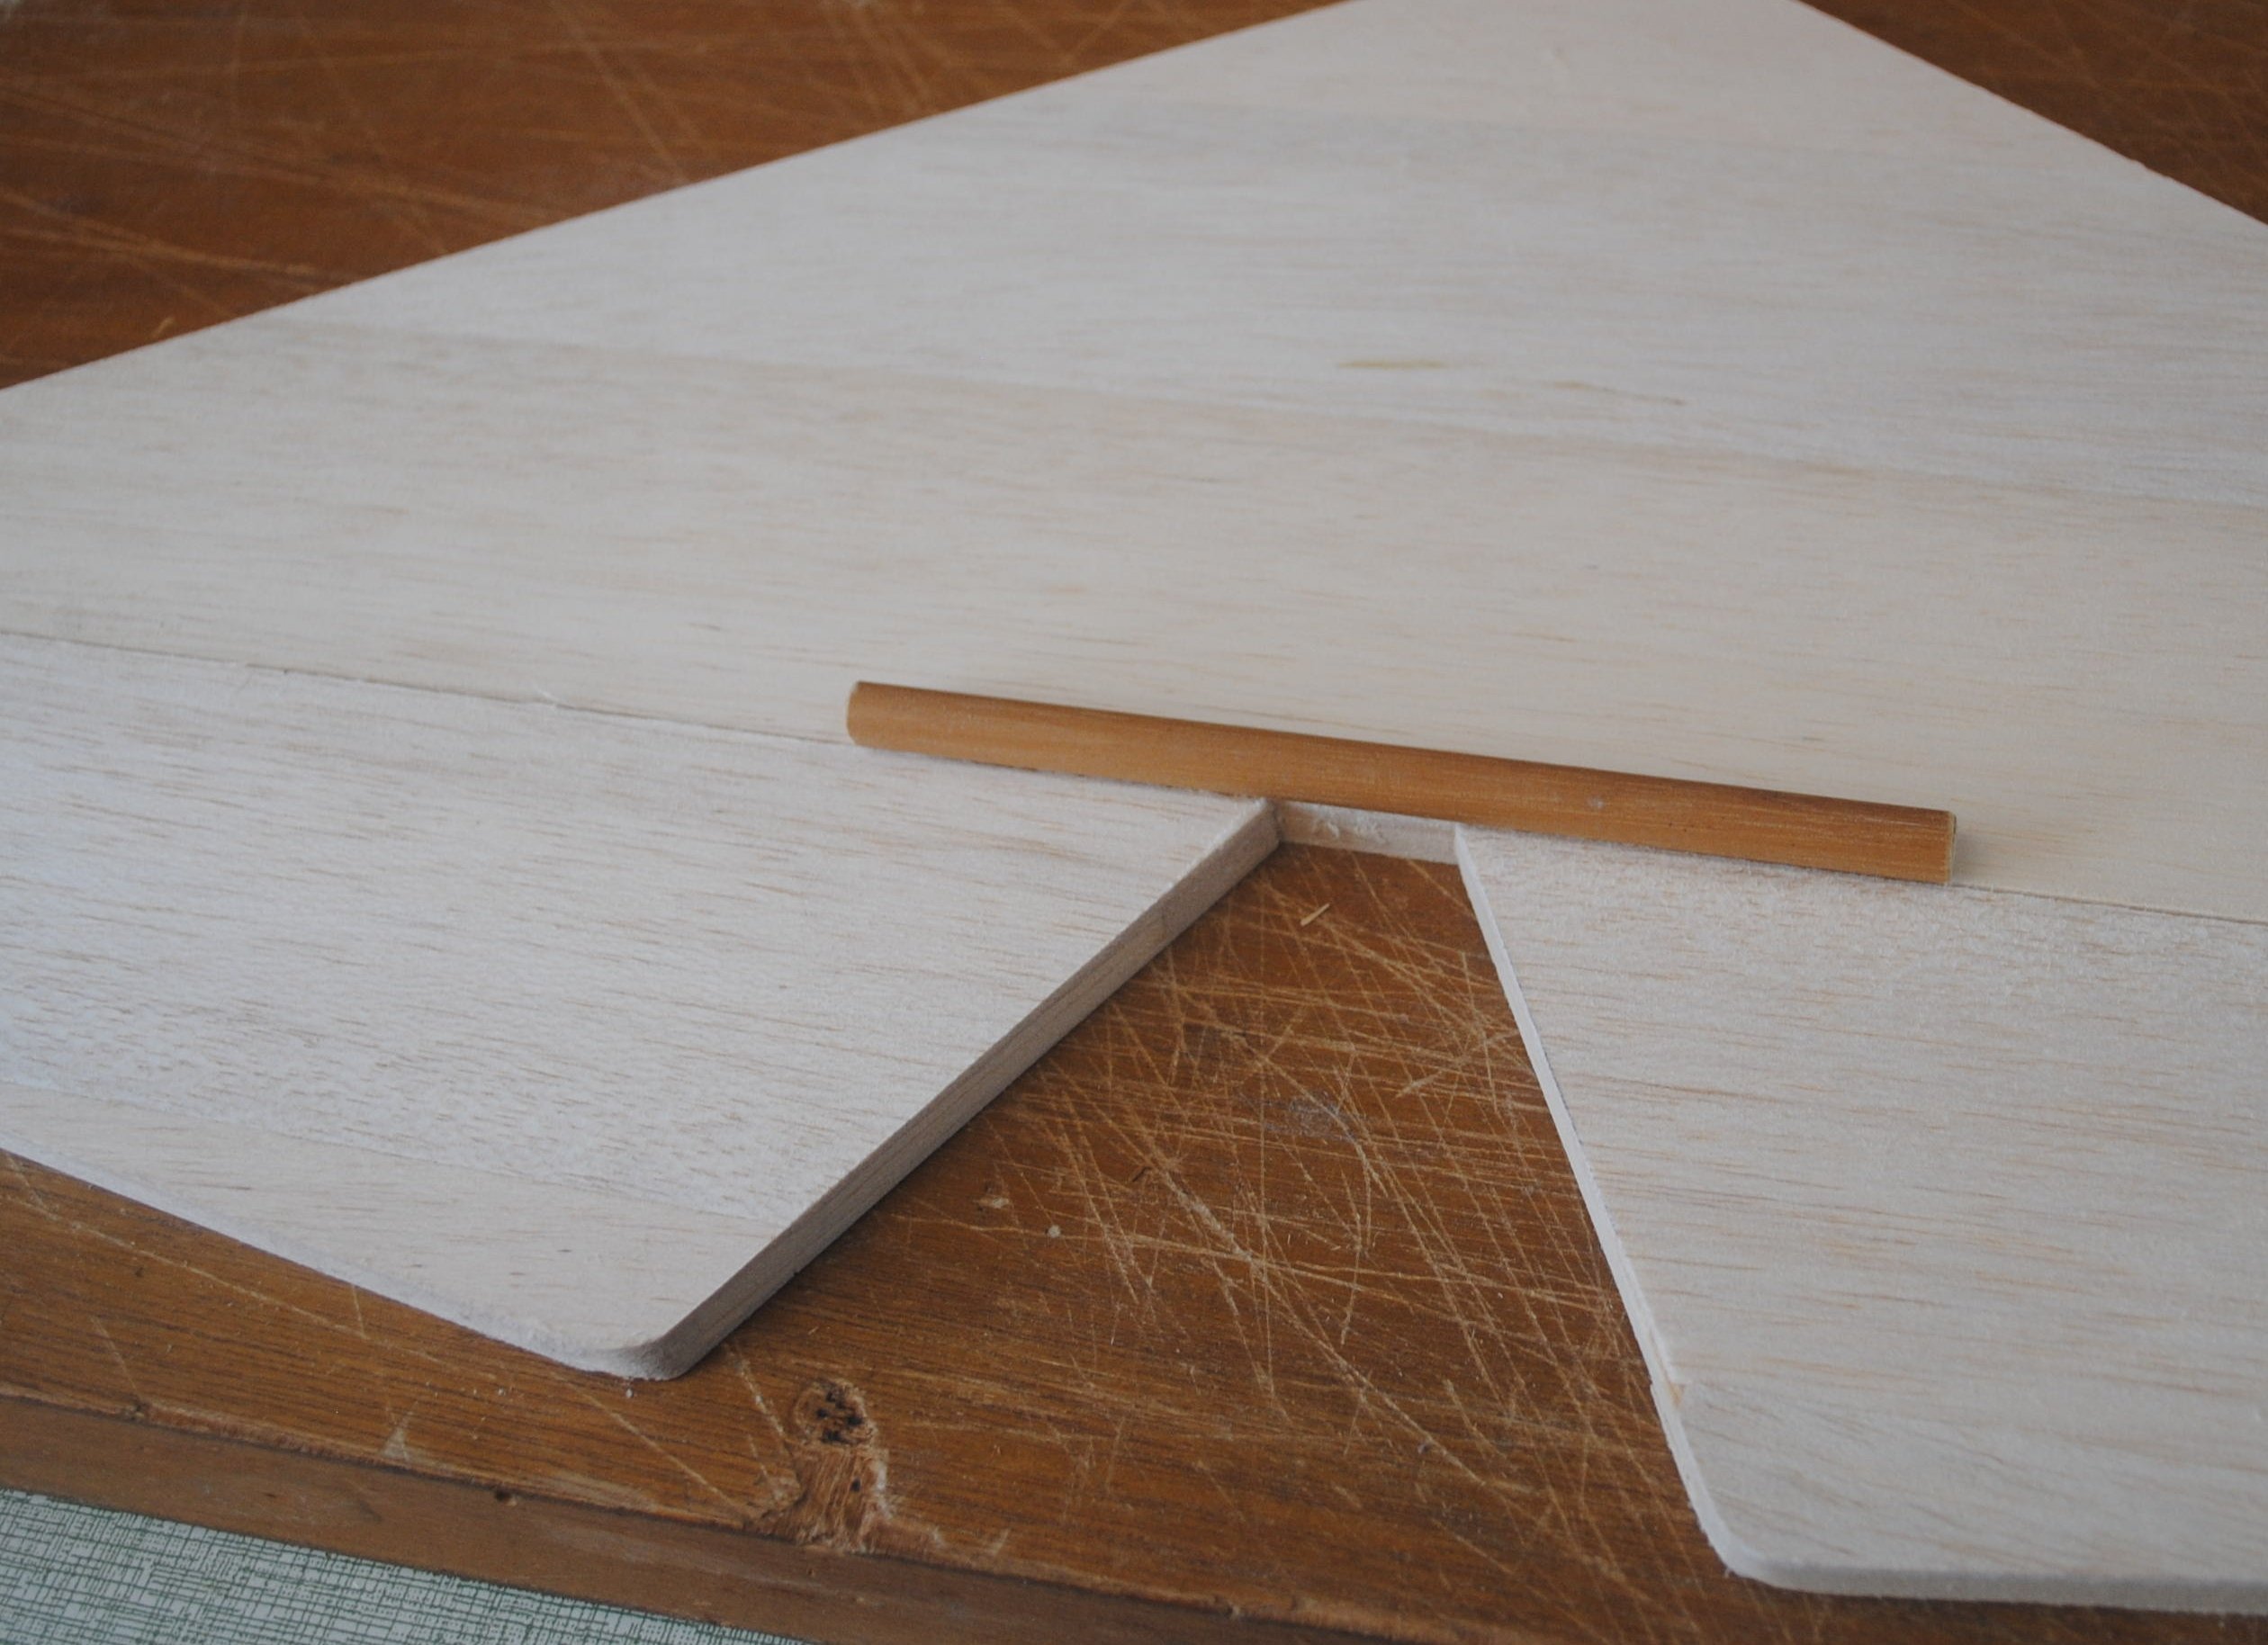
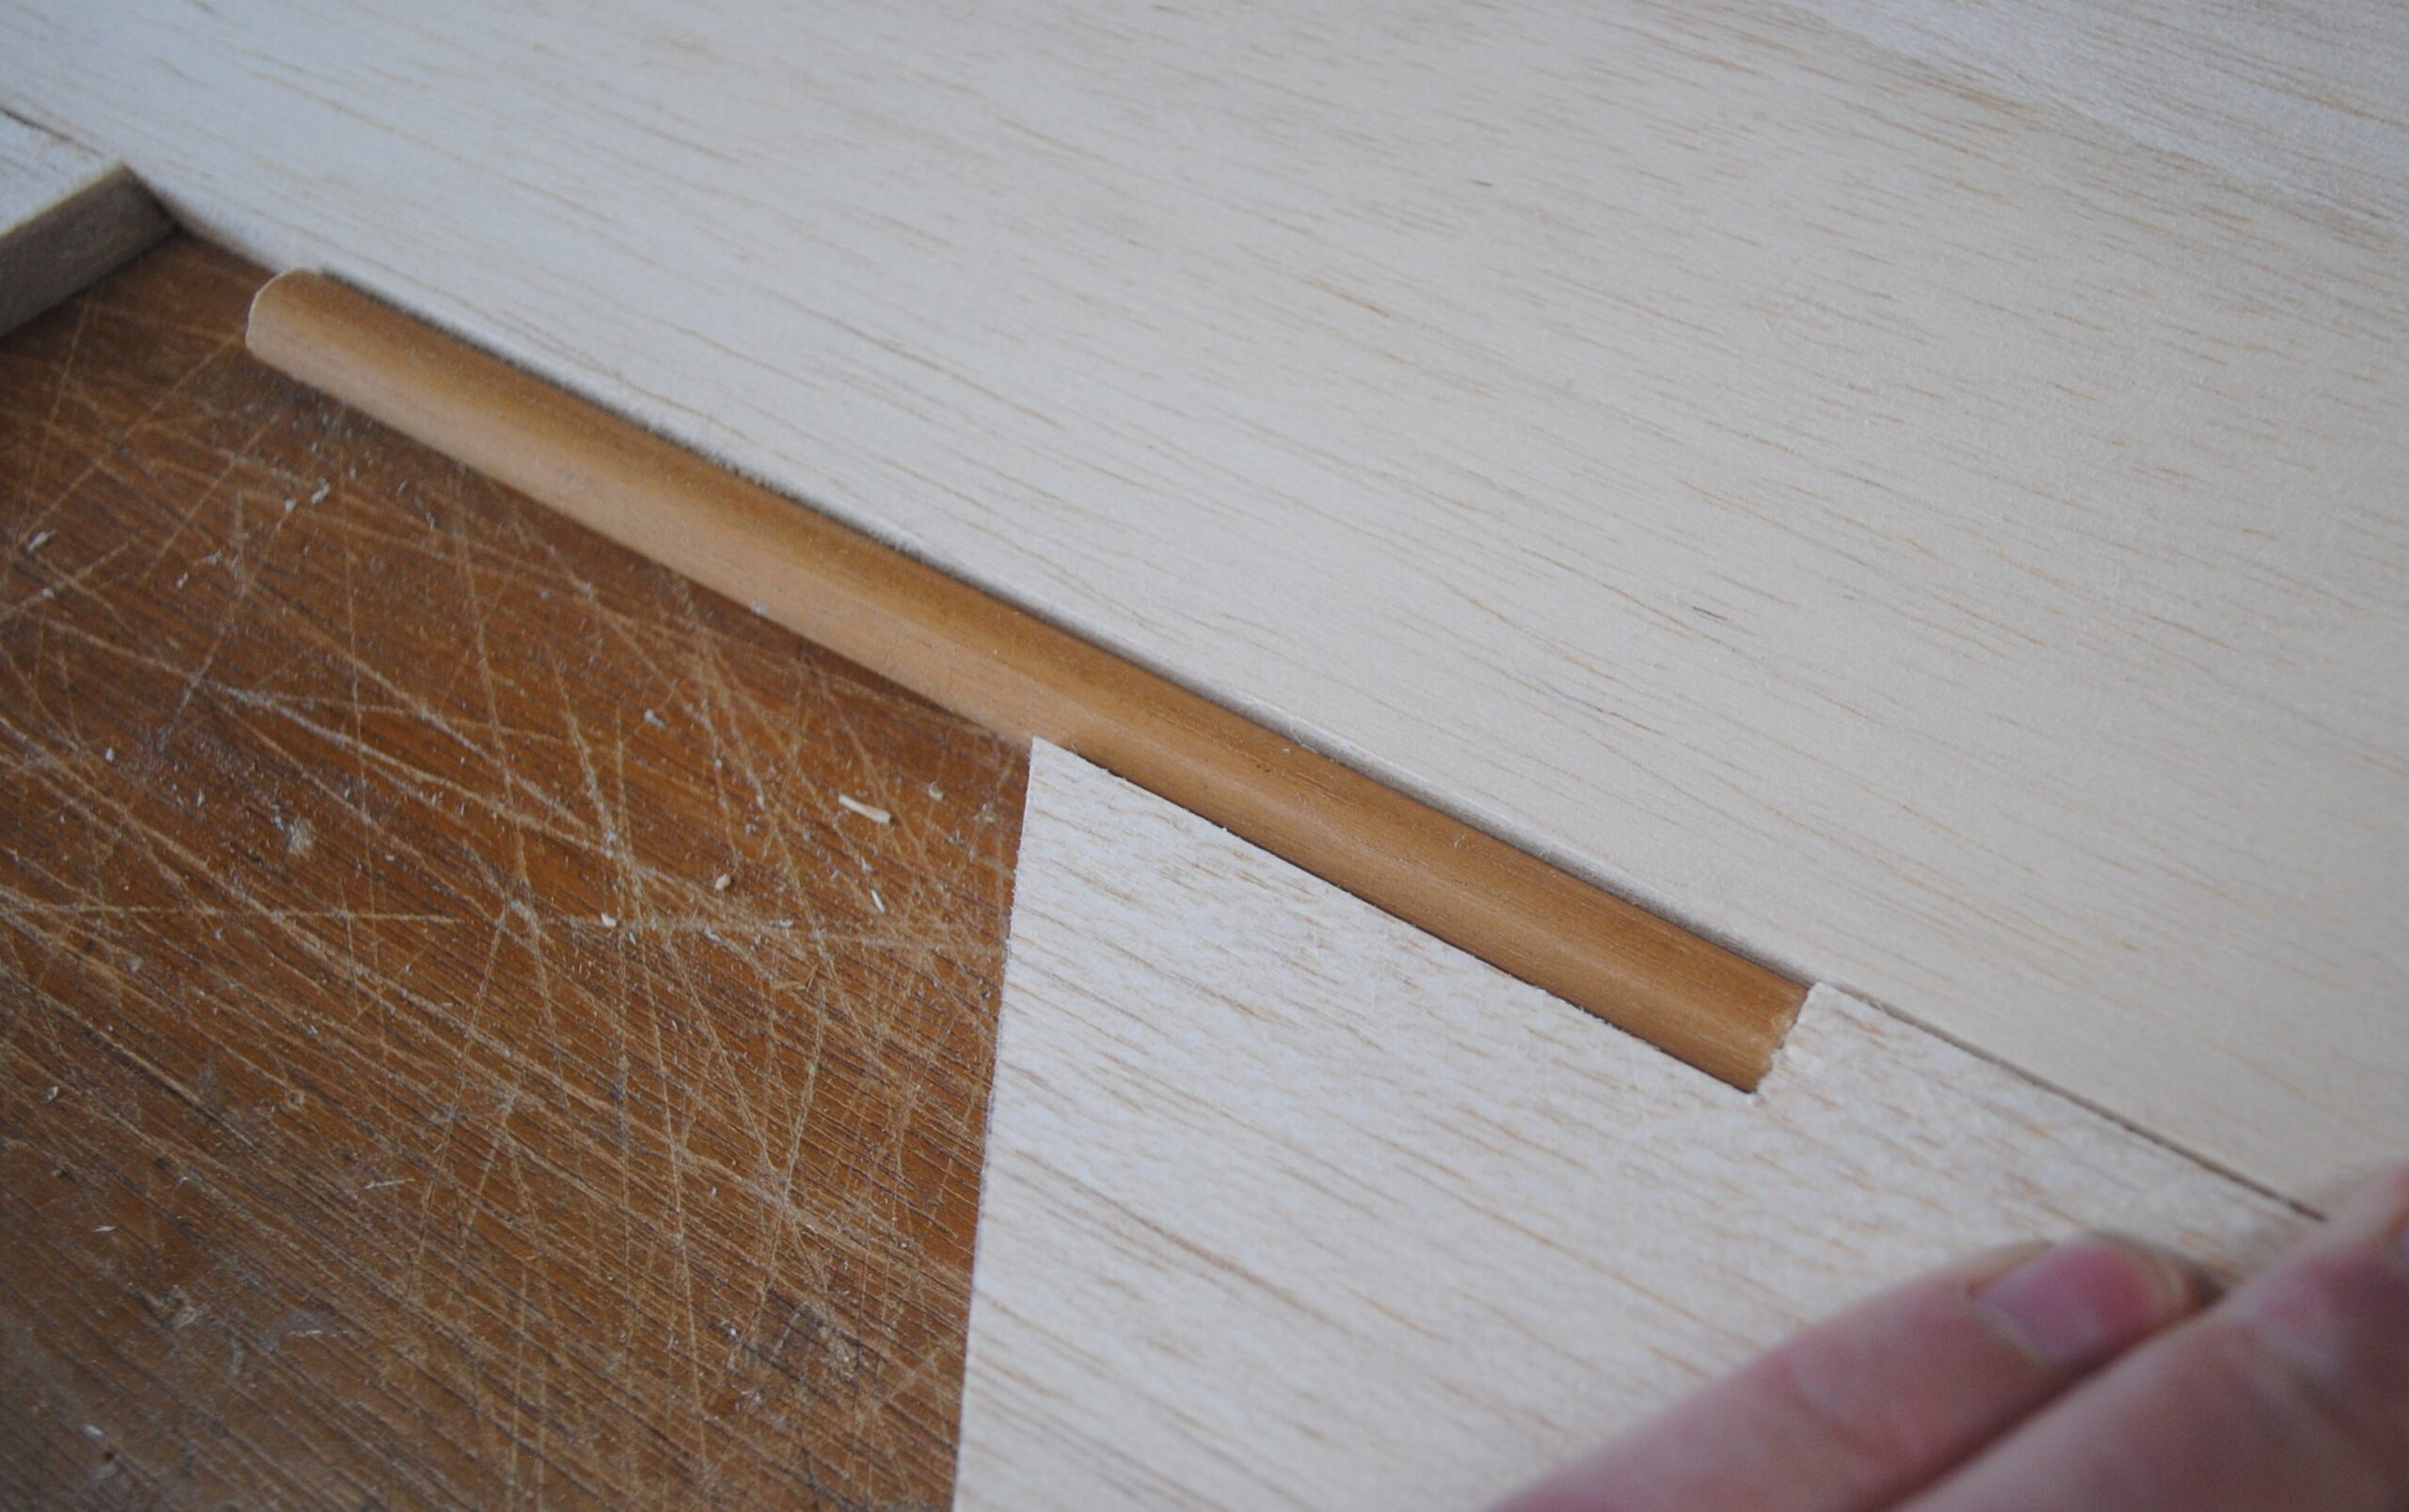
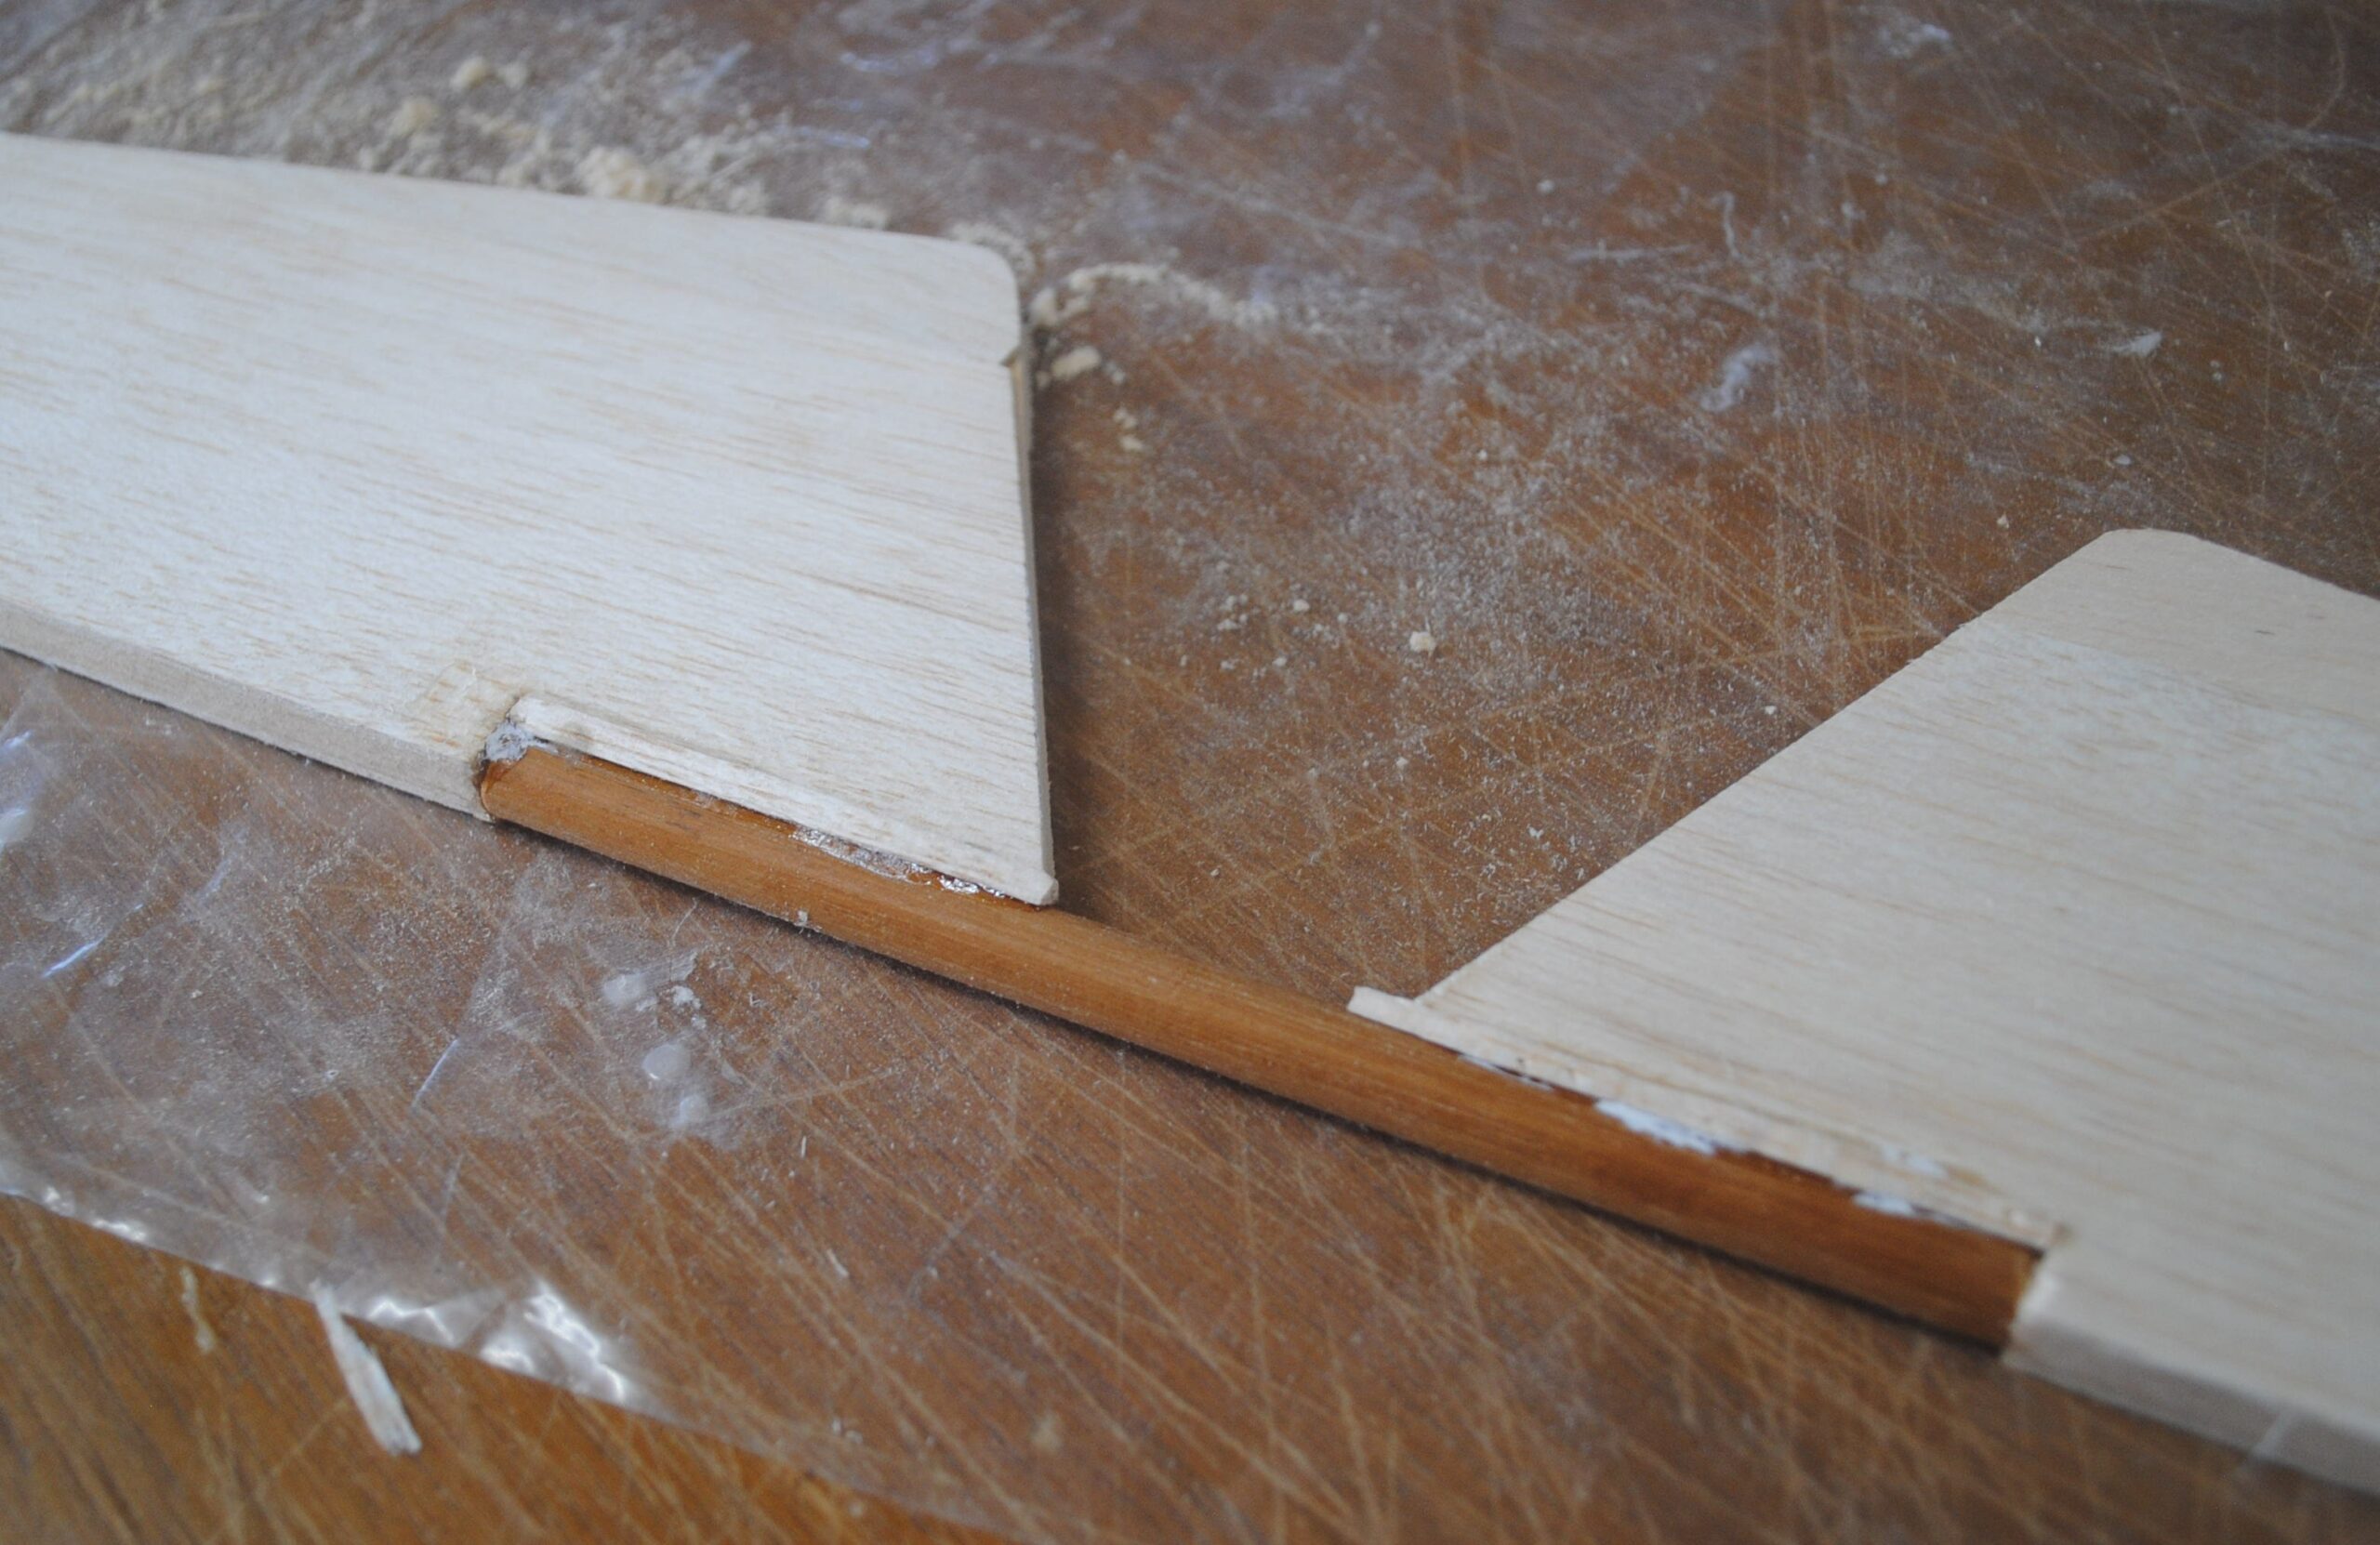
Sand all the edges flush, but leave the corners sharp at this time. Lay the horizontal stabilizer on the table and put the elevators in place with the tips lined up flush with the stabilizer tips. Lay the 3/8 x 6 inch dowel at the trailing edge so you can mark where to notch the elevators.
A knife is more accurate than a pen or pencil for marking.
Mark the slot for the elevator joiner dowel. It should be 3/8″ wide. You should be able to see all three marks in this photo if you look carefully.
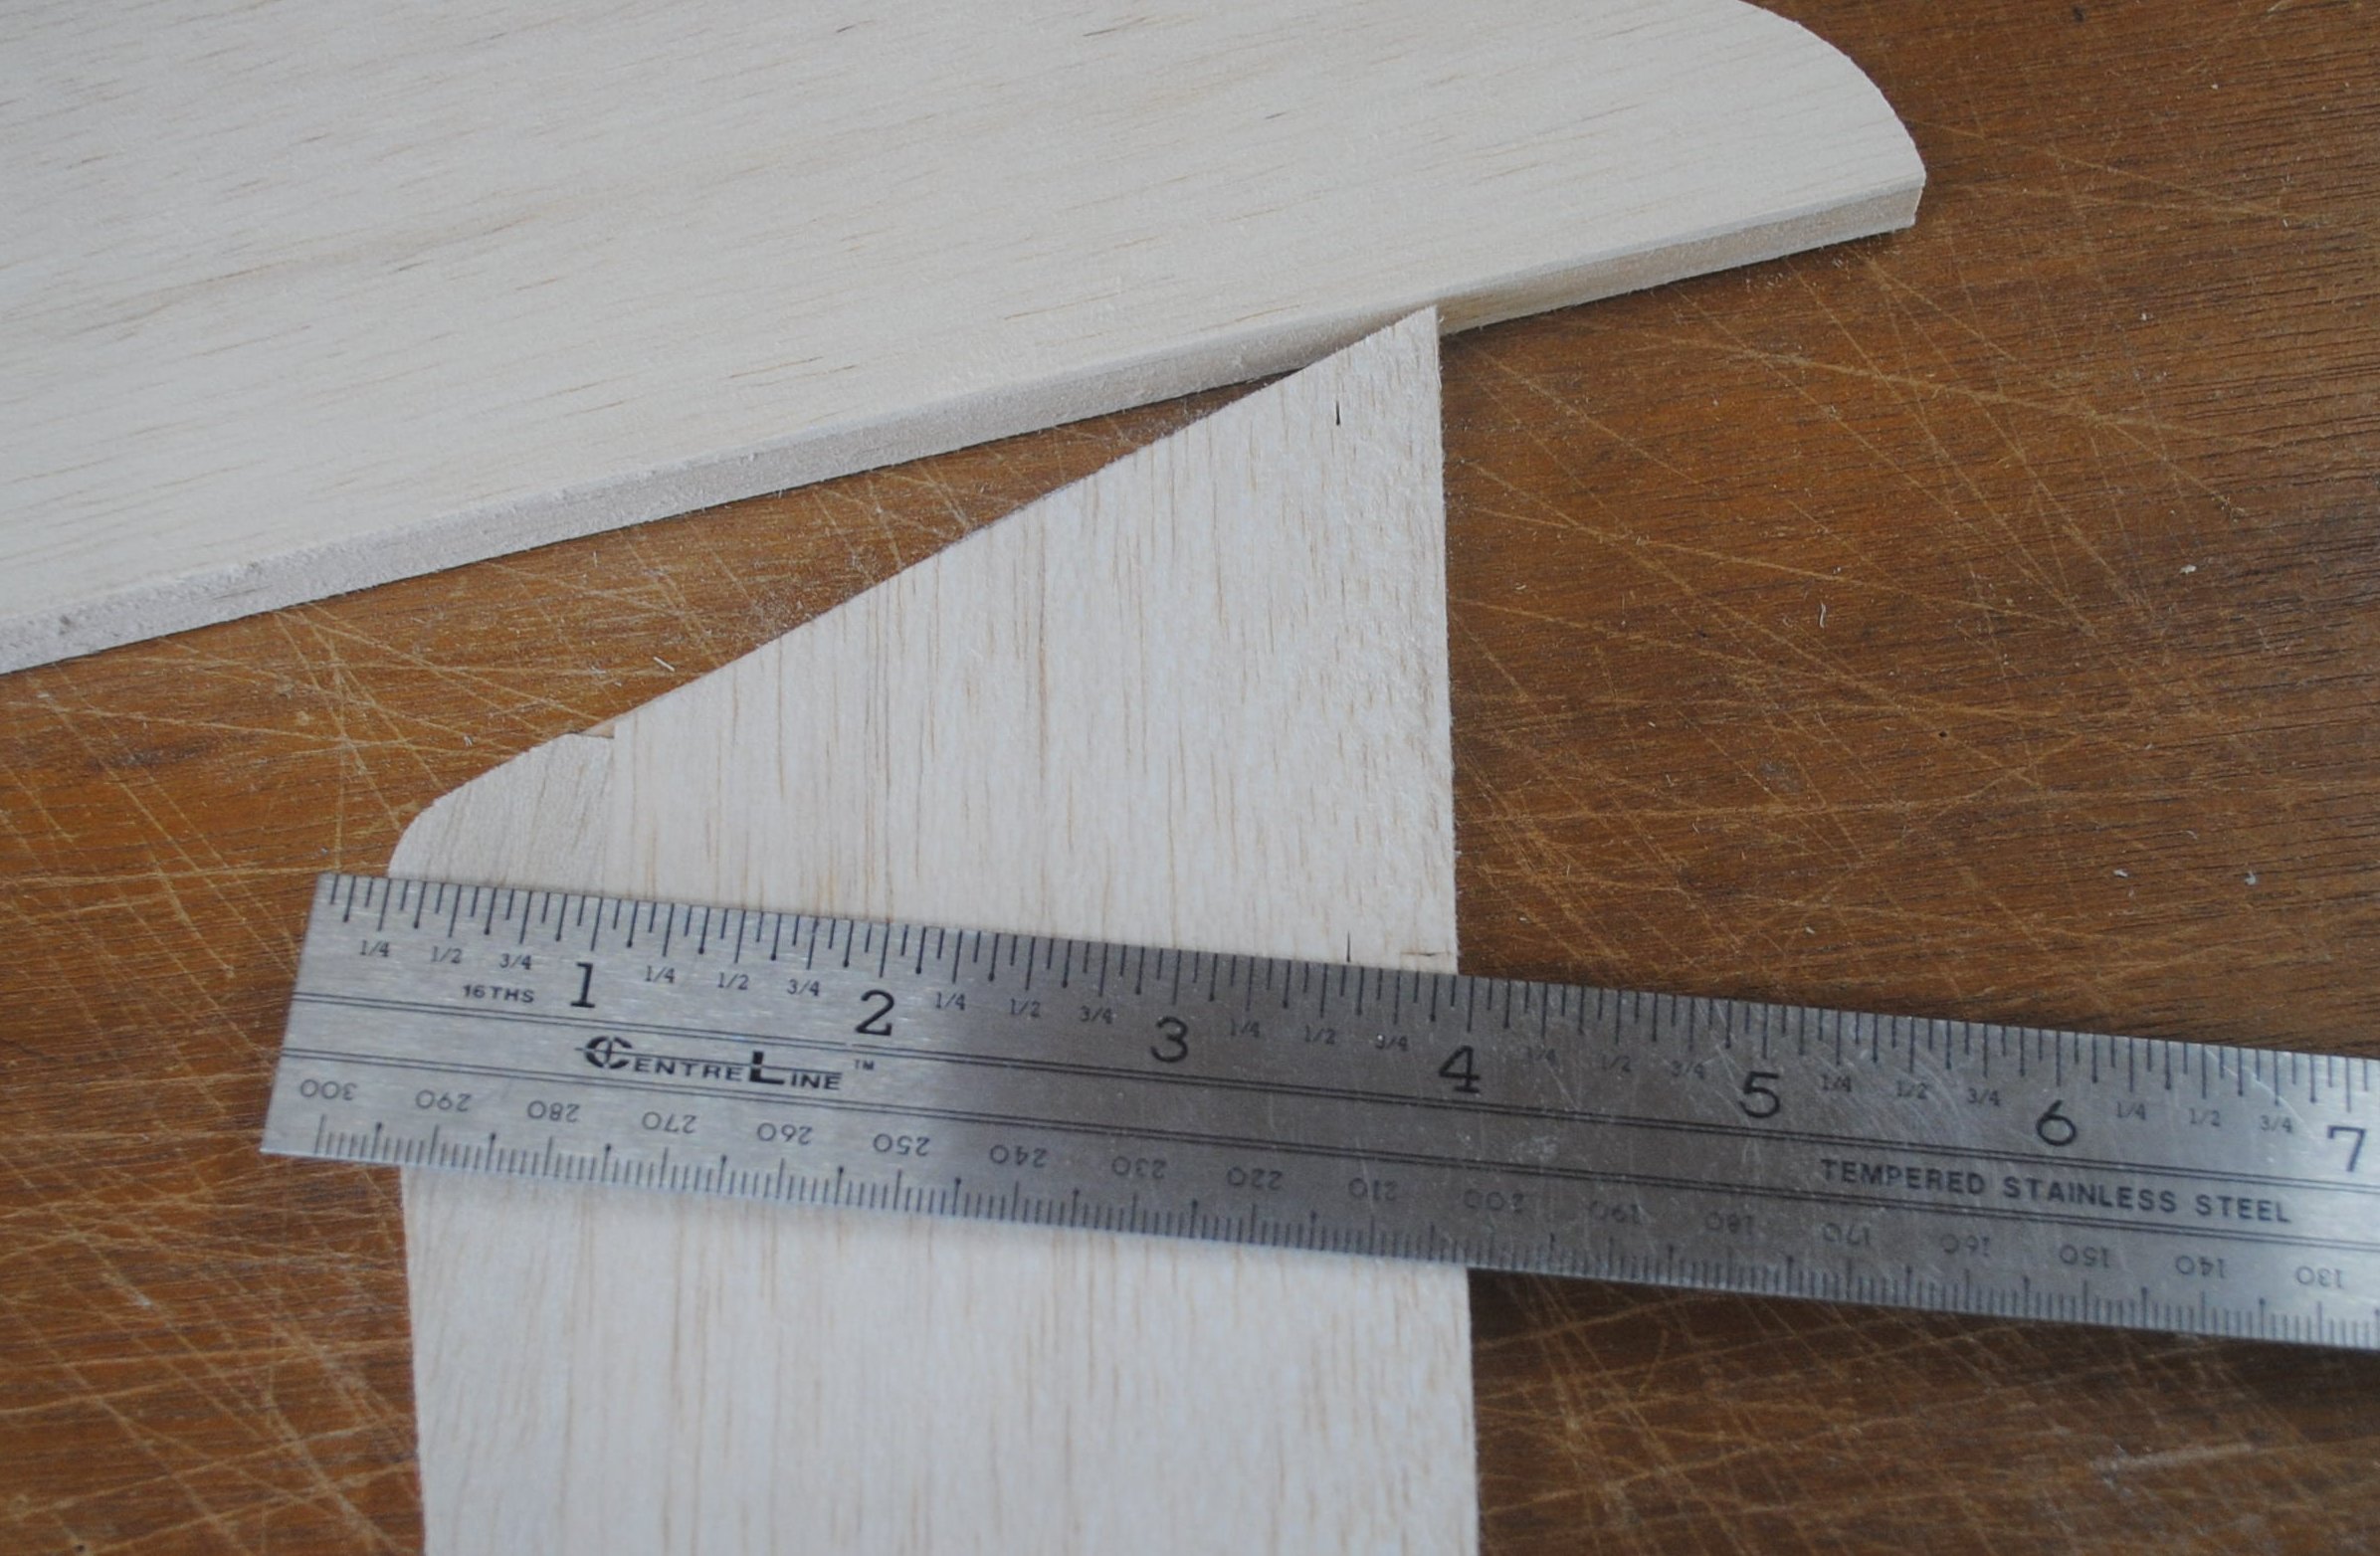
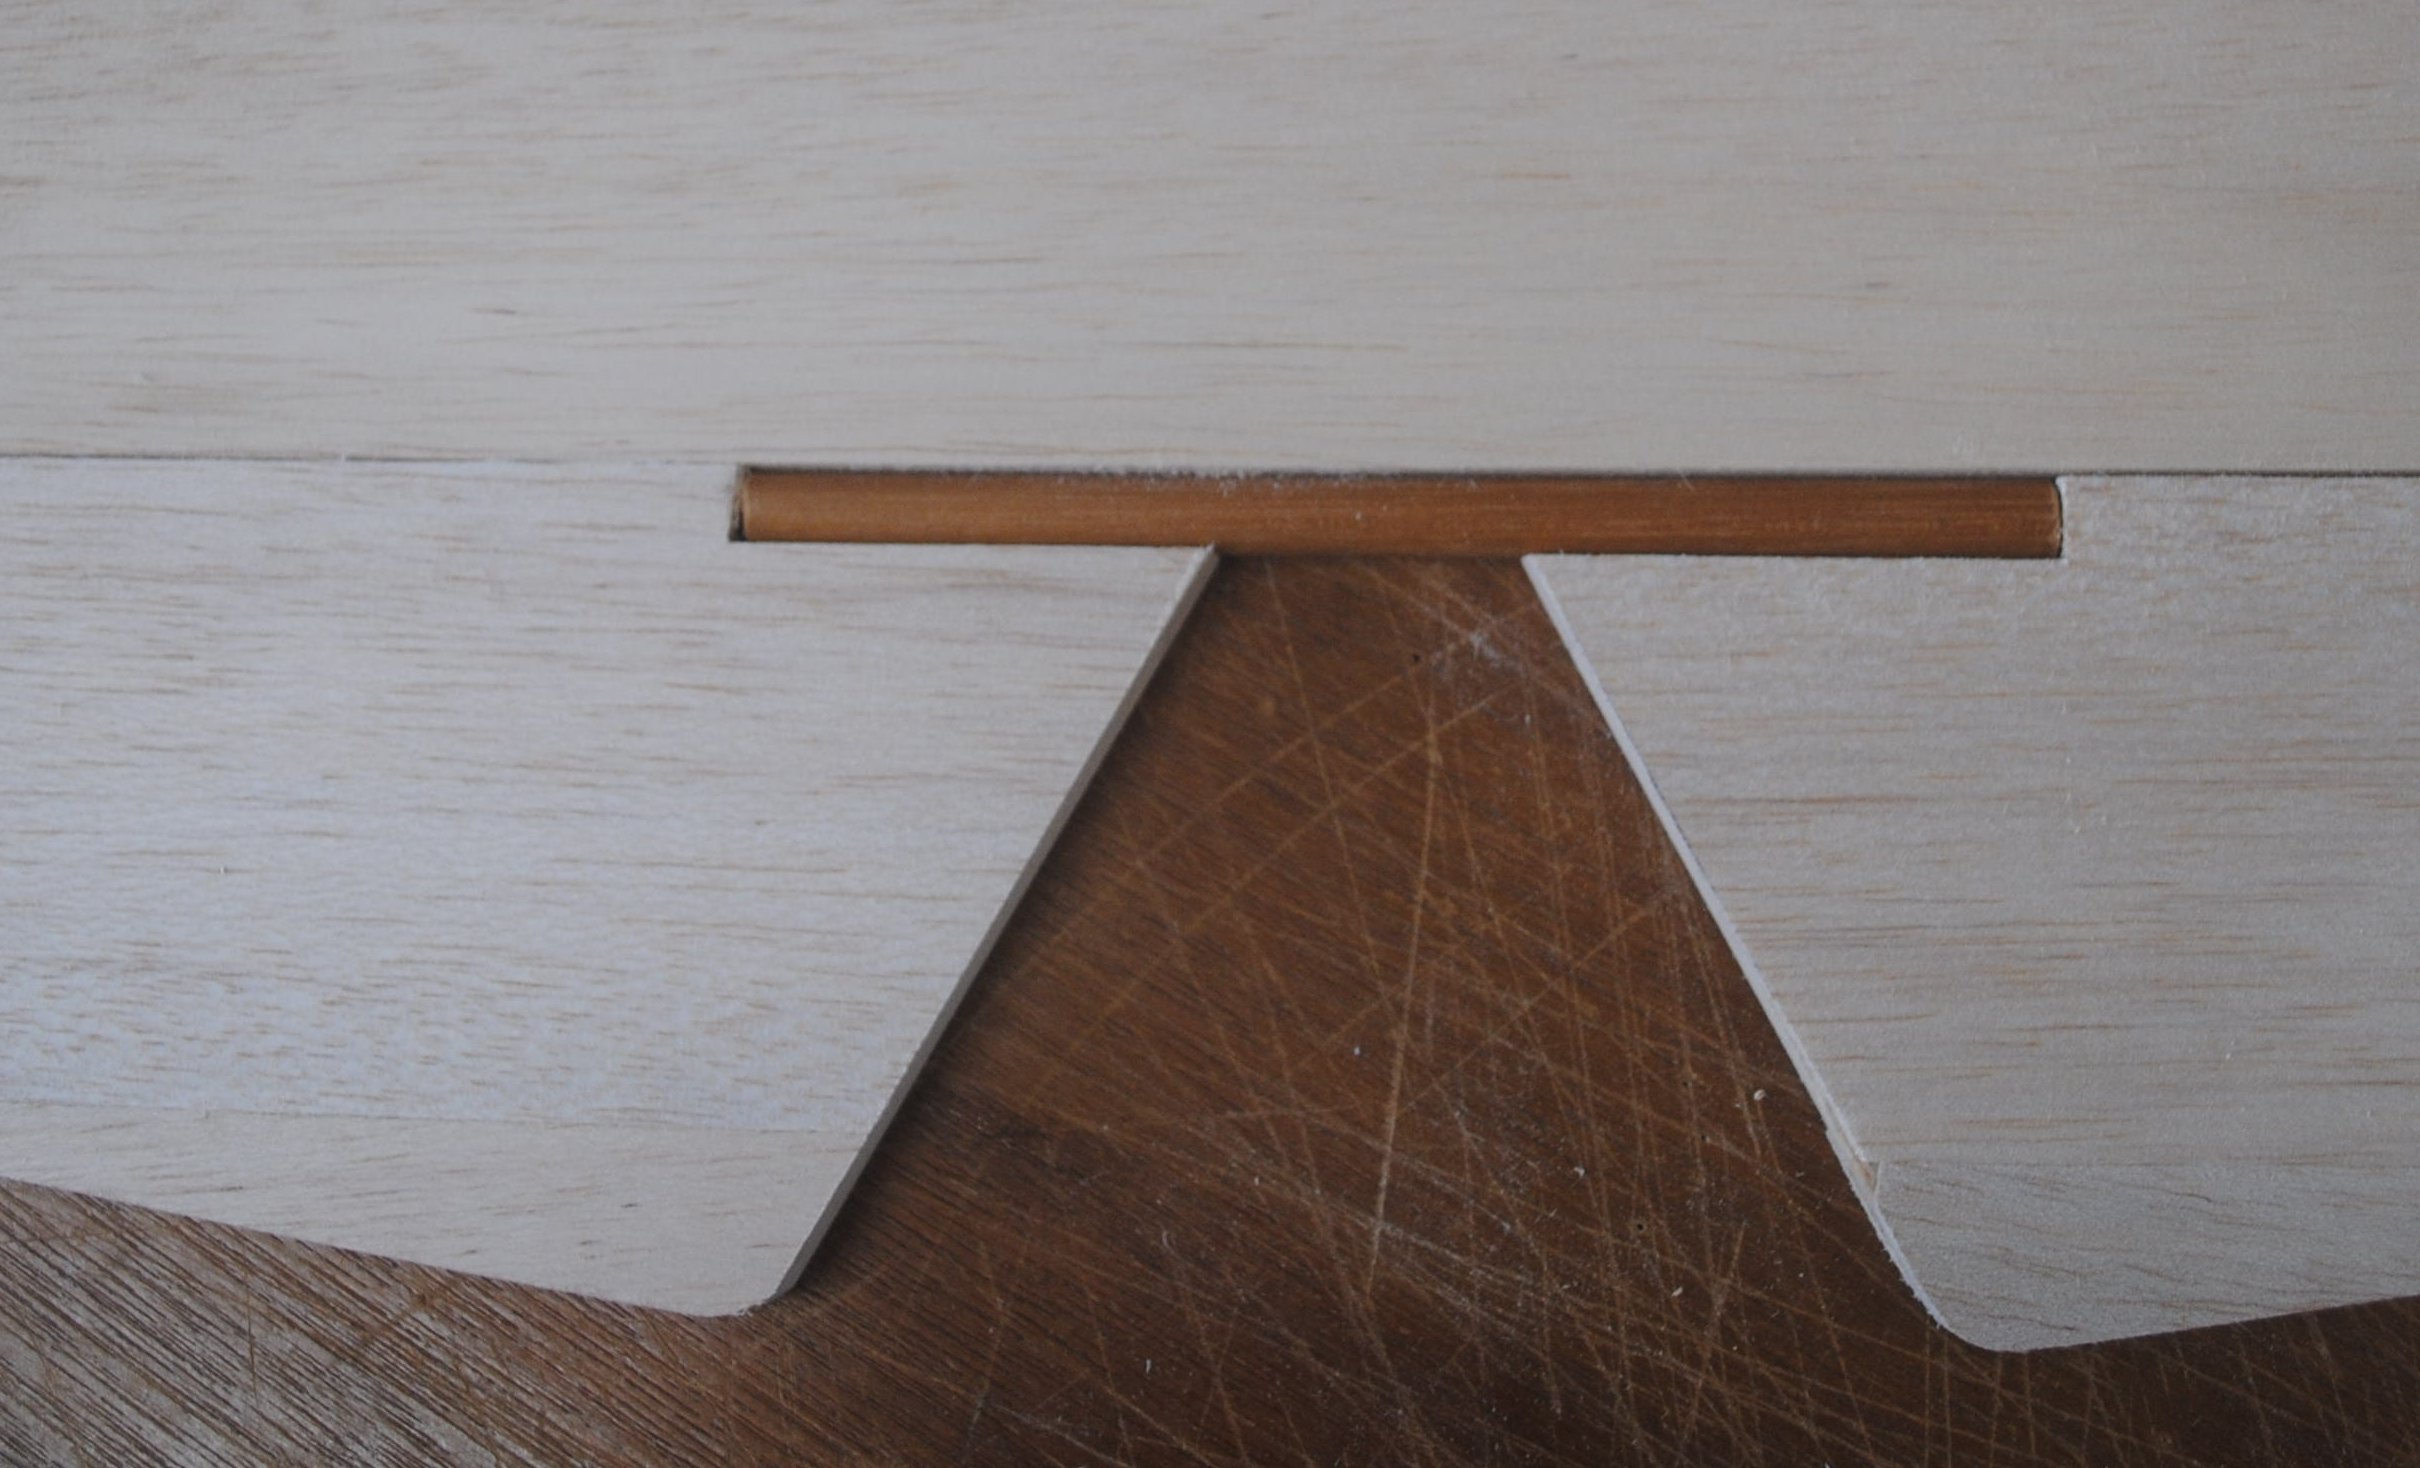
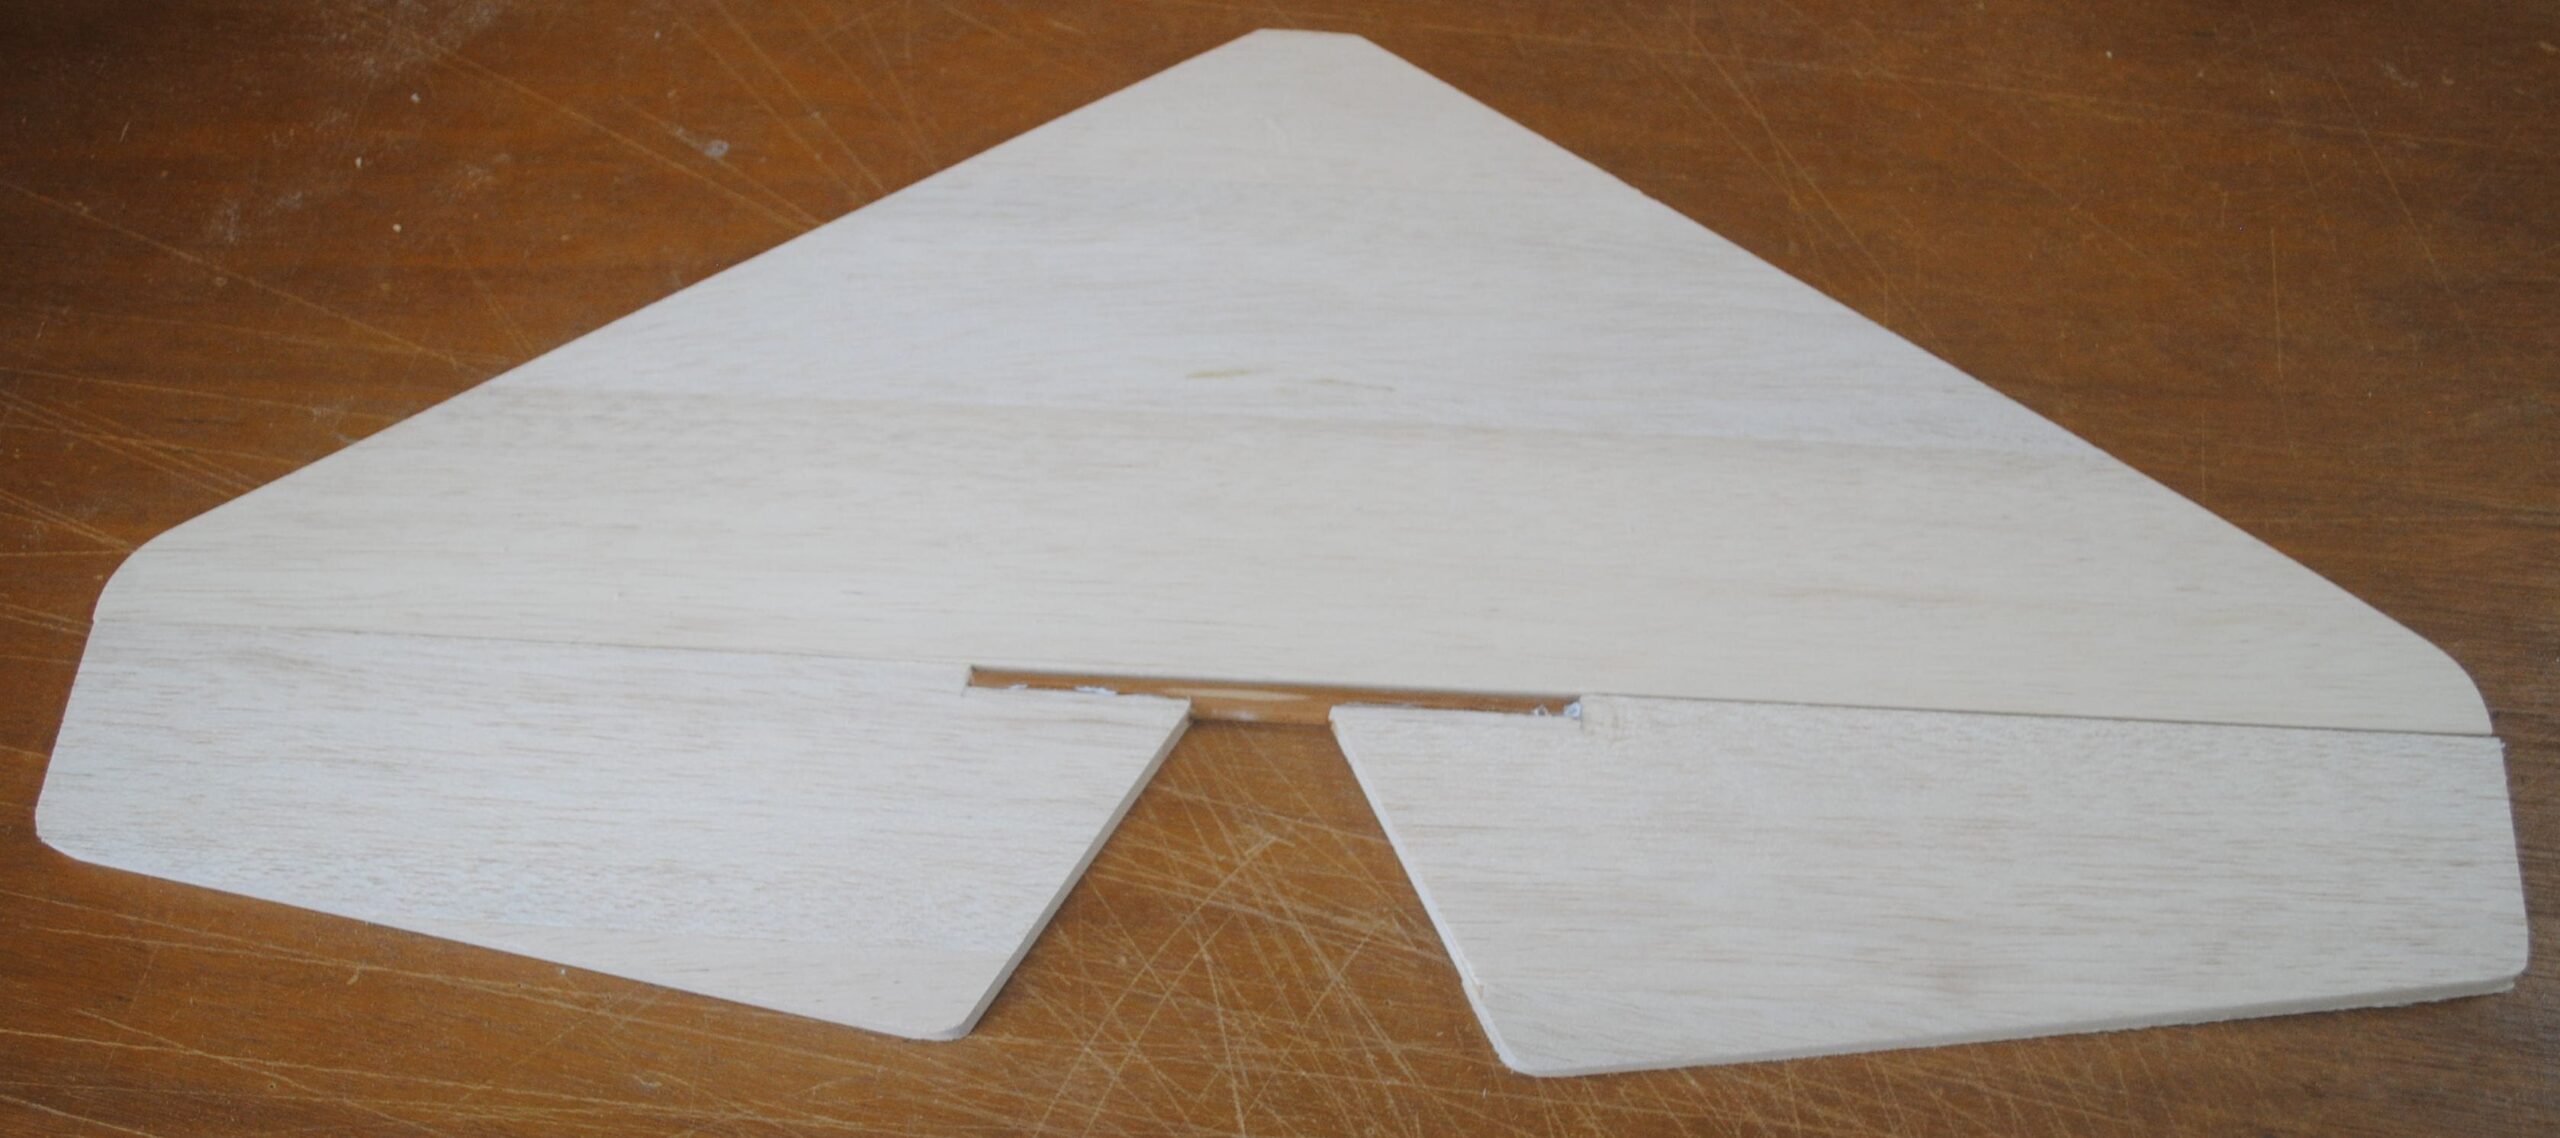
Use a straight edge to cut the long line and a razor saw to cut the 3/8″ depth. It’s always better to not cut enough than to cut too much. Put the elevator and joiner in place against the stabilizer and check the fit.
Cut the other elevator and check the fit.
Set the elevators and dowel on plastic.
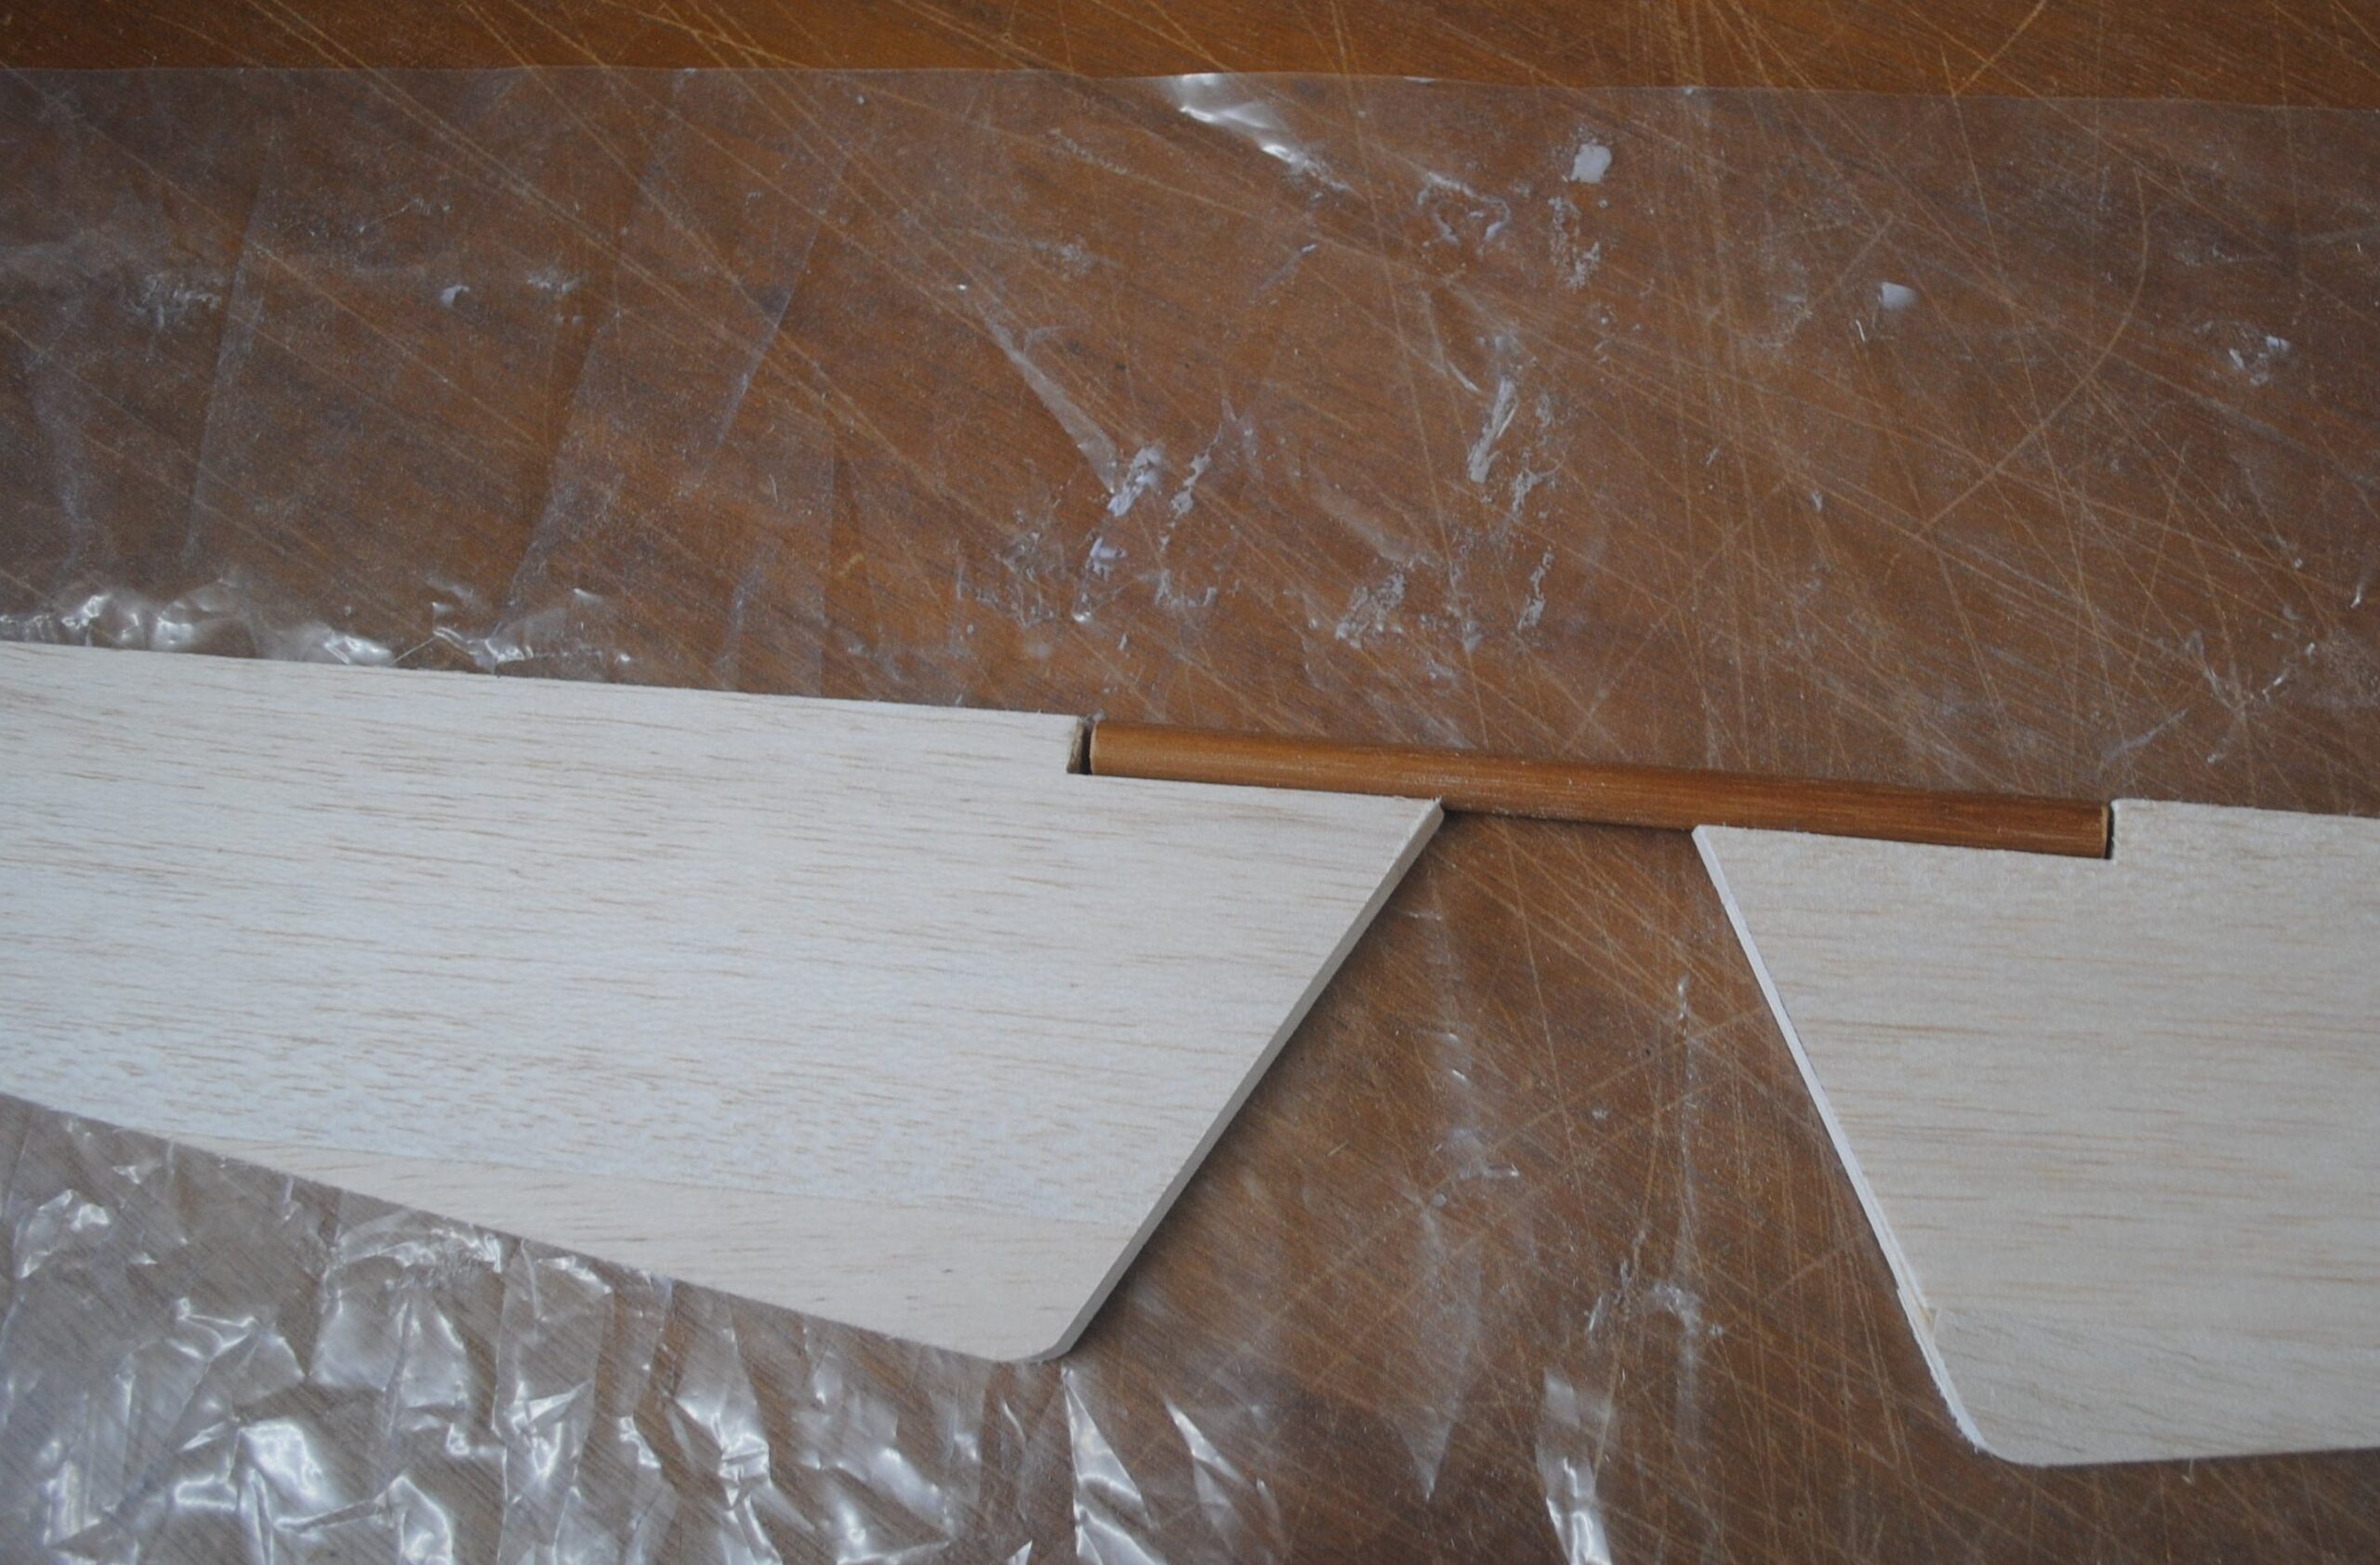
Put the stabilizer under the plastic to keep you from gluing the elevator to the stabilizer, and push everything in to place, with the tips lined up flush.

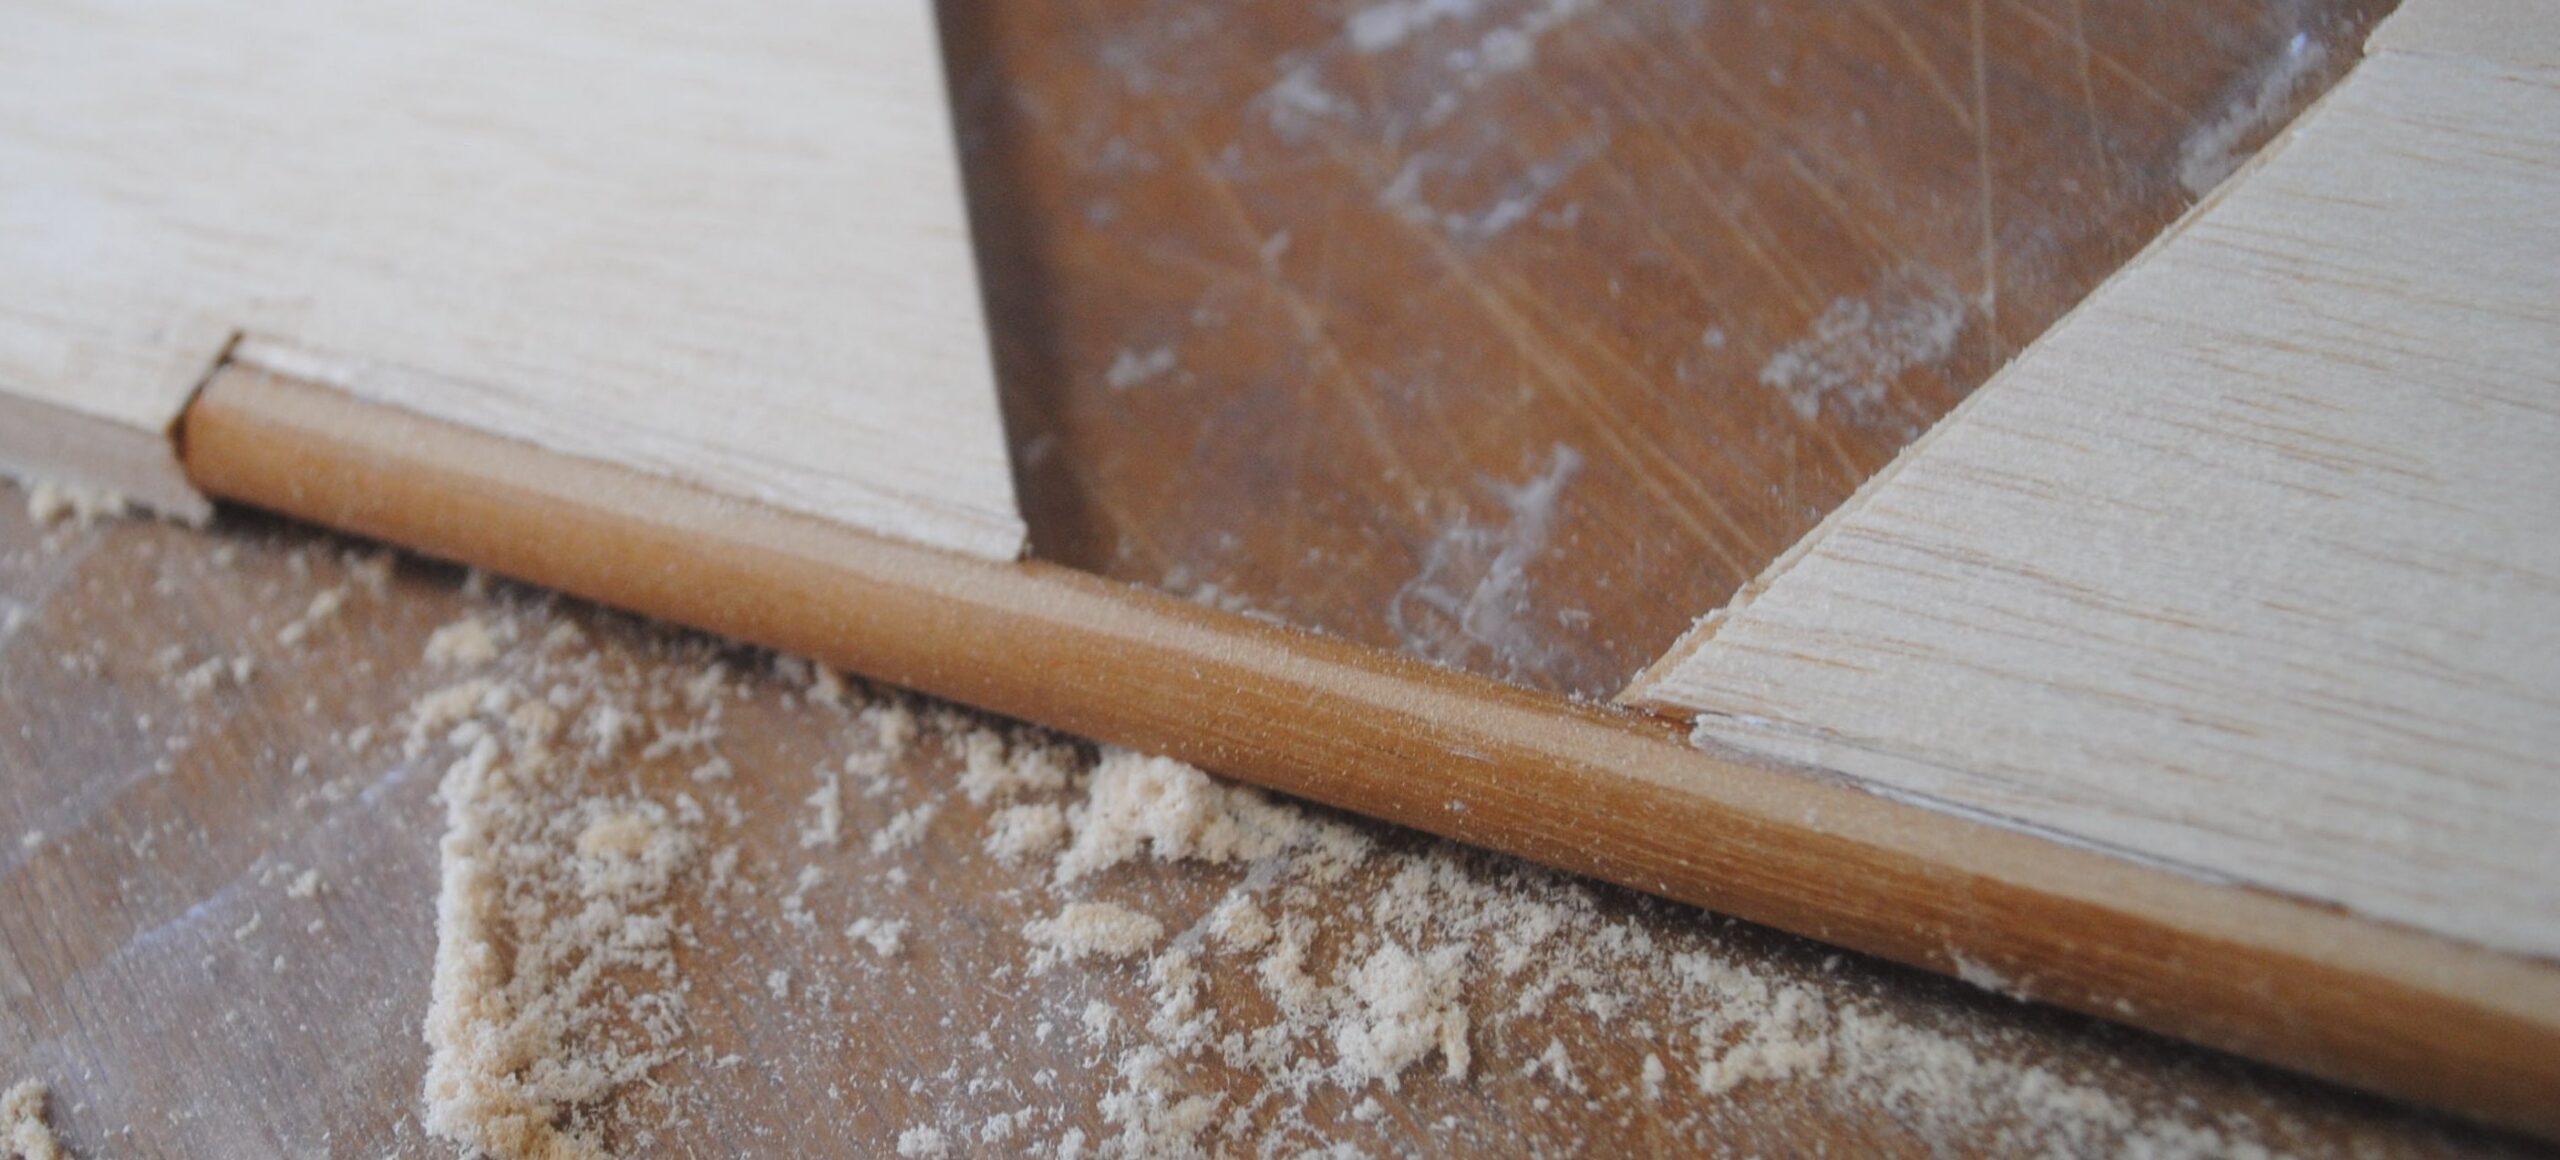
You can fill all available space with epoxy or Titebond and leave it to cure.
Alternatively, you can use thin CA to tack the parts in place. The next step is to use little corners cut from leftover triangle stock to fill the cracks between the elevator and the curve of the dowel. I would use medium CA in the crack, then cram the wood in. This joint needs to be strong and without voids.

Sand away the excess wood that sticks out of the crack.
Flip it over and do the other side. First the corners cut from triangle stock are glued in with medium CA, then they’re sanded flat.
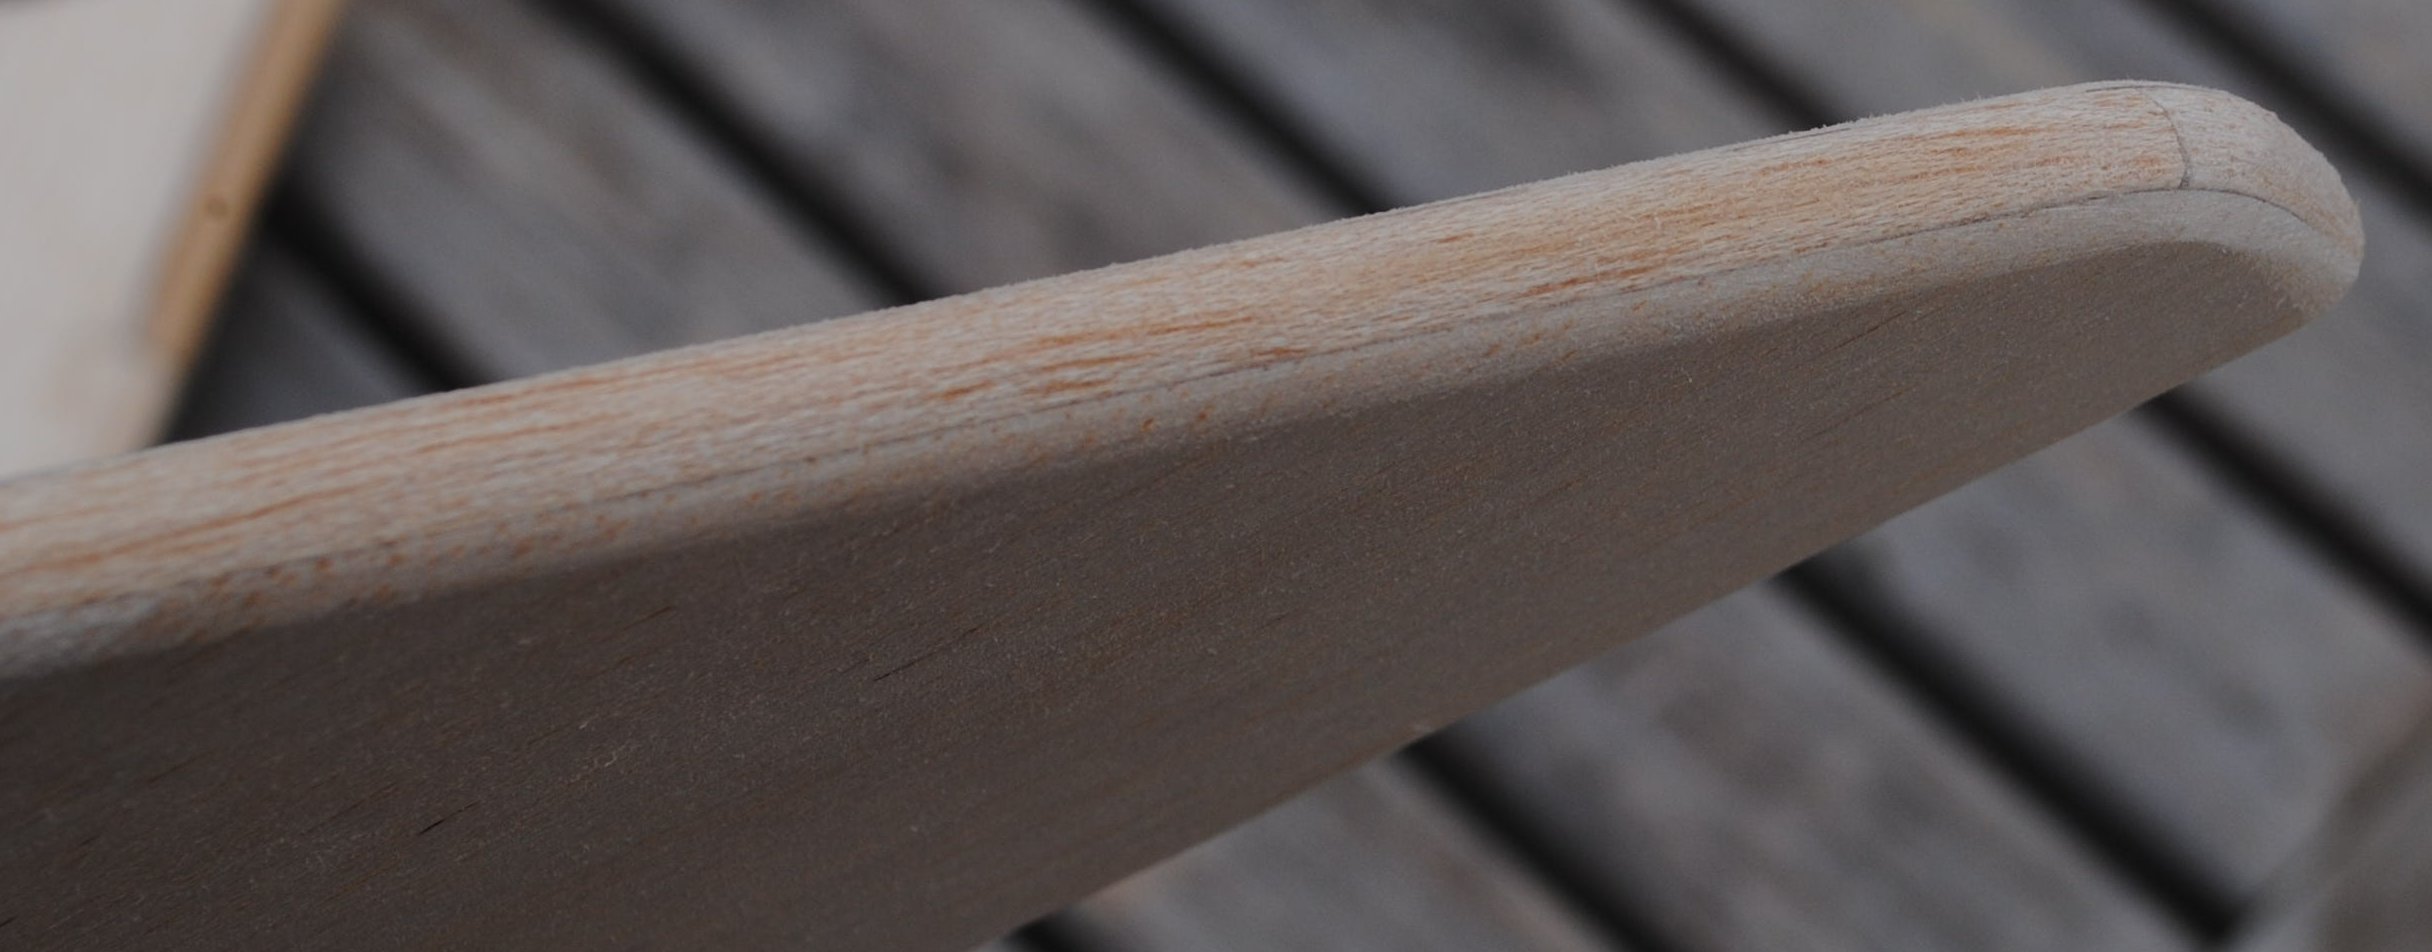
In the end the elevator joint needs to be rock solid, and the elevator tips should be flush with the horizontal stabilizer tips.
The last job to do with the tail before covering is sanding all the edges. Use the plan as a guide for rounding the edges and shaping the hinged edge of the elevators and rudder to a V shape.